Welcome to my series on building APIs using NodeJS! This kicks of the first article in the series where I’ll go over the basics on getting up and running with my framework of choice, ExpressJS. Over the course of the next two weeks, I’ll be expanding on this article and we’ll end by deploying a secure, well designed API to AWS.
In this article, I’ll demonstrate how to create a basic API and setup Postman to test the API. Once were setup and confirm working, I’ll be explaining some basic HTTP concepts as well as how they relate to the various settings in Postman.
Prerequisites
Before you get started, you’ll need the following installed to follow along with the series;
- VSCode – https://code.visualstudio.com/
- Postman – https://www.postman.com/downloads/
- NodeJS – https://nodejs.org/en/download/
Ill also be doing this in Windows. The process should be similar regardless of what operating system you are using.
Setting up your Environment
Let’s start by opening our working directory, then the terminal, then initialize the project by entering the following commands;
npm init -y
npm install express
If you don’t already have nodemon installed, install it as well with npm install -g nodemon.
Once that’s done, update your package.json by adding the dev script like so;
"scripts": {
  "test": "echo \"Error: no test specified\" && exit 1",
  "dev": "nodemon index.js"
},
Writing the Hello World API
Now lets create a main entry point for our API called index.js and lets start by importing express and defining the app;
// Import express and create a new express app
const express = require('express');
const app = express();
Now lets setup the app to respond to a basic get request. Add the following code;
// Define a basic GET request. The request & response object are passed in
app.get('/', async (req, res) => {
  // Use the request object to send back 'Hello world!'
  res.send('Hello world!');
});
Now finally, add the following code to start the server
// Define the port we're going to listen for requests on
const port = 3000;

// Tell the app to listen on that port, and log out to the console once its listening.
app.listen(port);
console.log(`listening on http://localhost:${port}`);
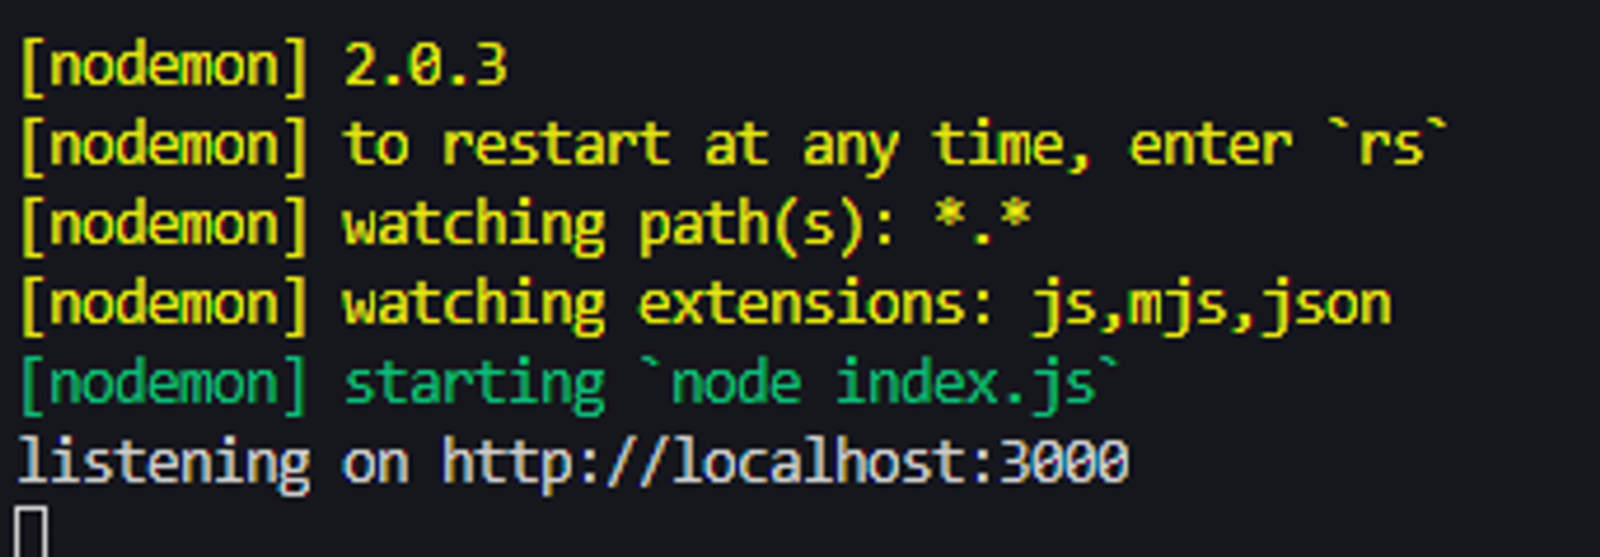
That should do its. Start your app by running npm run dev. You should see the following.
Testing the API
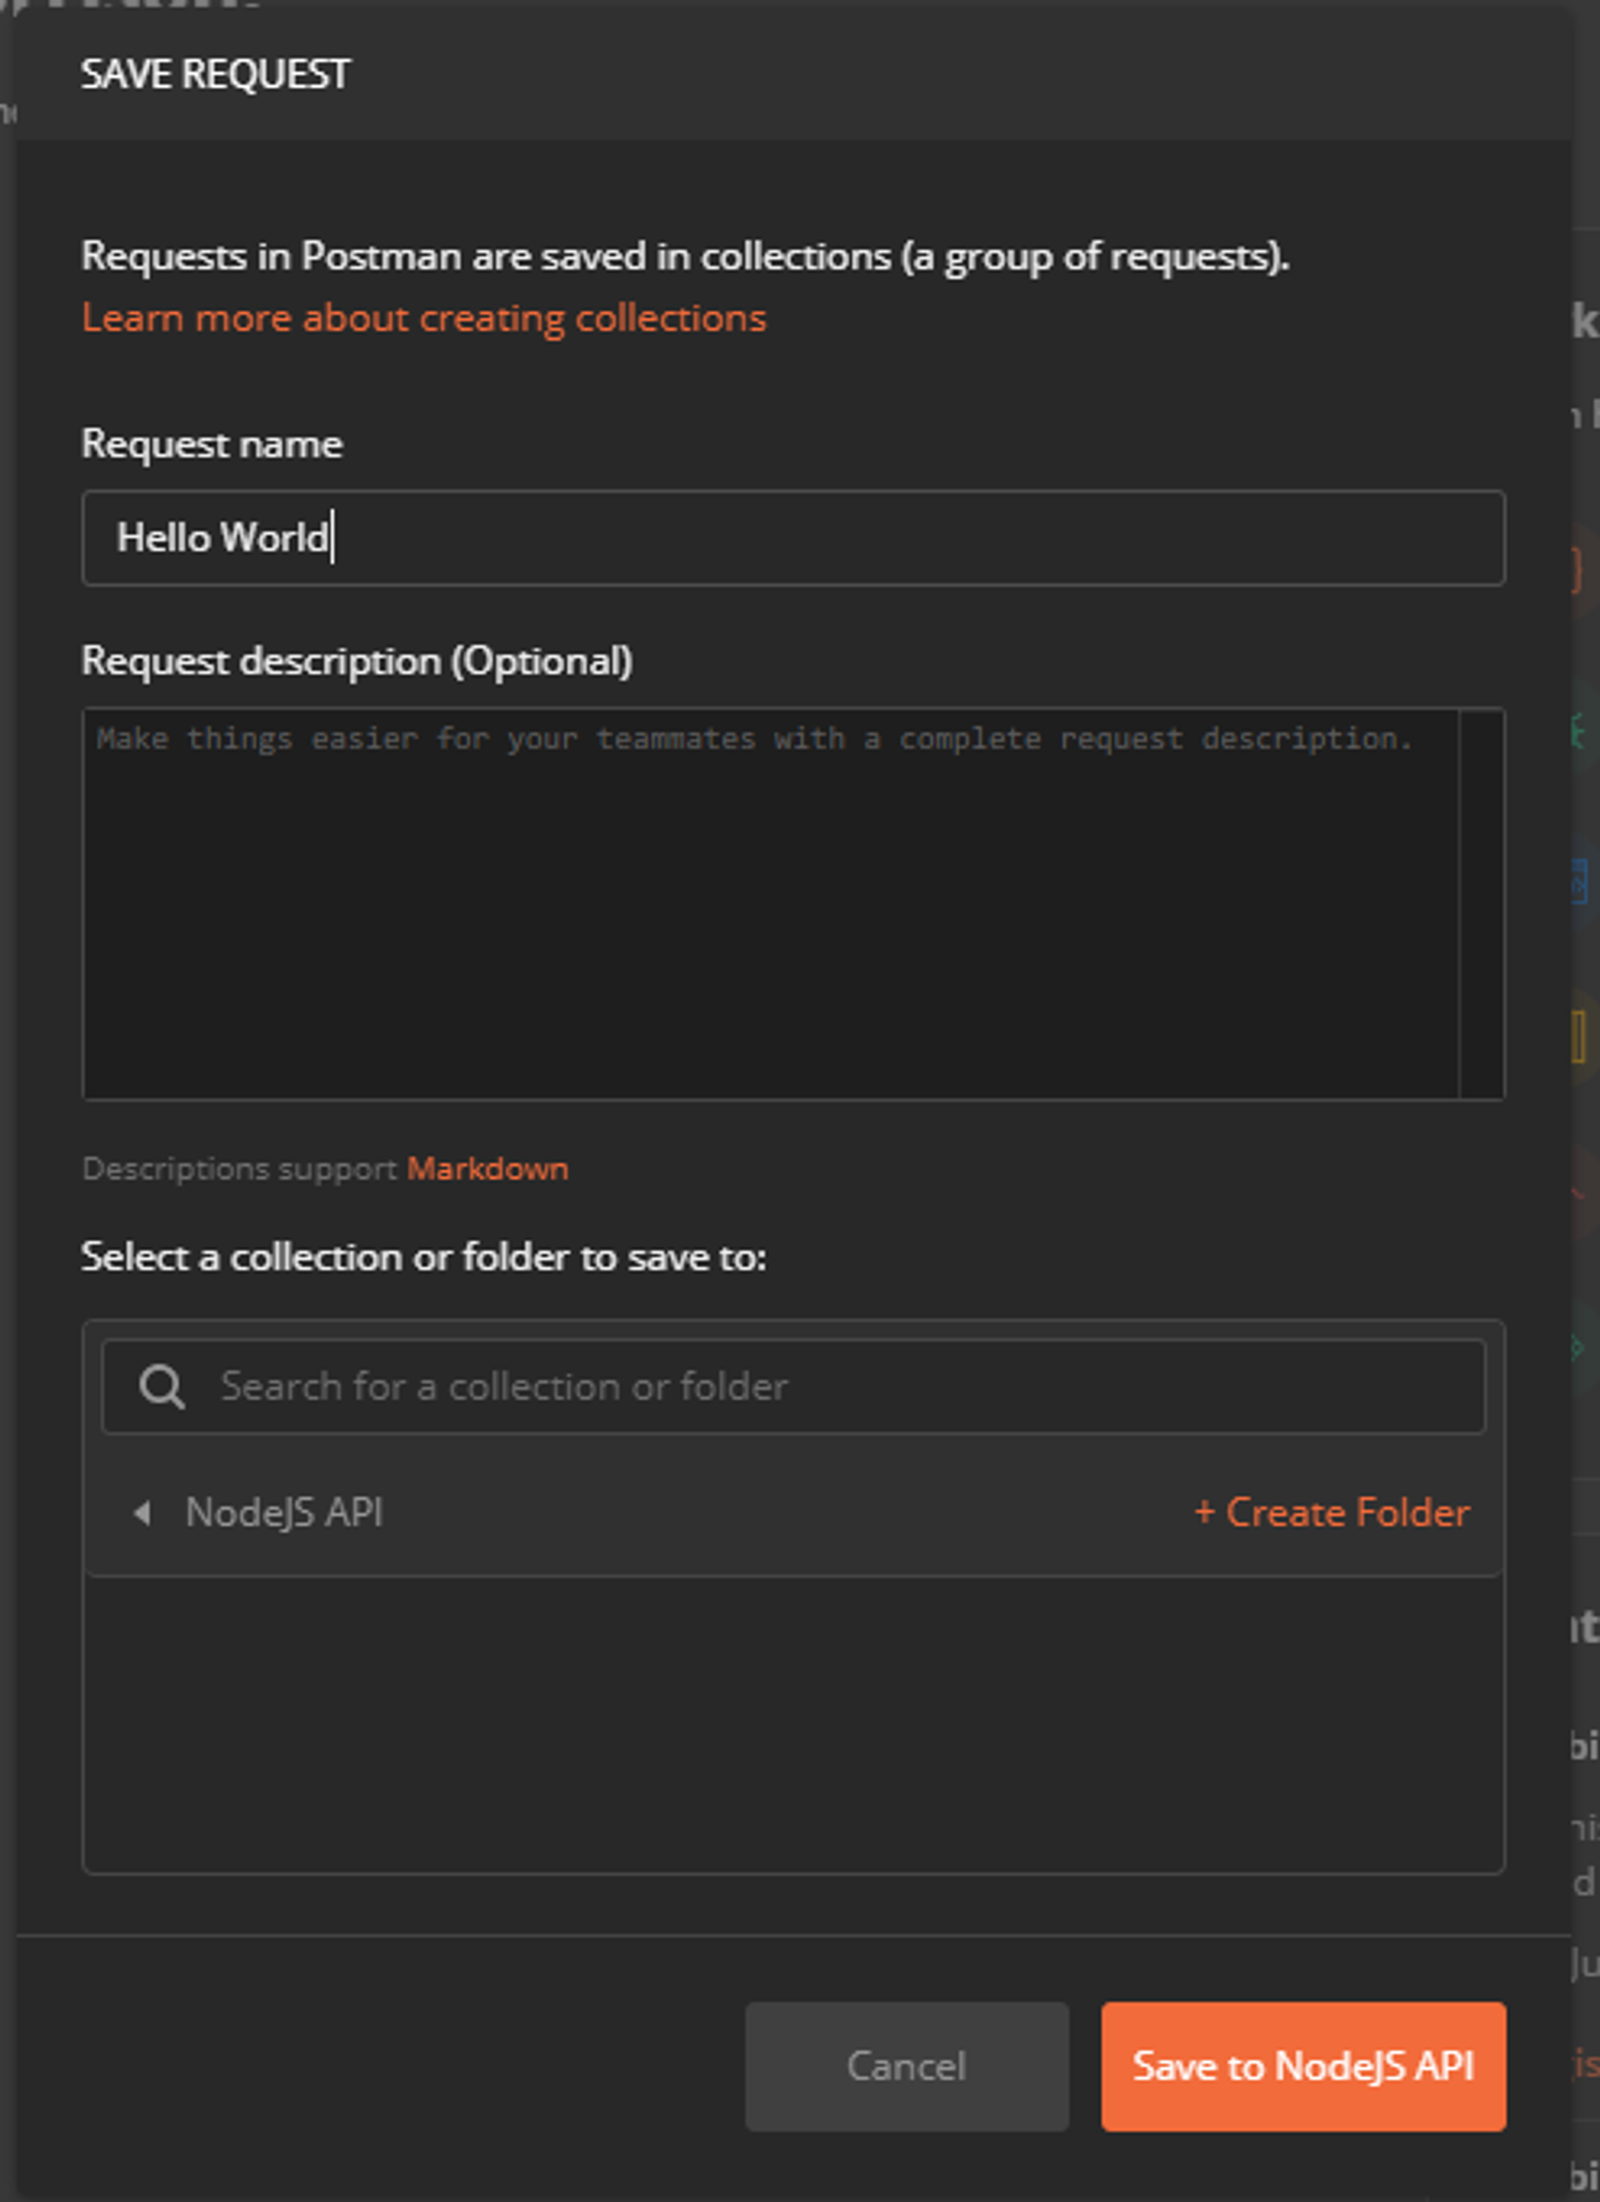
Now open Postman and do the following;
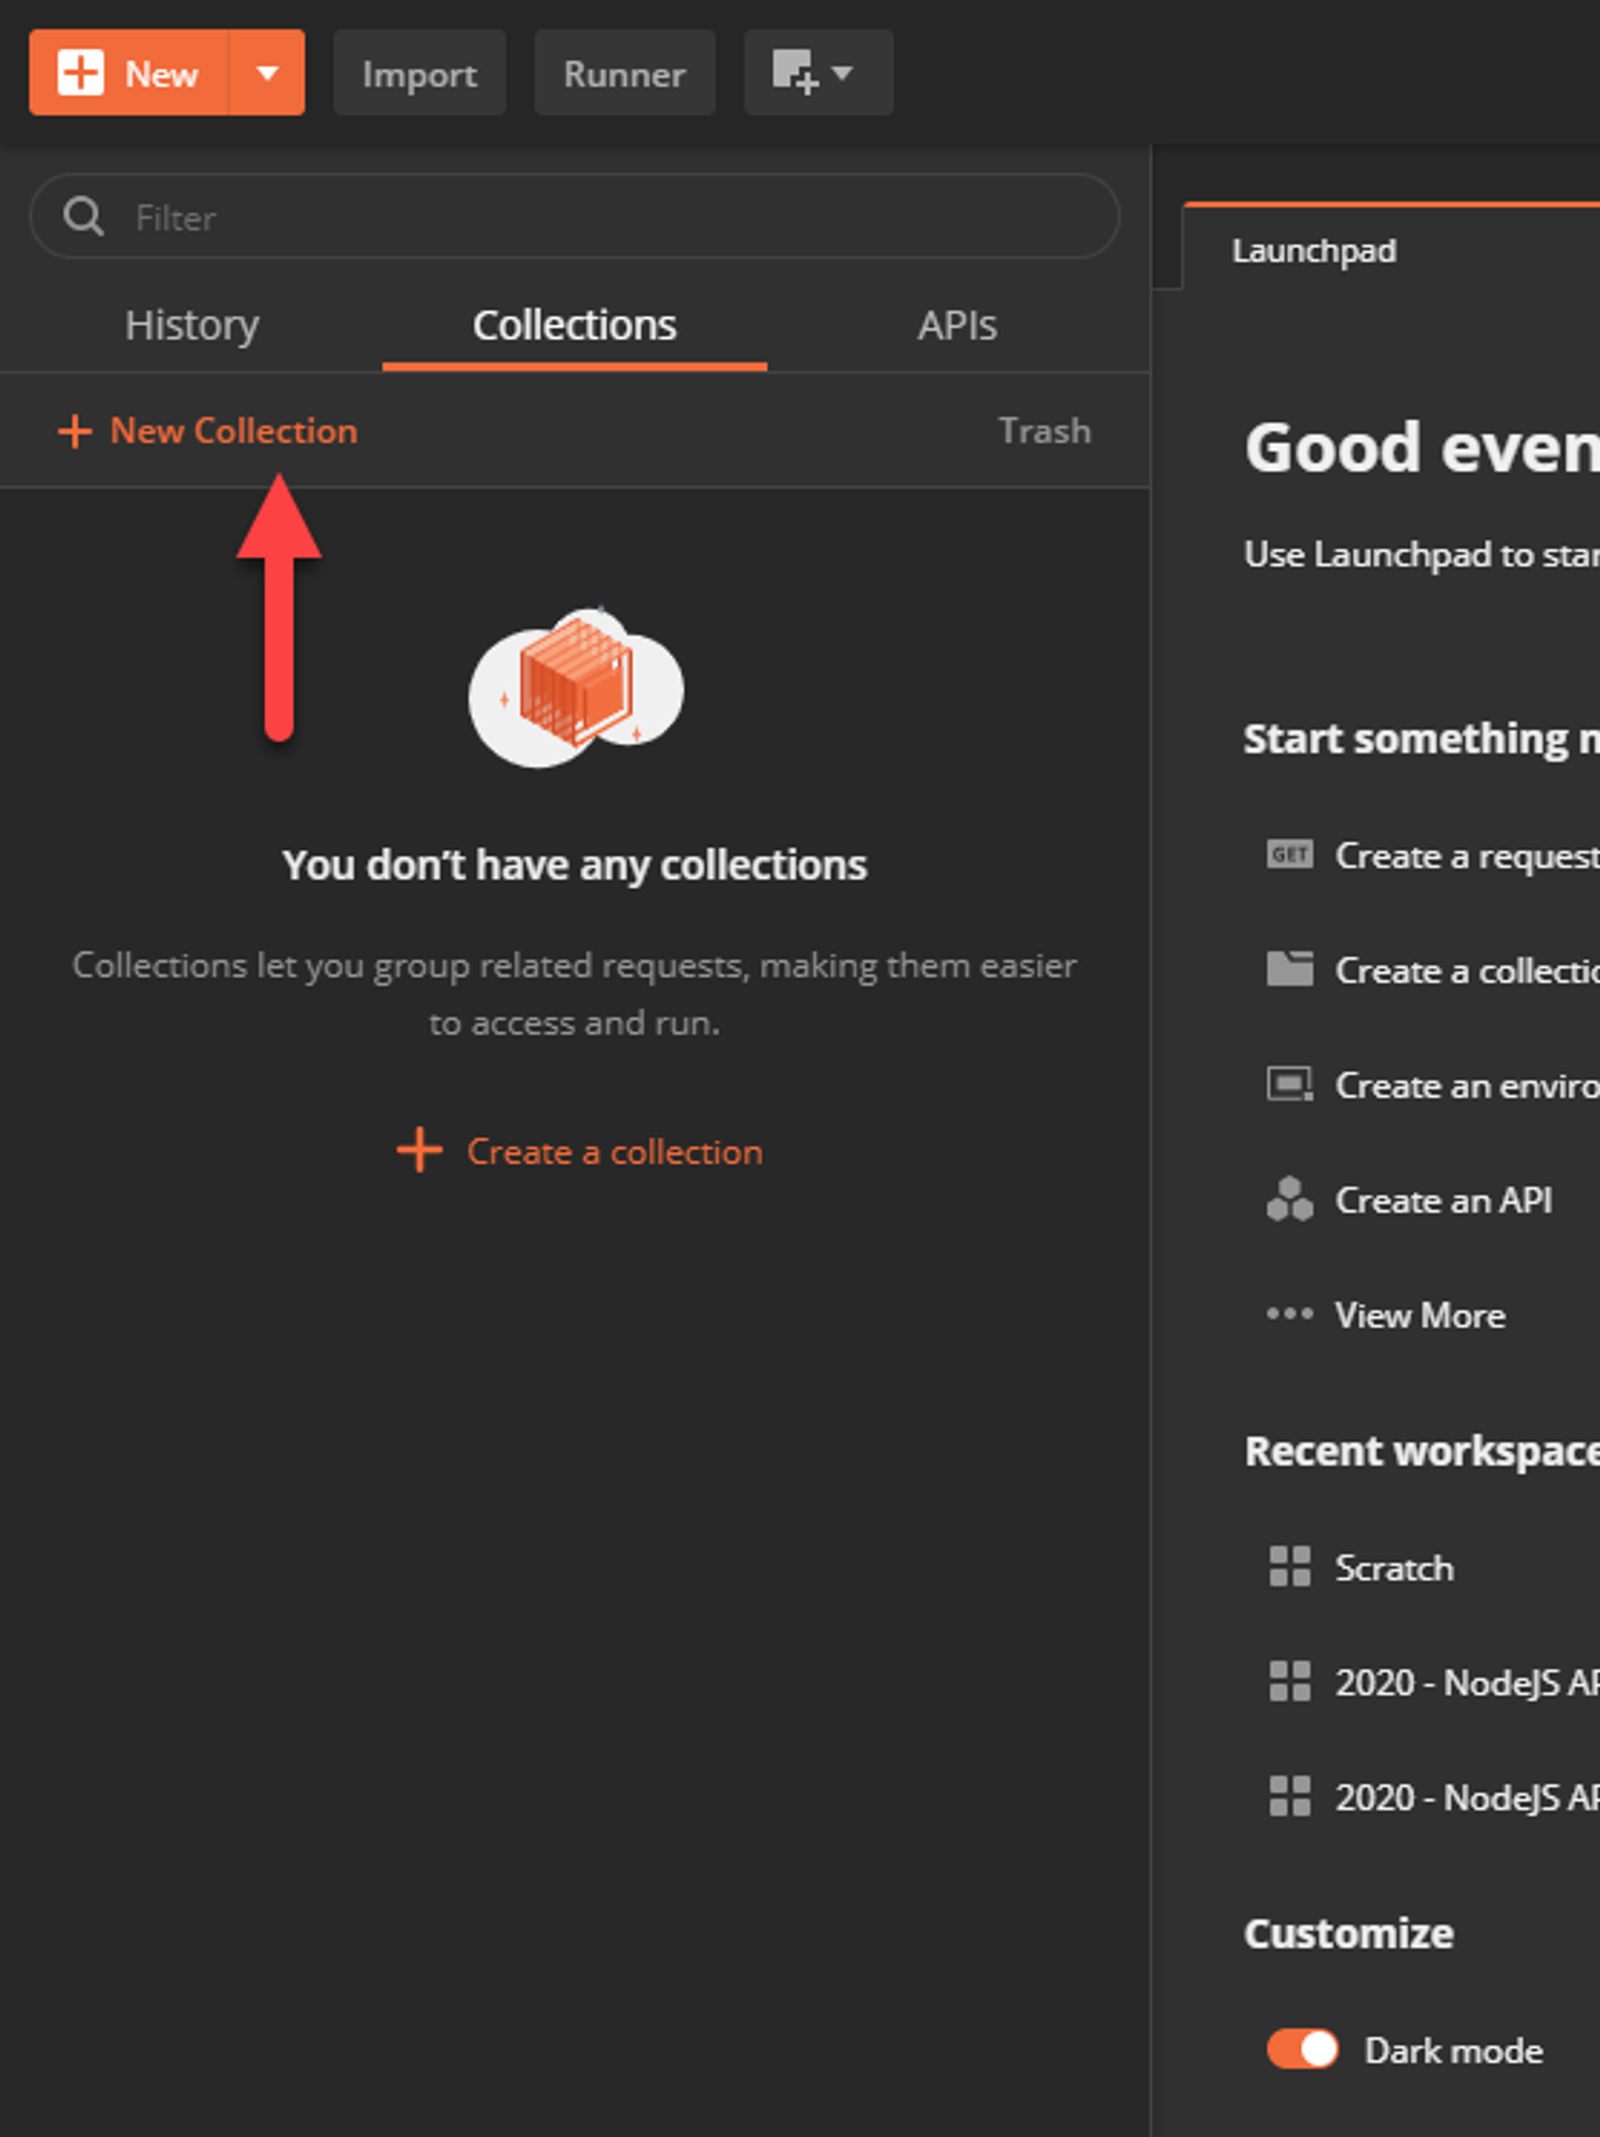
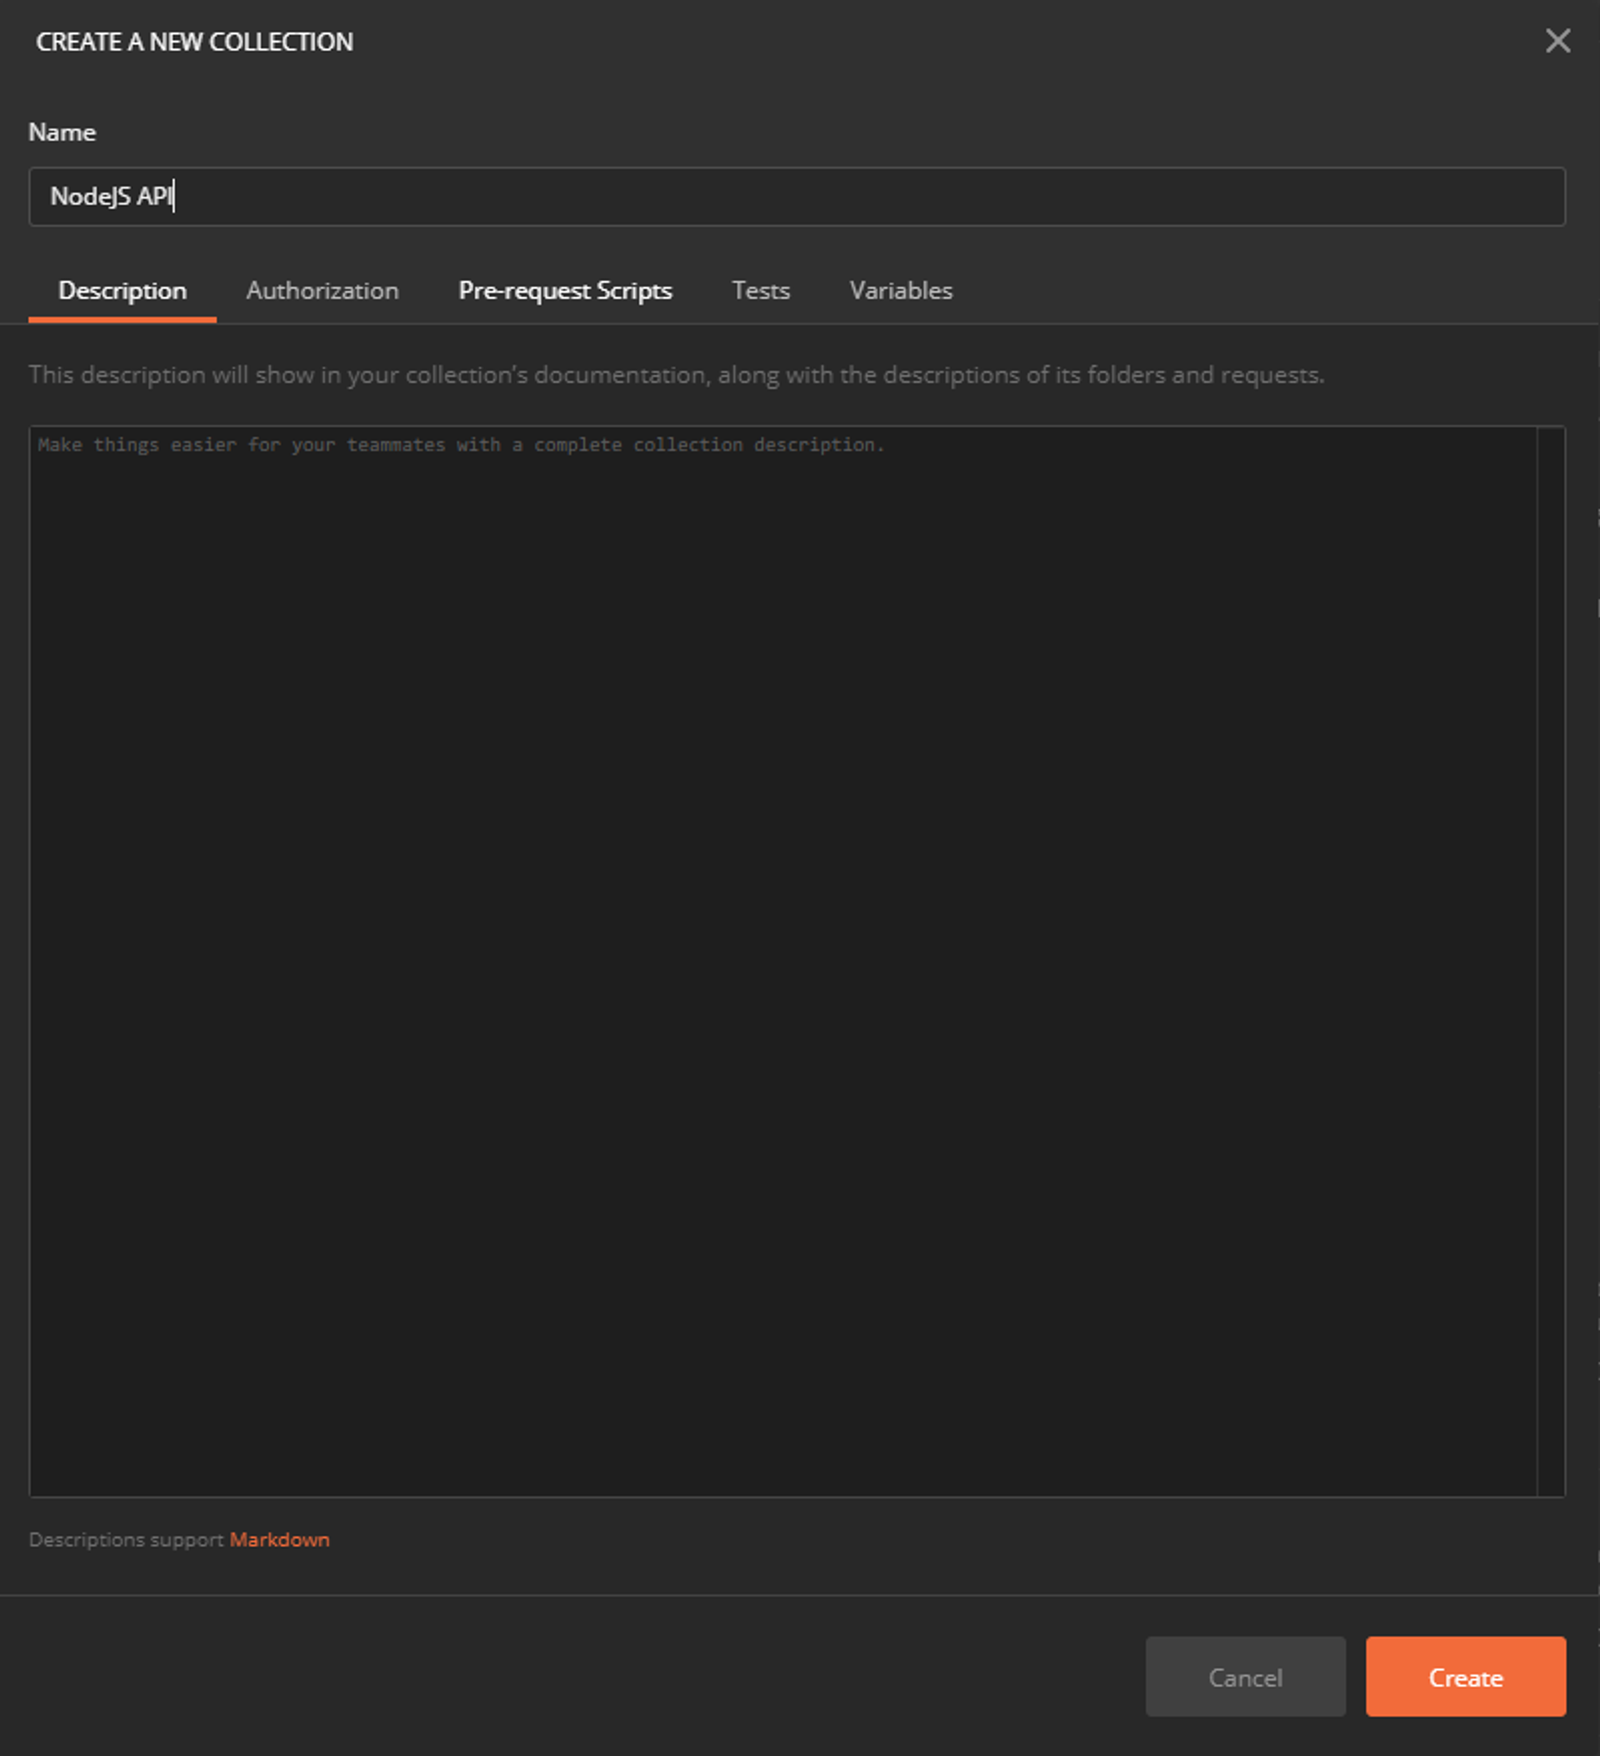
- Create a new collection to store our tests for the series. I named mine ‘NodeJS API’
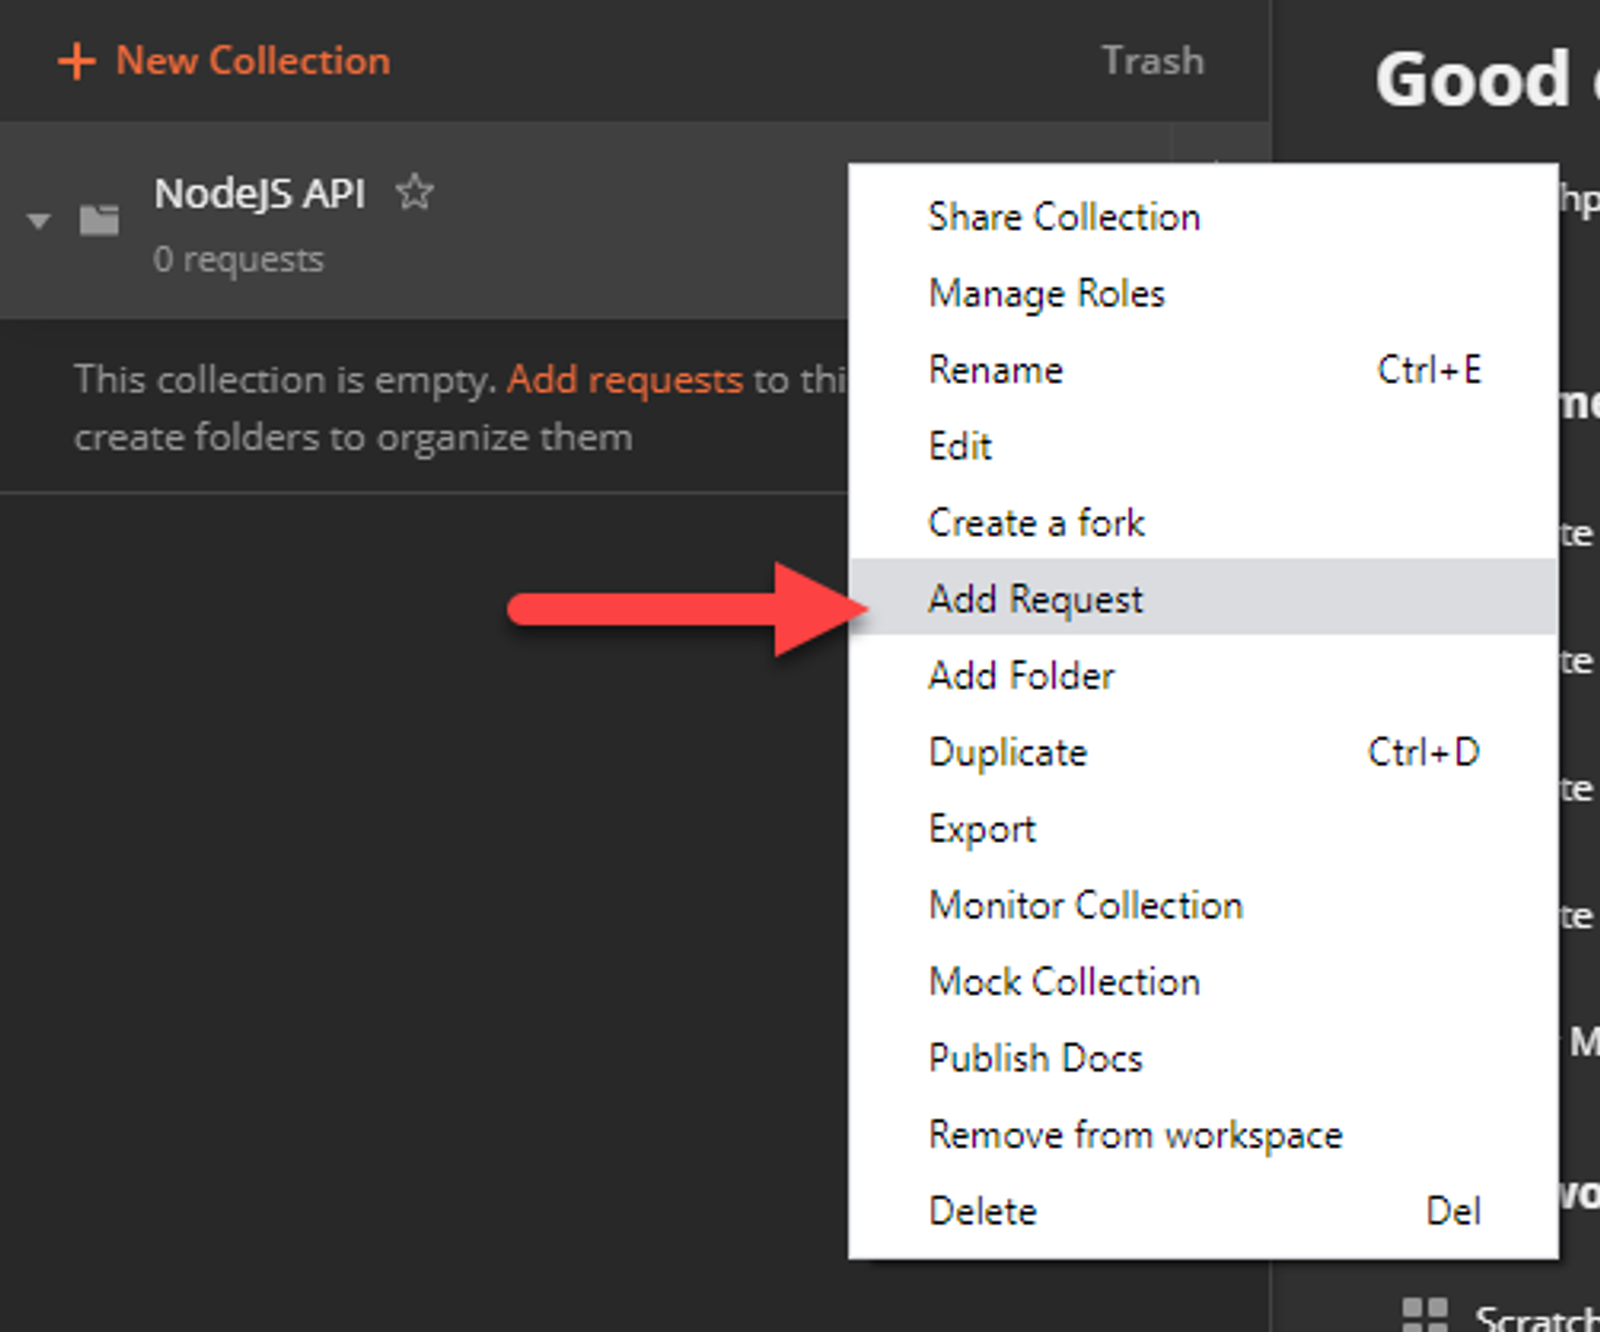
- Create a new request, name it ‘Hello World’
- Set the address bar to ‘http://localhost:3000` and click Send
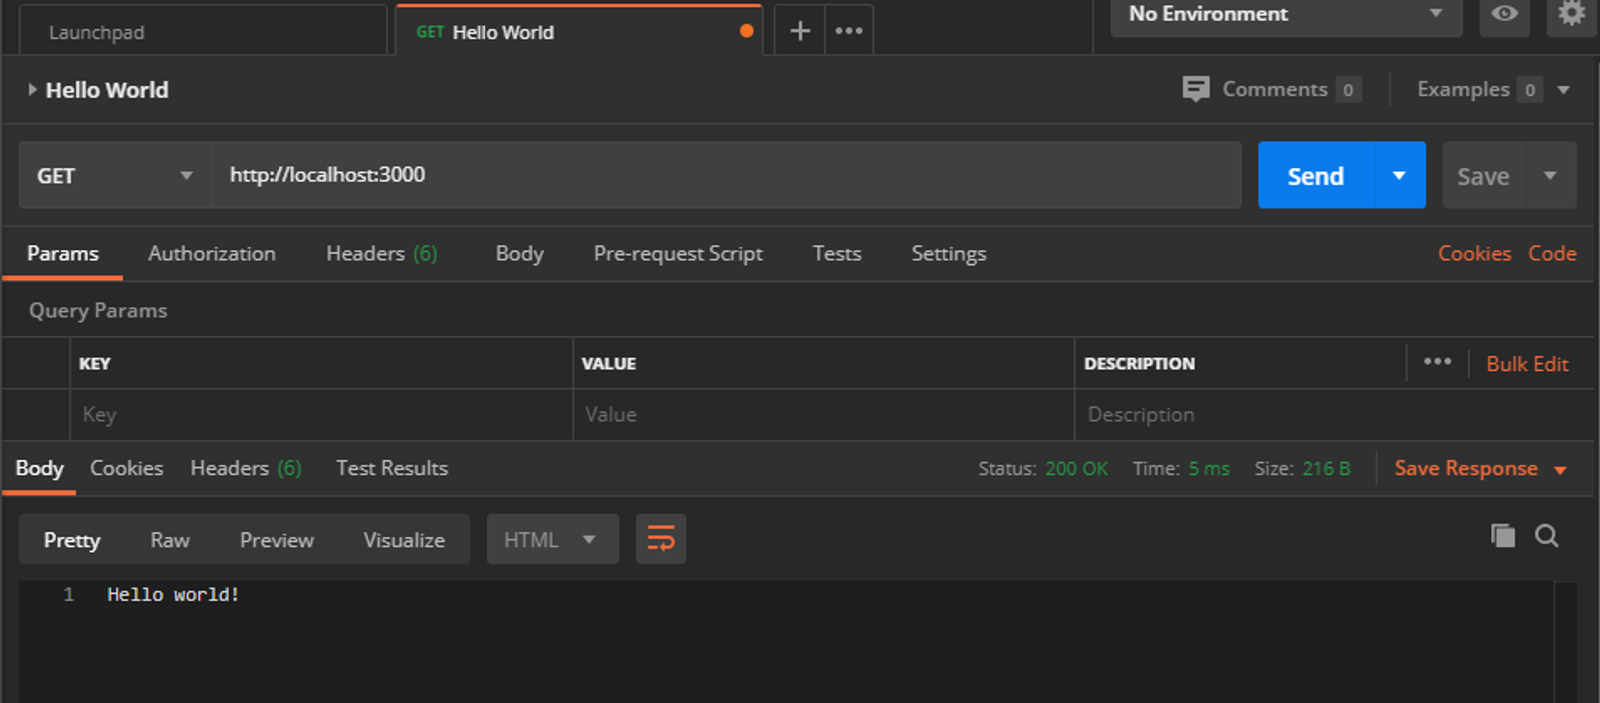
You should receive the Hello world! message in your response body. If you did, congrats on getting your first API setup! Now lets explain what the heck is happening under the covers.
HTTP Request Basics
Before we get specific to the API, its important to understand the basics of HTTP requests. HTTP is shorthand for Hypertext Transport Protocol. It’s a way to send and receive specially crafted messages to and from an HTTP server. What we did is create an HTTP server that will send a message back of Hello world! whenever it receives a request.
Your browser actually does this every time you request a web page. It will reach out to the server using a request and the server will respond with the code that’s required to render the web page.
Requests to APIs operate exactly the same way, but instead of sending web pages, they generally send back messages for the client to process.
HTTP Request/Response Anatomy
In the background, an HTTP message looks something like this;
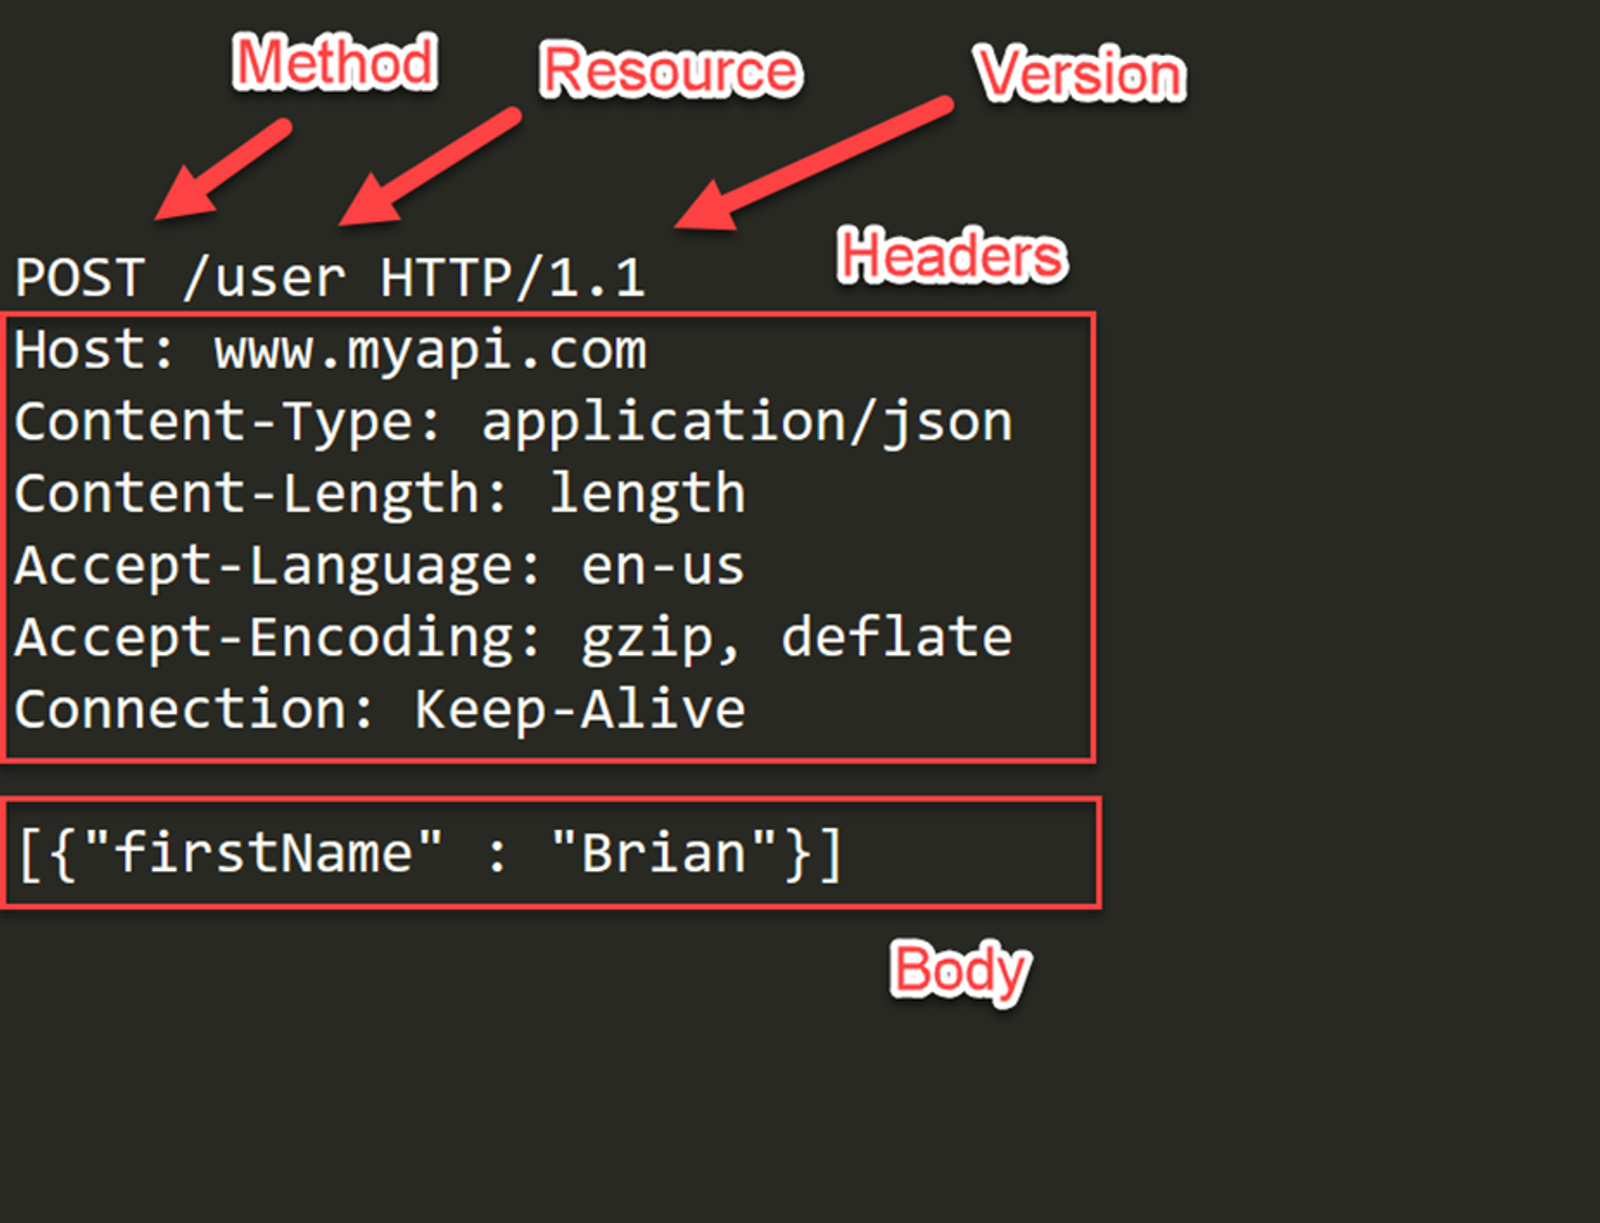
The important parts to consider are the method, headers, and body, and the status in the response. Over the next few articles, I’ll be diving into how each of these are considered when building & consuming an API.
Some Postman Basics
Postman is a great tool for testing APIs and I’ll be using it extensively in this series. I want to take a moment and explain some Postman basics before we proceed in building APIs.
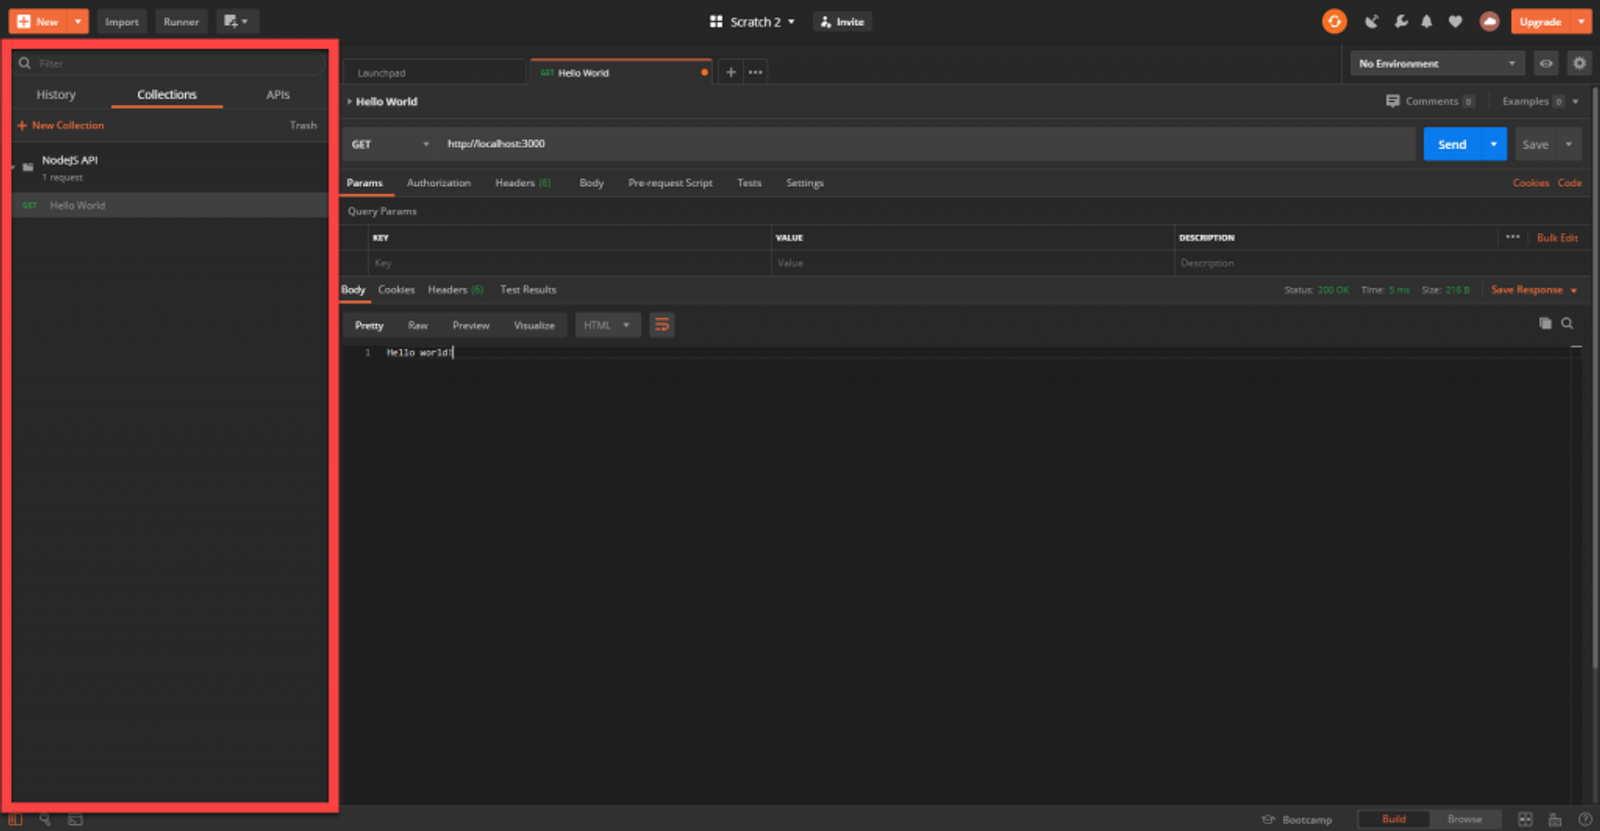
Collections, Folders, & Requests
You can configure and save HTTP requests into collections in postman. Collections are ways to organize your requests, and you can create folders within collections for further organization. You can also get fancy and add settings to collections so they are inherited by the requests in them. This will become especially handy when we get into the authentication portion of the series. For now, we’ll be using them mostly to keep organized.
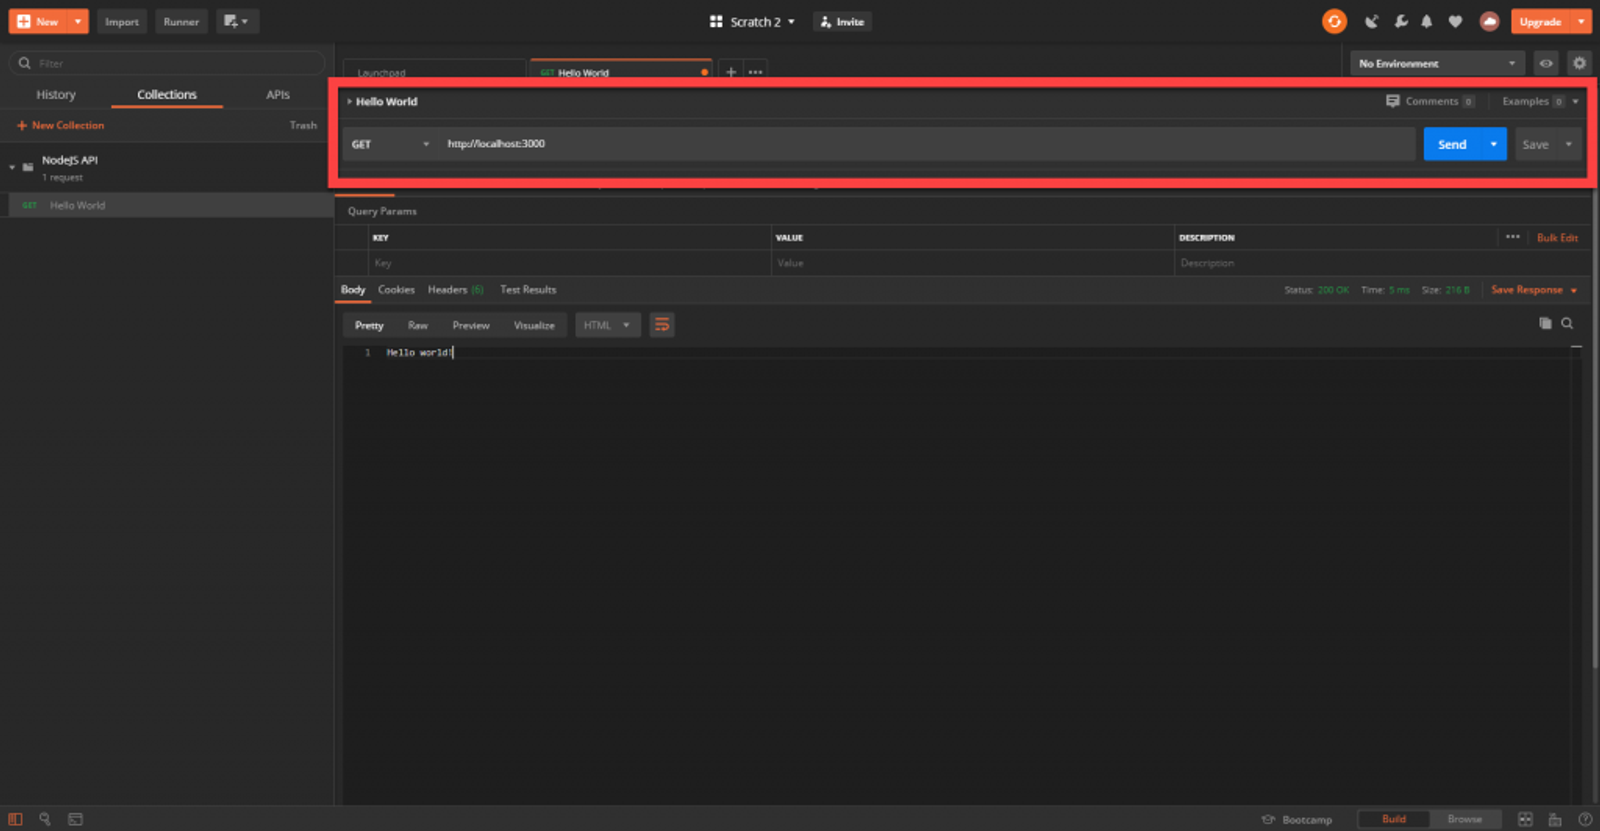
The Address Bar
The address bar is where you’ll put in the endpoint you want to test, along with any query parameters and the method. We’ll get more into how to handle these over the series.
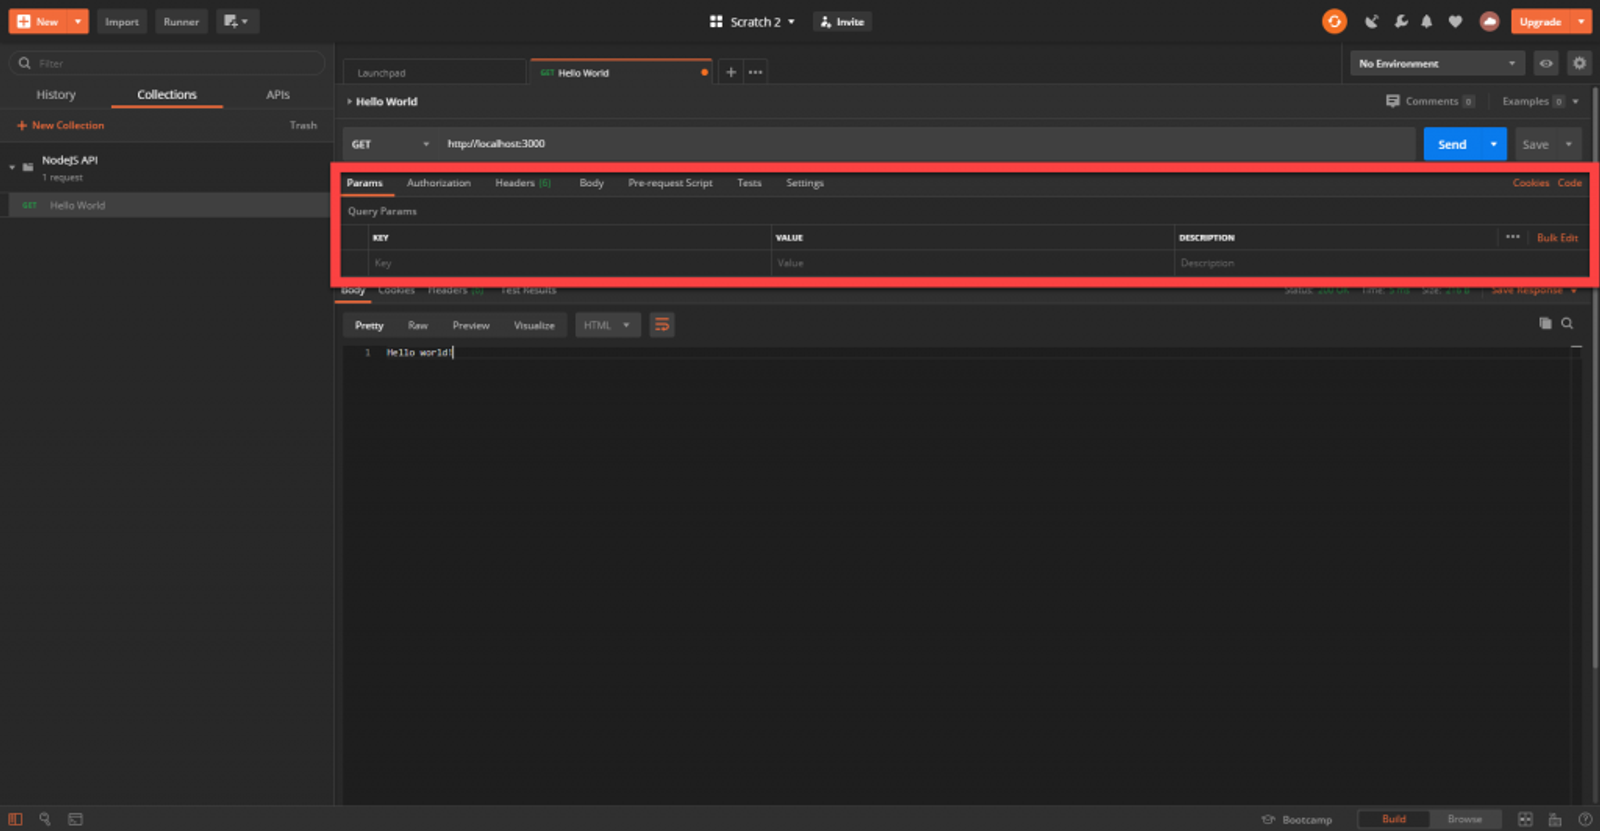
The Request Area
For each request, there are a lot of options you can configure, but you don’t need to configure all of them. The main ones we’ll explore are headers and body. The address, method, and parameters are technically part of the request, they are just placed in a different section of Postman.
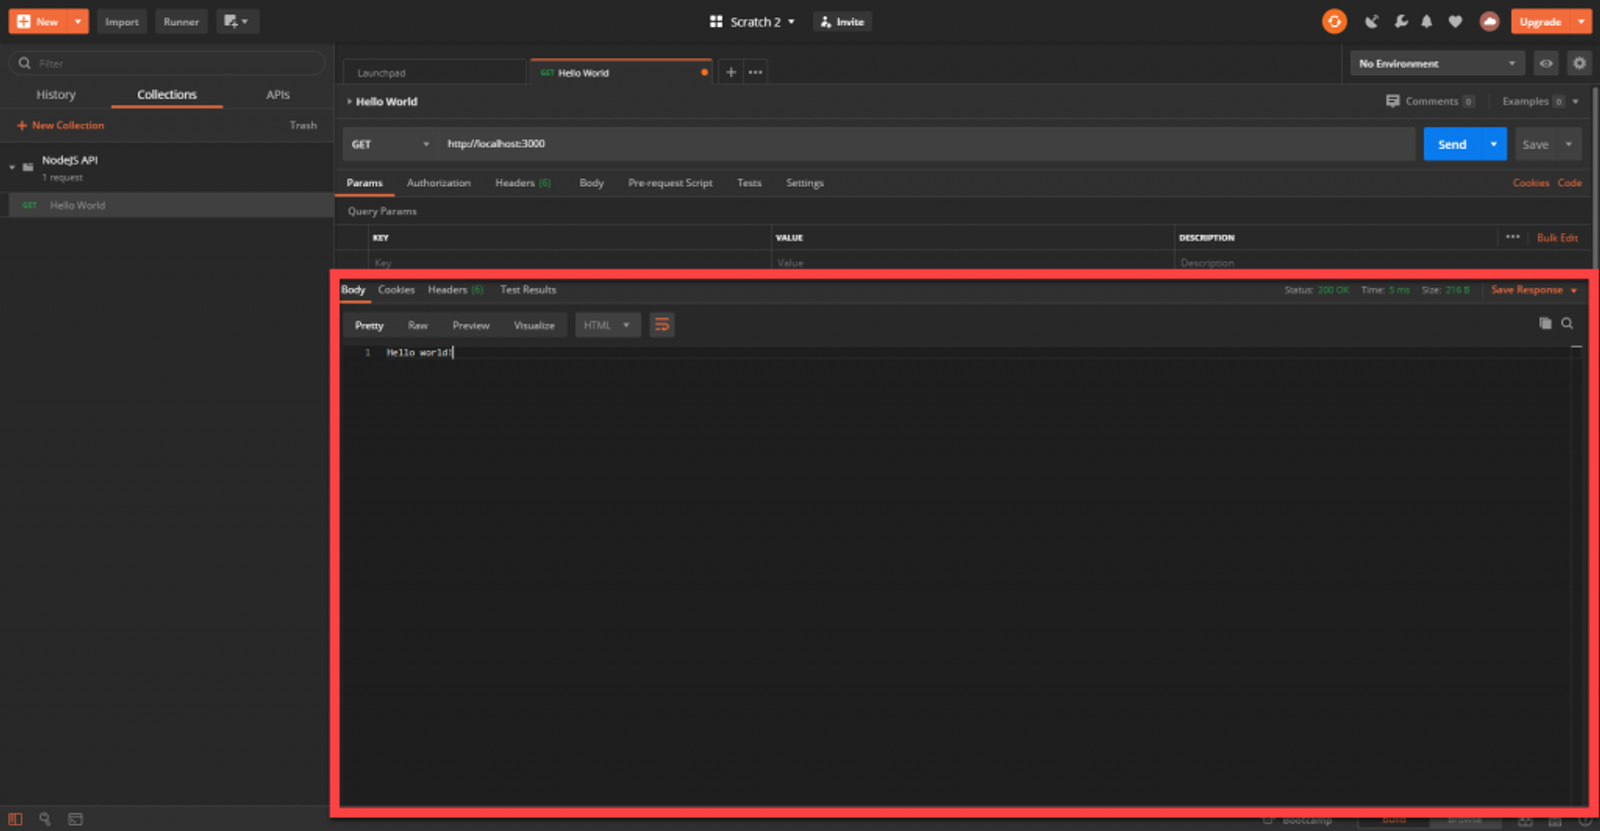
The Response Area
The response pane is where you’ll see the response to your request once you send it. This is used to verify that the response received from a request matches what you expect. Note specifically the status code, body, and headers area.
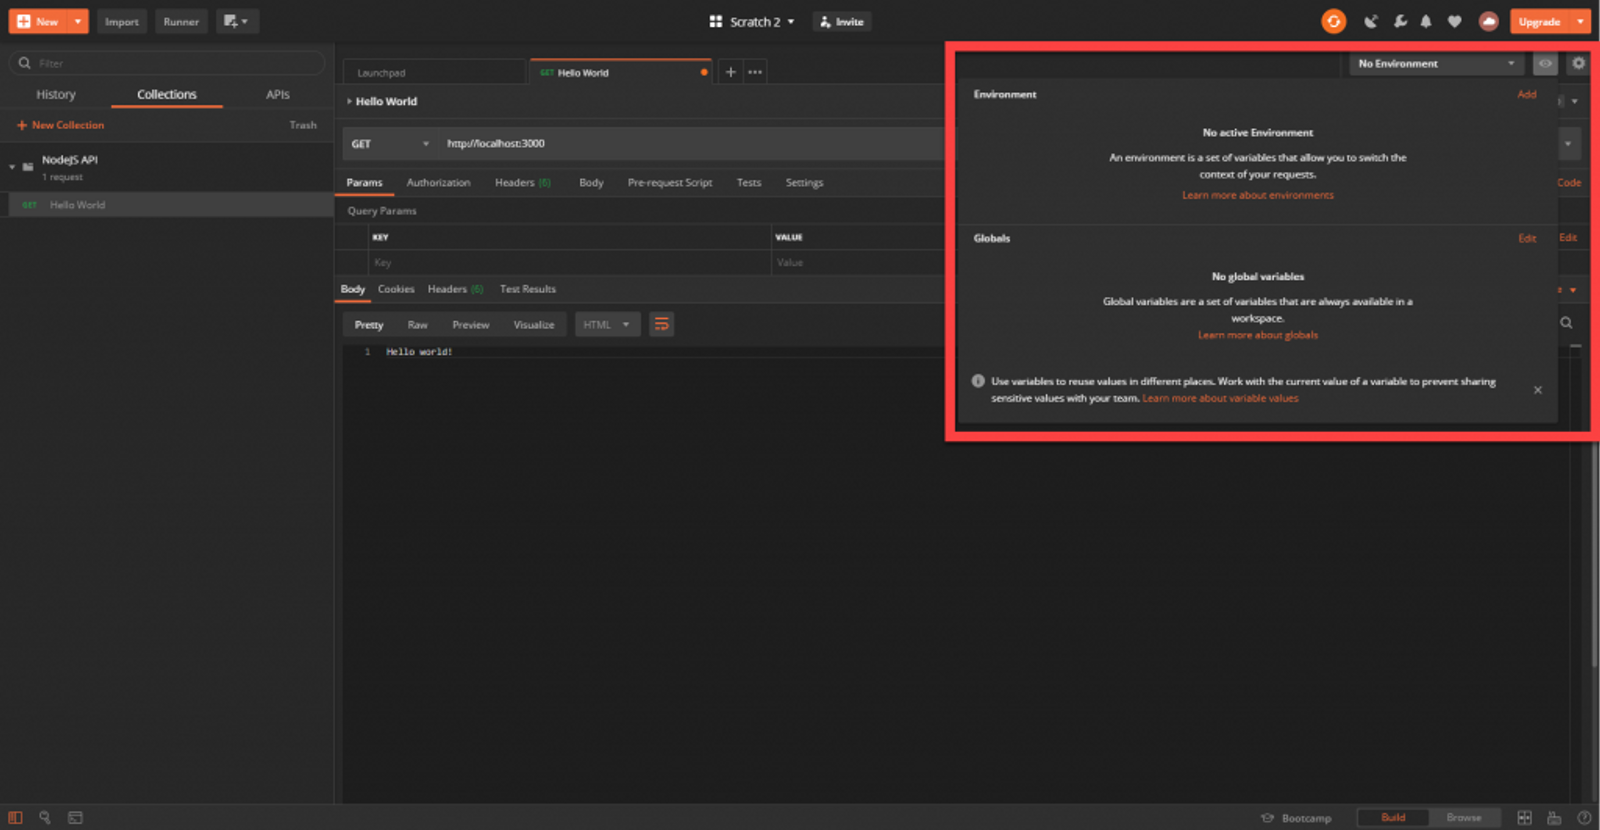
Environments Area
The last part of Postman worth explaining is the Environments area. You can configure variables here and reference them throughout Postman. This is especially useful when testing different environments like dev, test, and production. I’ll touch on this in the last article in the series when we deploy out to AWS.
If you haven’t signed into Postman, I highly recommend it. It will sync and save your settings in case anything happens to your machine.
In my next article, I’ll be building on the API we have now by explaining routing and adding some new routes. I’ll be demonstrating how to query data from the API as well as send data to the API for processing using a post method.