We’ve covered a lot of ground over the past articles, and we’ve reached a point where we should deploy our bot to somewhere that isn’t our computer so it can be running at all times. In this final article of the series, I’ll be covering how to deploy your bot code out to AWS using Elastic Beanstalk. Elastic Beanstalk (EB for short) provides a streamlined way for you to simply upload a copy of your code and let AWS handle the heavy lifting when it comes to provisioning resources and keeping your code running.
Preparing our Code
We need to make a few changes to prep our code for running in EB. The first thing we need to change is our npm scripts. Since EB will run `npm start` internally by default, we don’t want it running nodemon since that’s primarily a development tool. So lets change our start script to `node index.js`, and add a dev script to use when running our bot locally. Update your `scripts` section to match the below entries.
"scripts": {
  "start": "node index.js",
  "dev": "nodemon index.js"
},
Going forward, you’ll need to run the command npm run dev in your terminal to develop locally with nodemon.
Next, we’ll need to create a zipped archive to upload to EB. You can use whatever tool you prefer to create zip folders, but the important thing is that you need all of the files to be at the root of the zip file. A common mistake is to zip the folder itself which will nest your code inside that folder when creating the zip file.
Setup Elastic Beanstalk
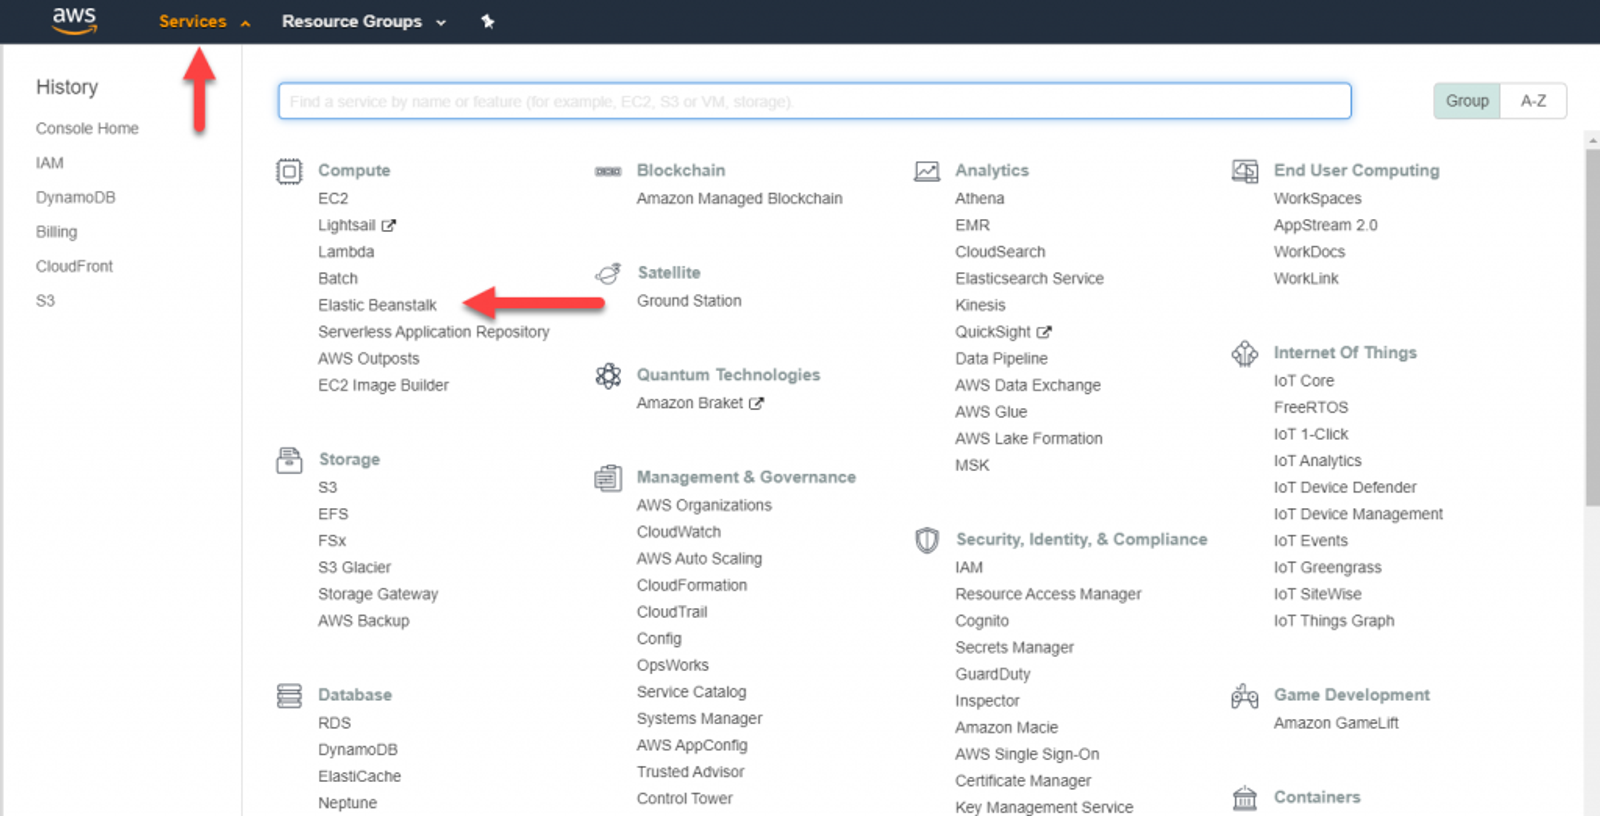
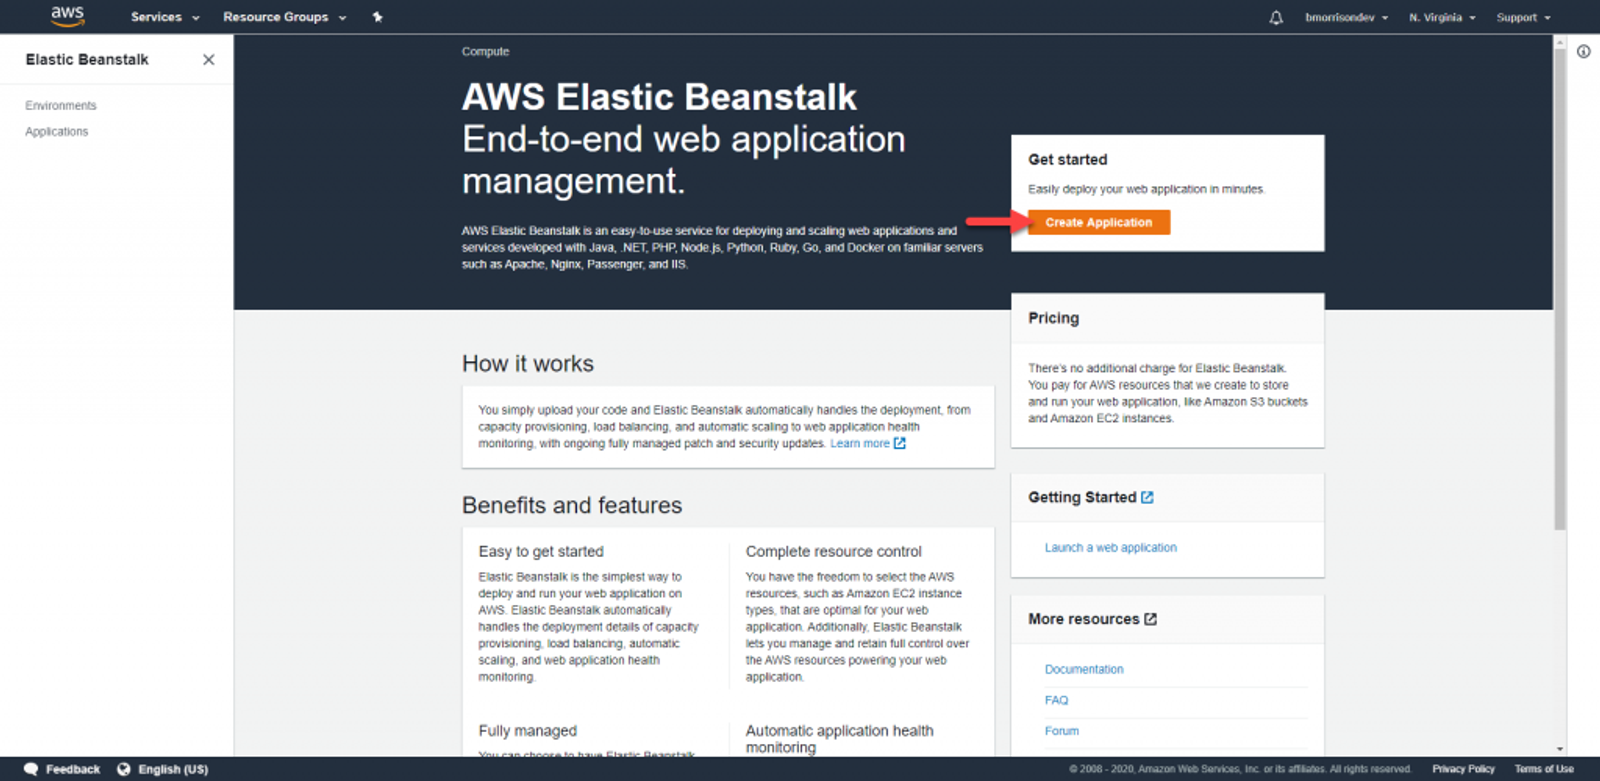
From the AWS Console, click on Services, then Elastic Beanstalk under Compute. Once there, click on Create Application.
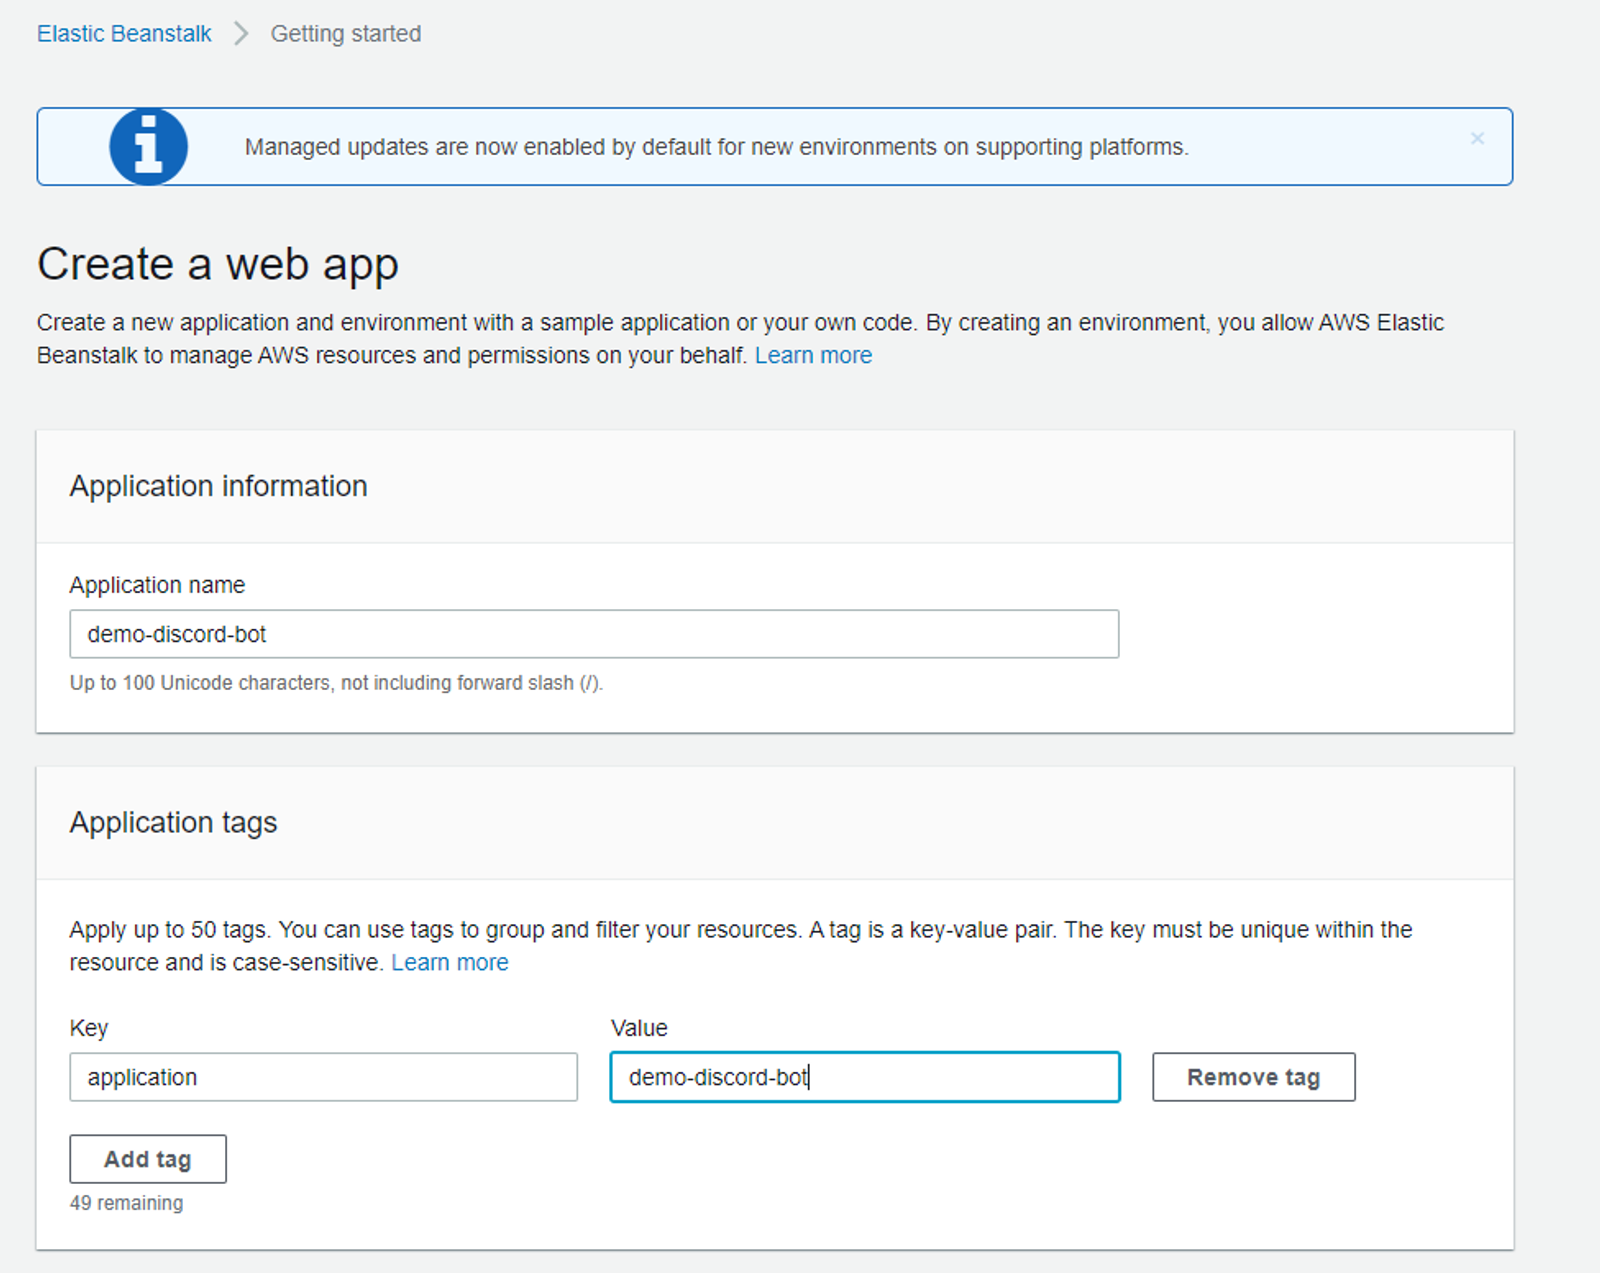
I’ll be naming the application ‘demo-discord-bot’ and giving it the ‘application’ tag of ‘demo-discord-bot’ just to keep things consistent with the last article where we setup DynamoDB to host our data (Read more here: https://brianmorrison.me/blog/storing-info-in-a-database-with-discord-bots)
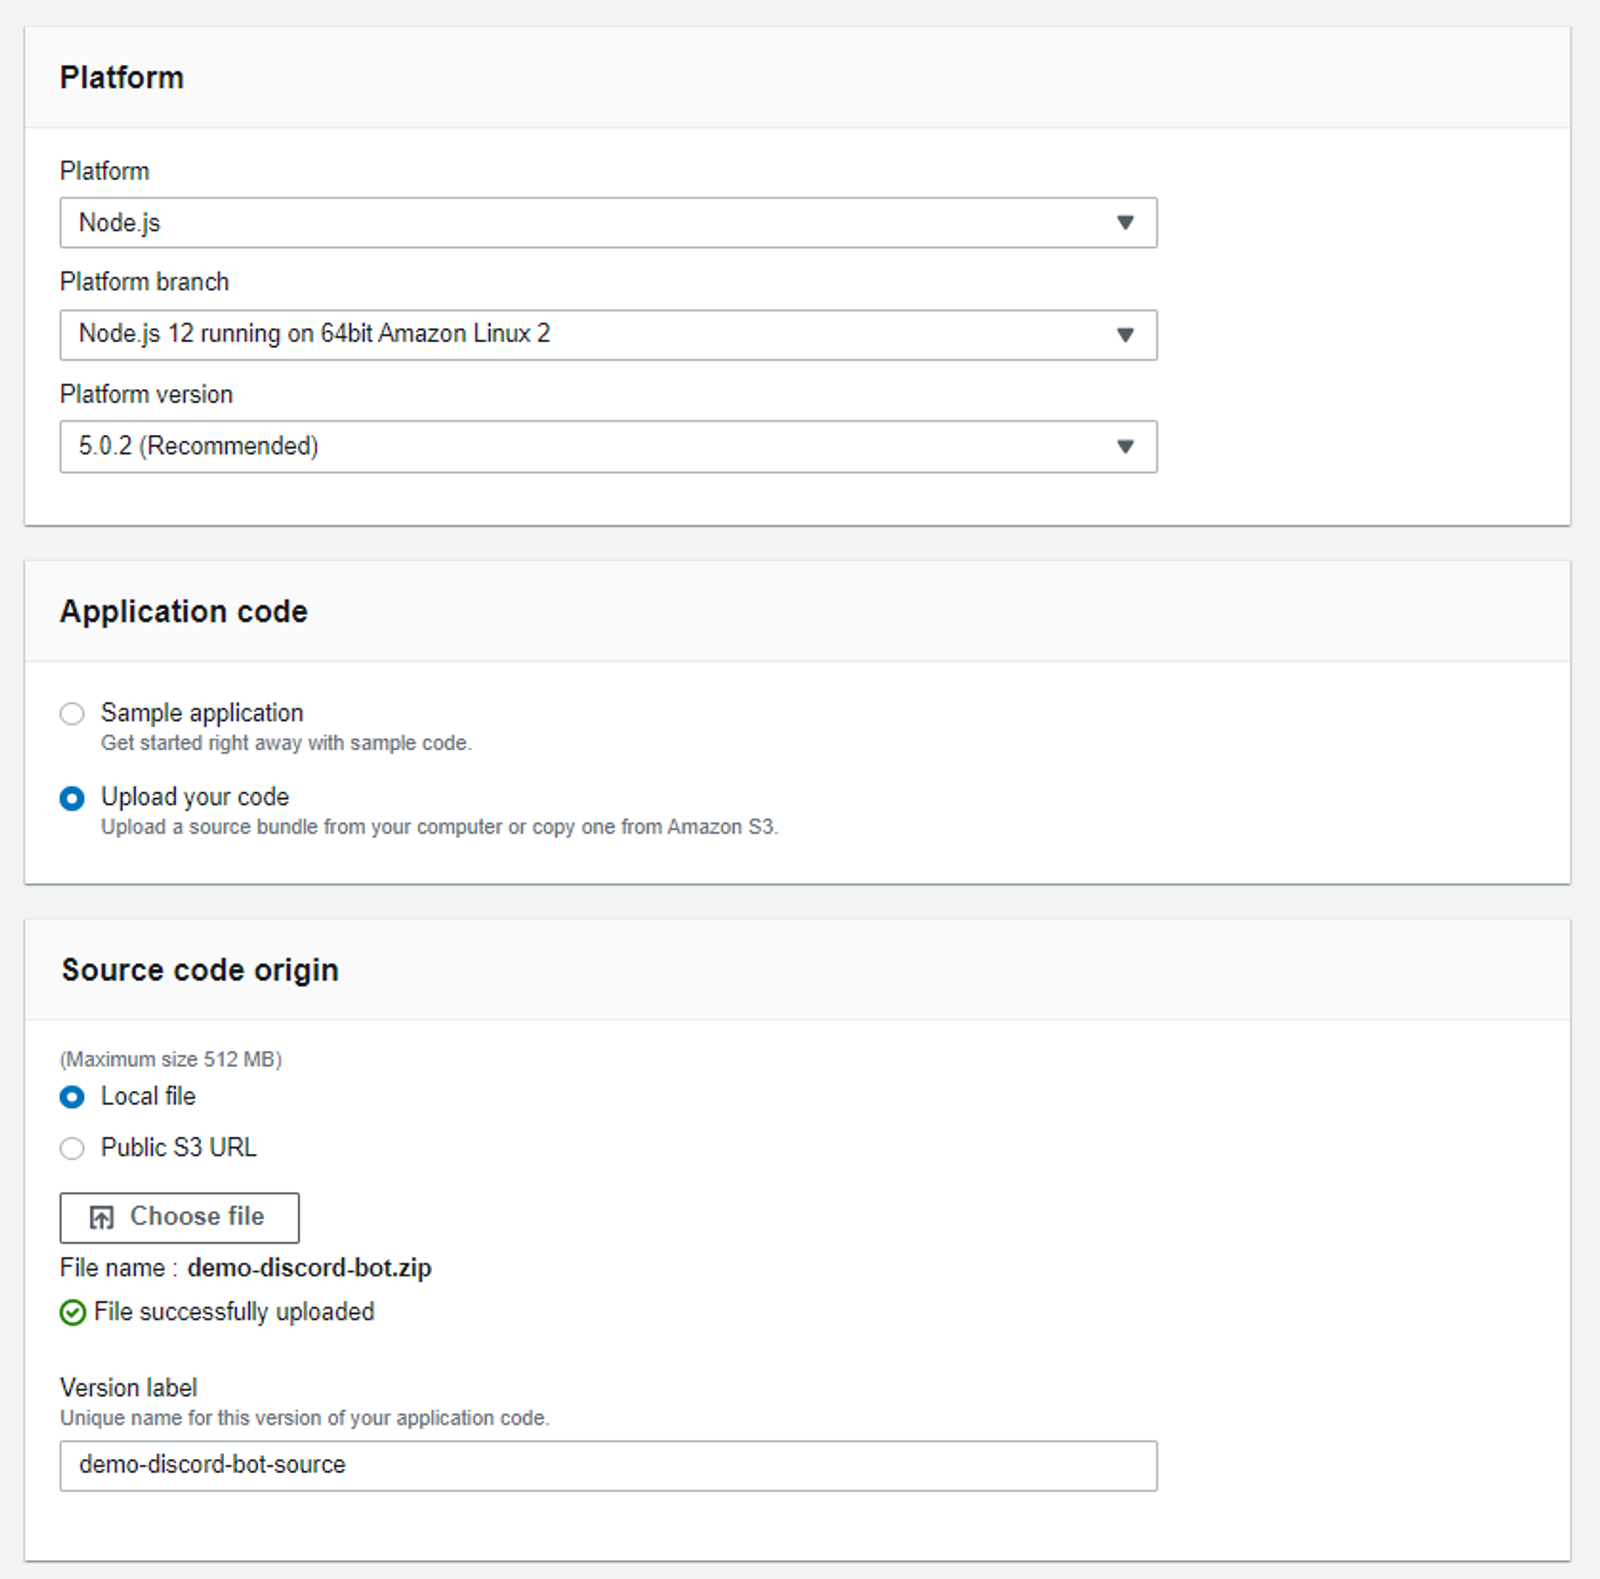
Under Platform. Select Node.js, you can Platform branch and version as their defaults. Under Application code, select Upload your code. In the Source code origin section, you’ll need to upload the zipped copy of your code. The version label can be left as is for now.
Once done, click Create application. You’ll then be taken to a screen where you can monitor the deployment. After that, if all succeeded, you’ll be presented with a screen like this to show the status of your application.
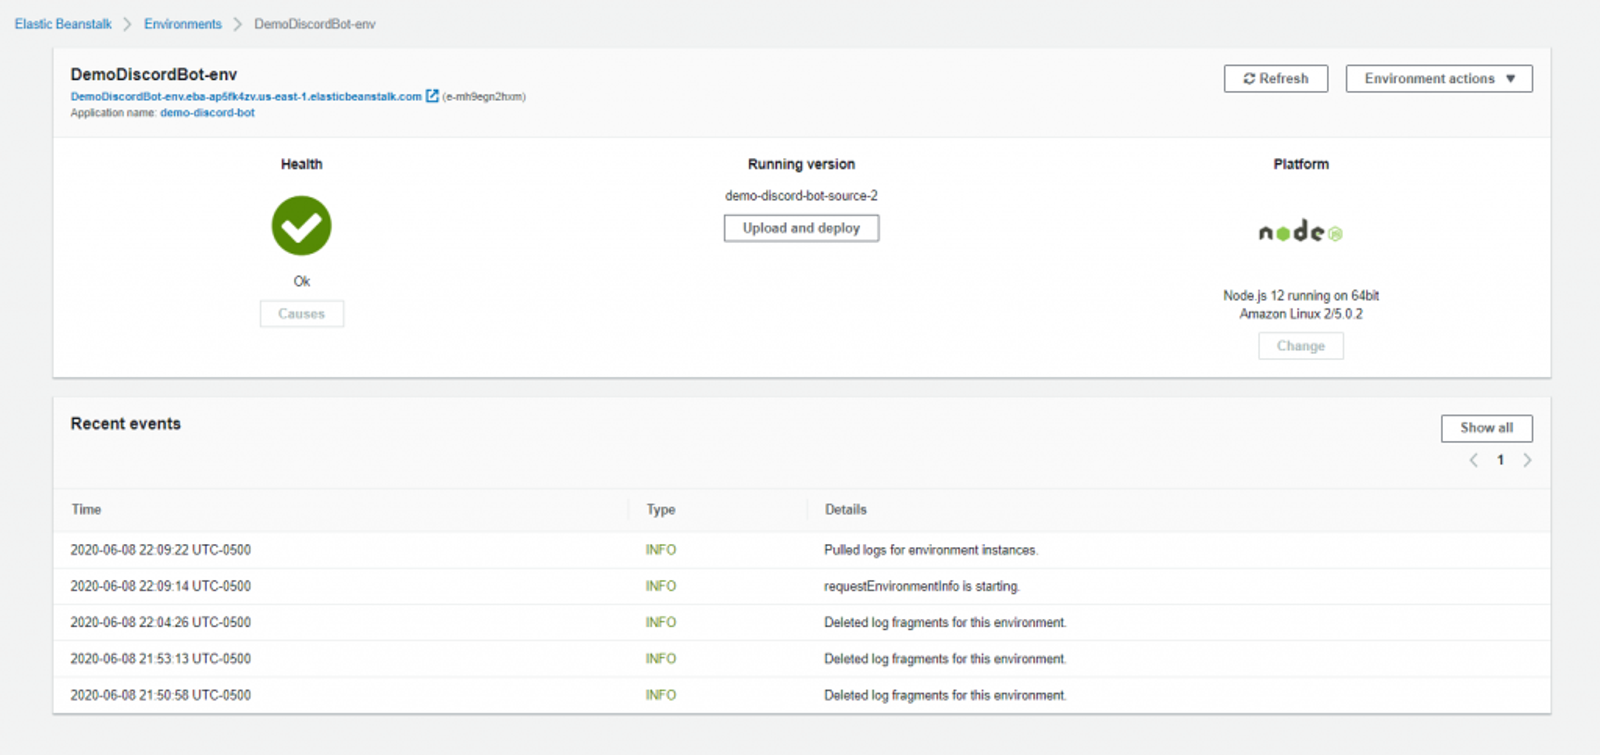
Looks like our EB environment is fully up and running. Lets head back over to Discord and see if we’re up and running.
Success! Our bot is now fully running in AWS. Lets test a command.
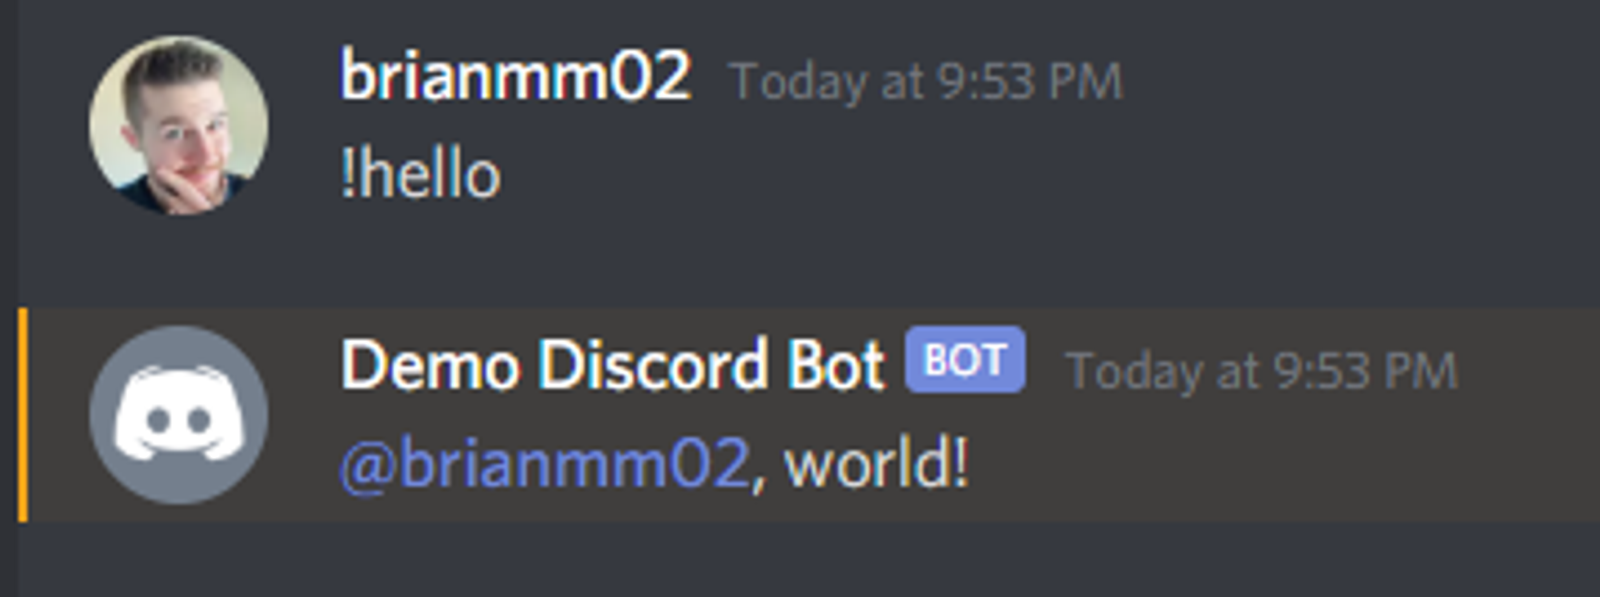
Everything appears to be working as expected.
This concludes this series on Coding Discord Bots! Next month, I’ll be exploring NodeJS APIs in Depth. Happy coding 😁