WordPress was originally designed as a platform to write blog articles, but over the years, ambitious developers have found new and creative ways to store content in WordPress. Today, we're going to look at a few plugins that can be used to customize the WordPress schema, and we're going to update our Gridsome site to pull in these the new data.
Installing the Plugins
Before we can start extending the Schema, we'll need to install the following plugins. The first two are in the WordPress Plugin repo, but the second two must be installed via a manual upload.
- Custom Post Type UI - Used to create new Post Types, WordPress's base entity
- Advanced Custom Fields - Used to add custom fields to Post Types
- WPGraphQL CPT UI - Surfaces custom post types through the WPGraphQL plugin (download from (https://github.com/wp-graphql/wp-graphql-custom-post-type-ui/archive/master.zip)
- WPGraphQL ACF - Surfaces custom fields through the WPGraphQL plugin (download from https://github.com/wp-graphql/wp-graphql-acf/archive/master.zip)
Once these are all installed, we can start building a custom post type.
Extending the Schema
We already have post types for Posts & Pages, but lets say we're going to start creating a training course to sell on our site. To enable this functionality on our main website, we'll create a custom post type with the following schema;
- Description - Rich text block
- Price - Number
- IsInPreview - True/False
- ReleaseDate - Date Picker
- Author - Text
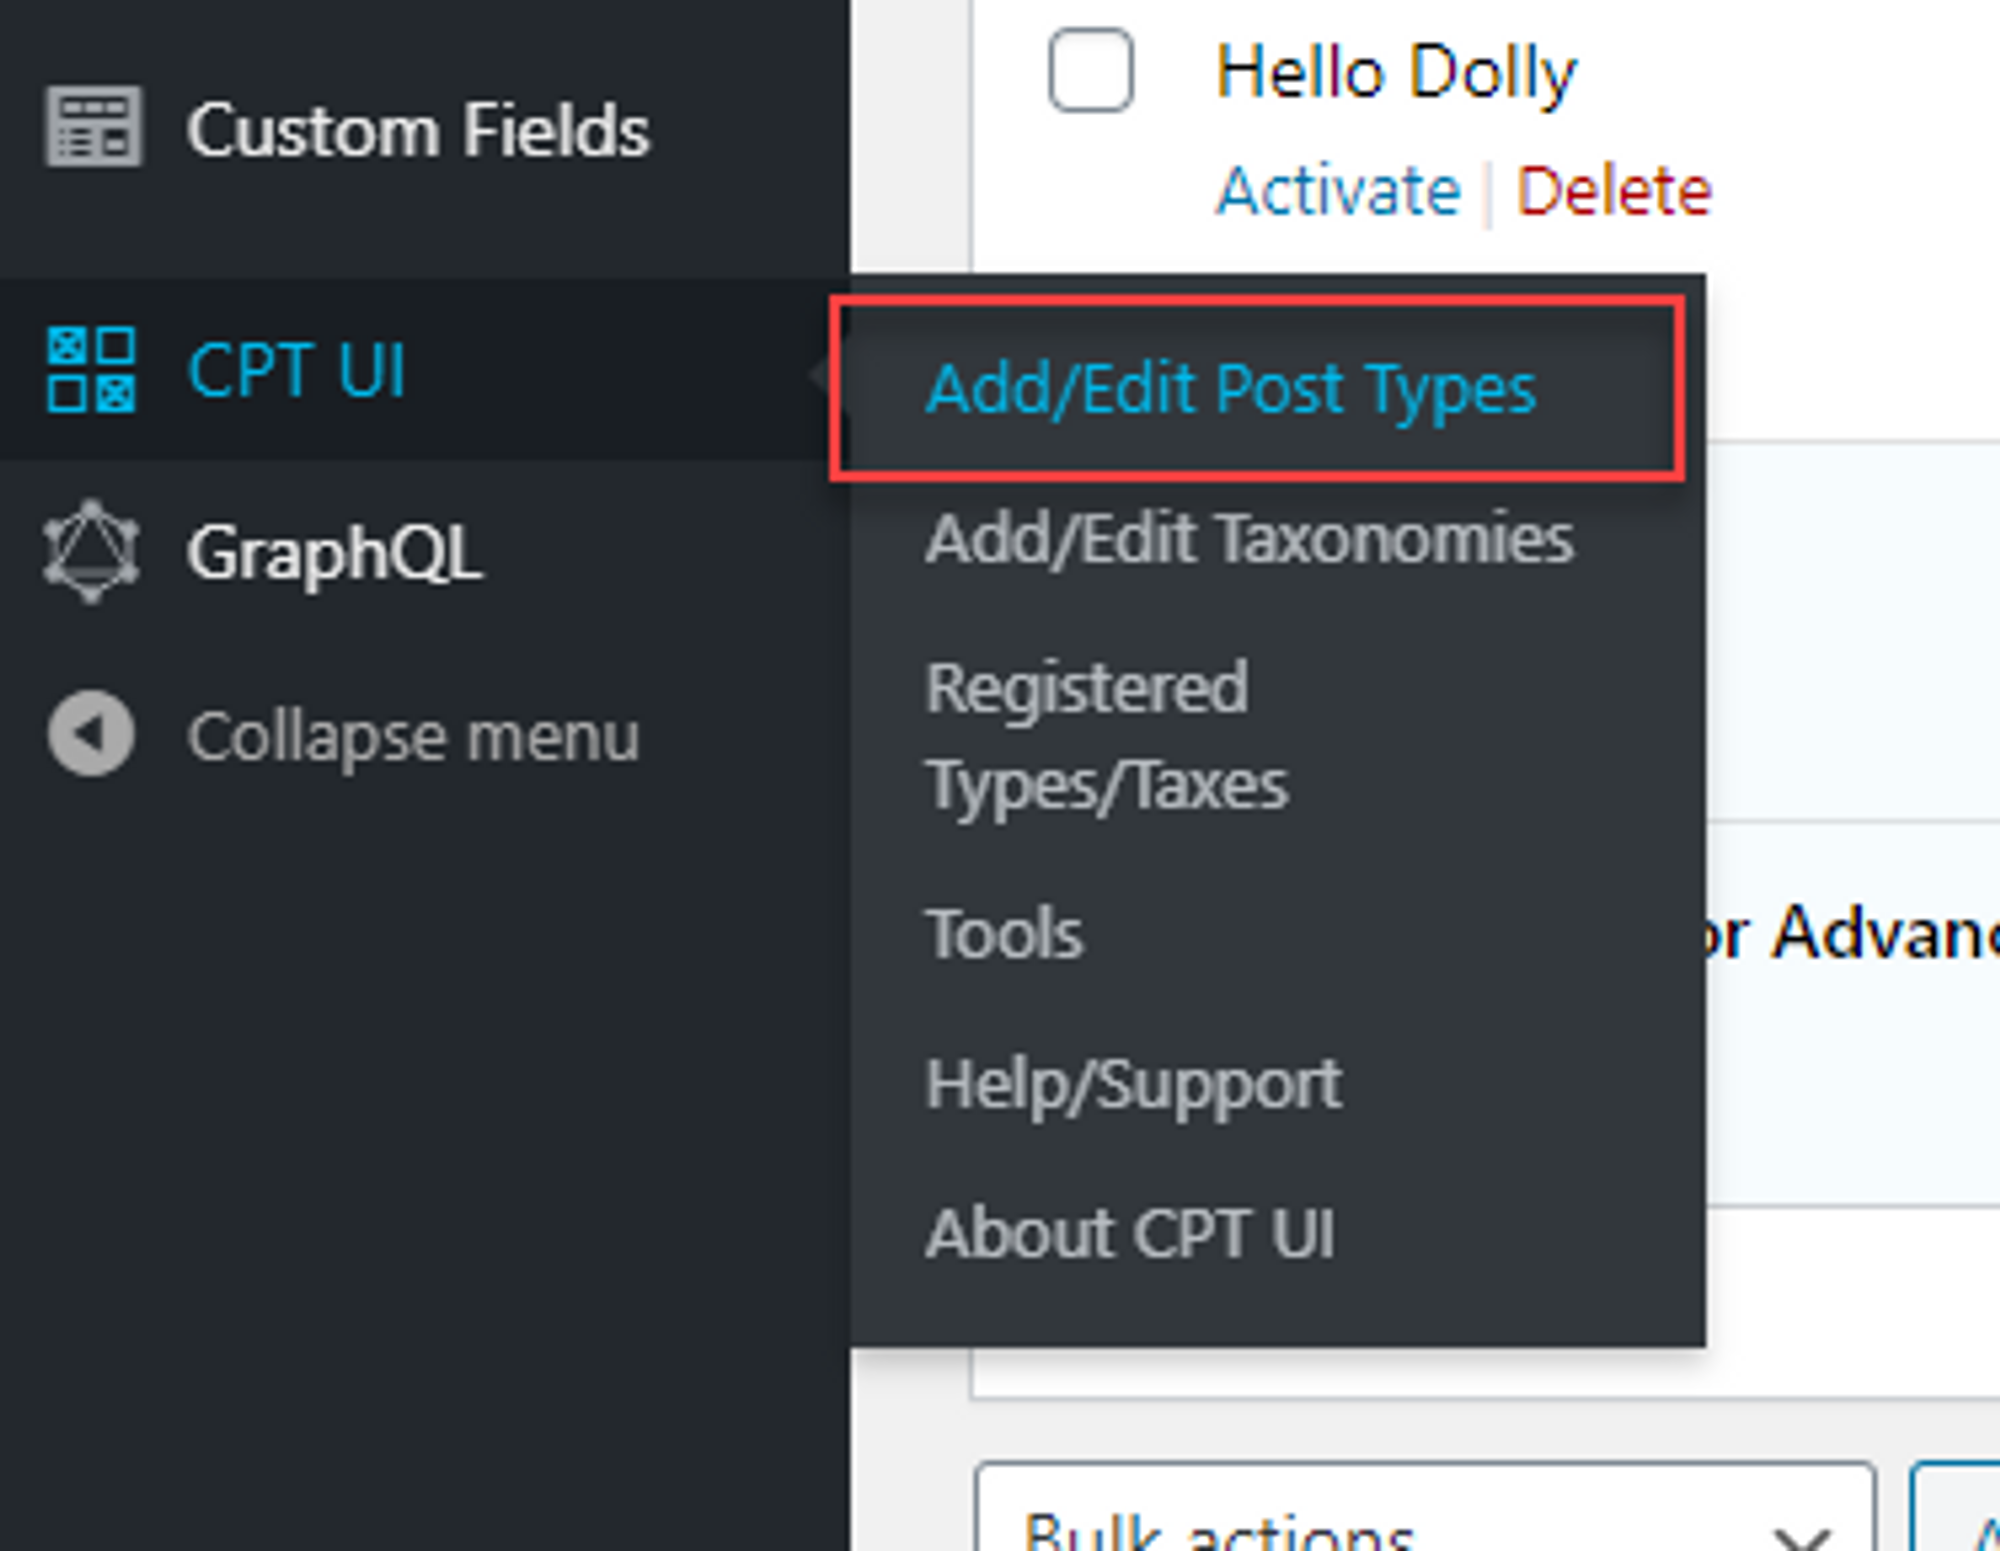
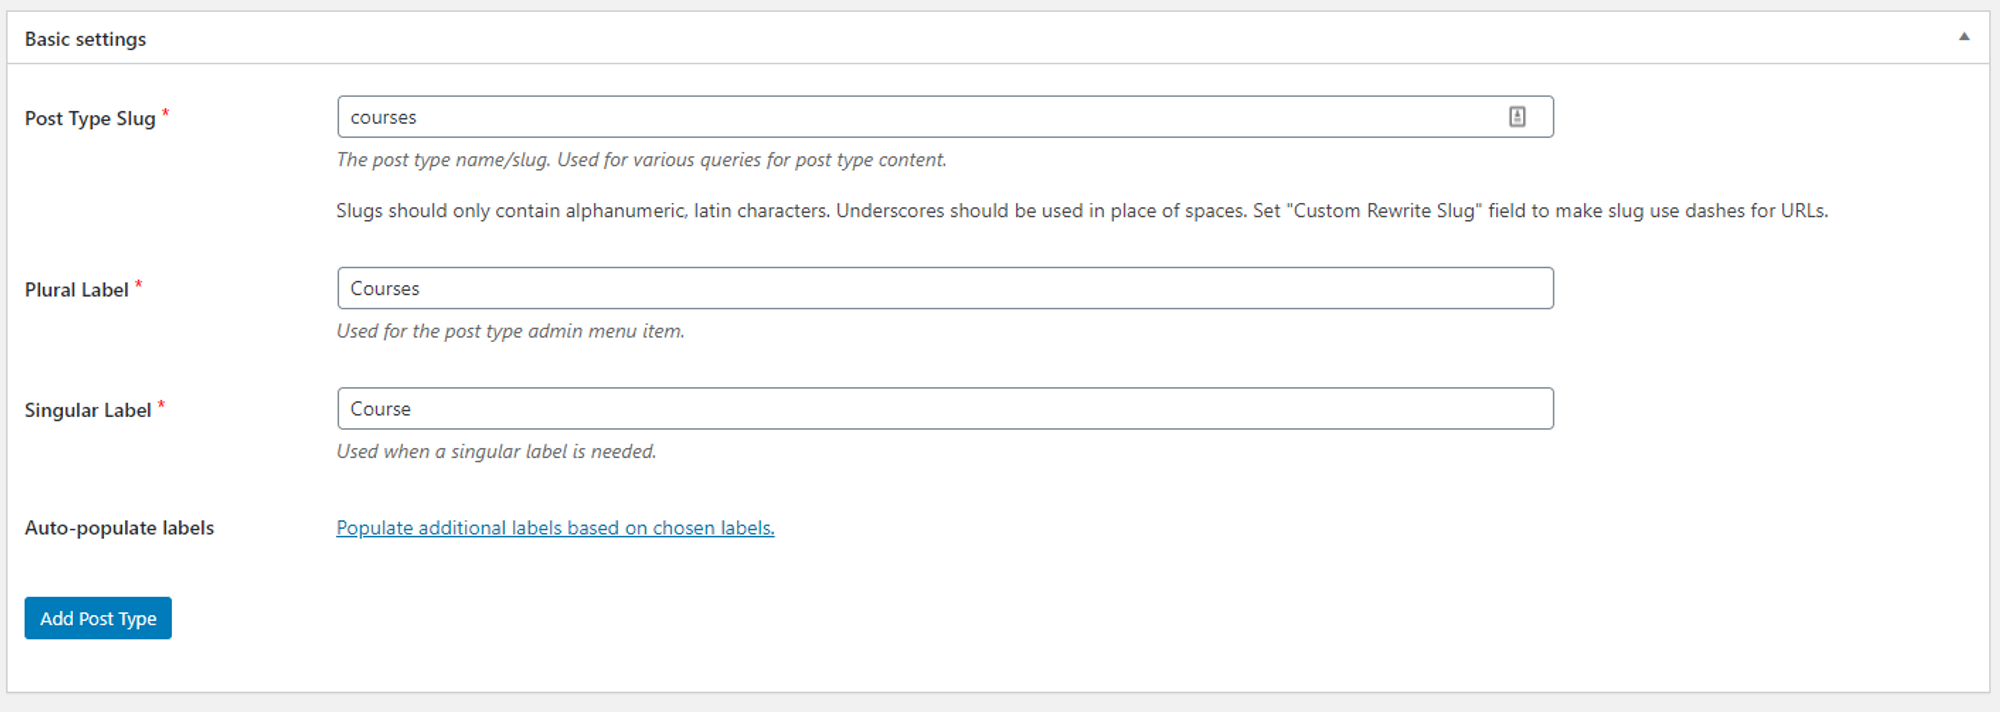
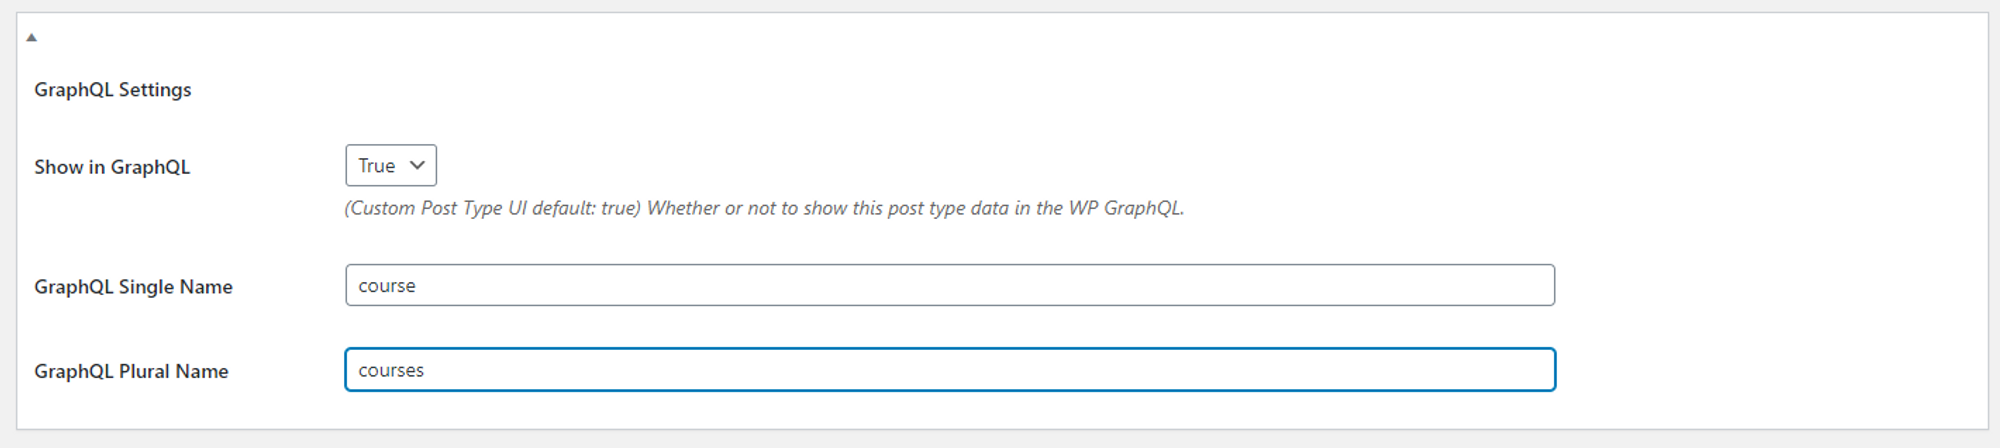
Lets get started by heading over to CPT UI > Add/Edit Post Types, populate the basic settings, then scroll to the bottom to setup the GraphQL settings. The other fields can be ignored. Once you are done, click Add Post Type to save it.
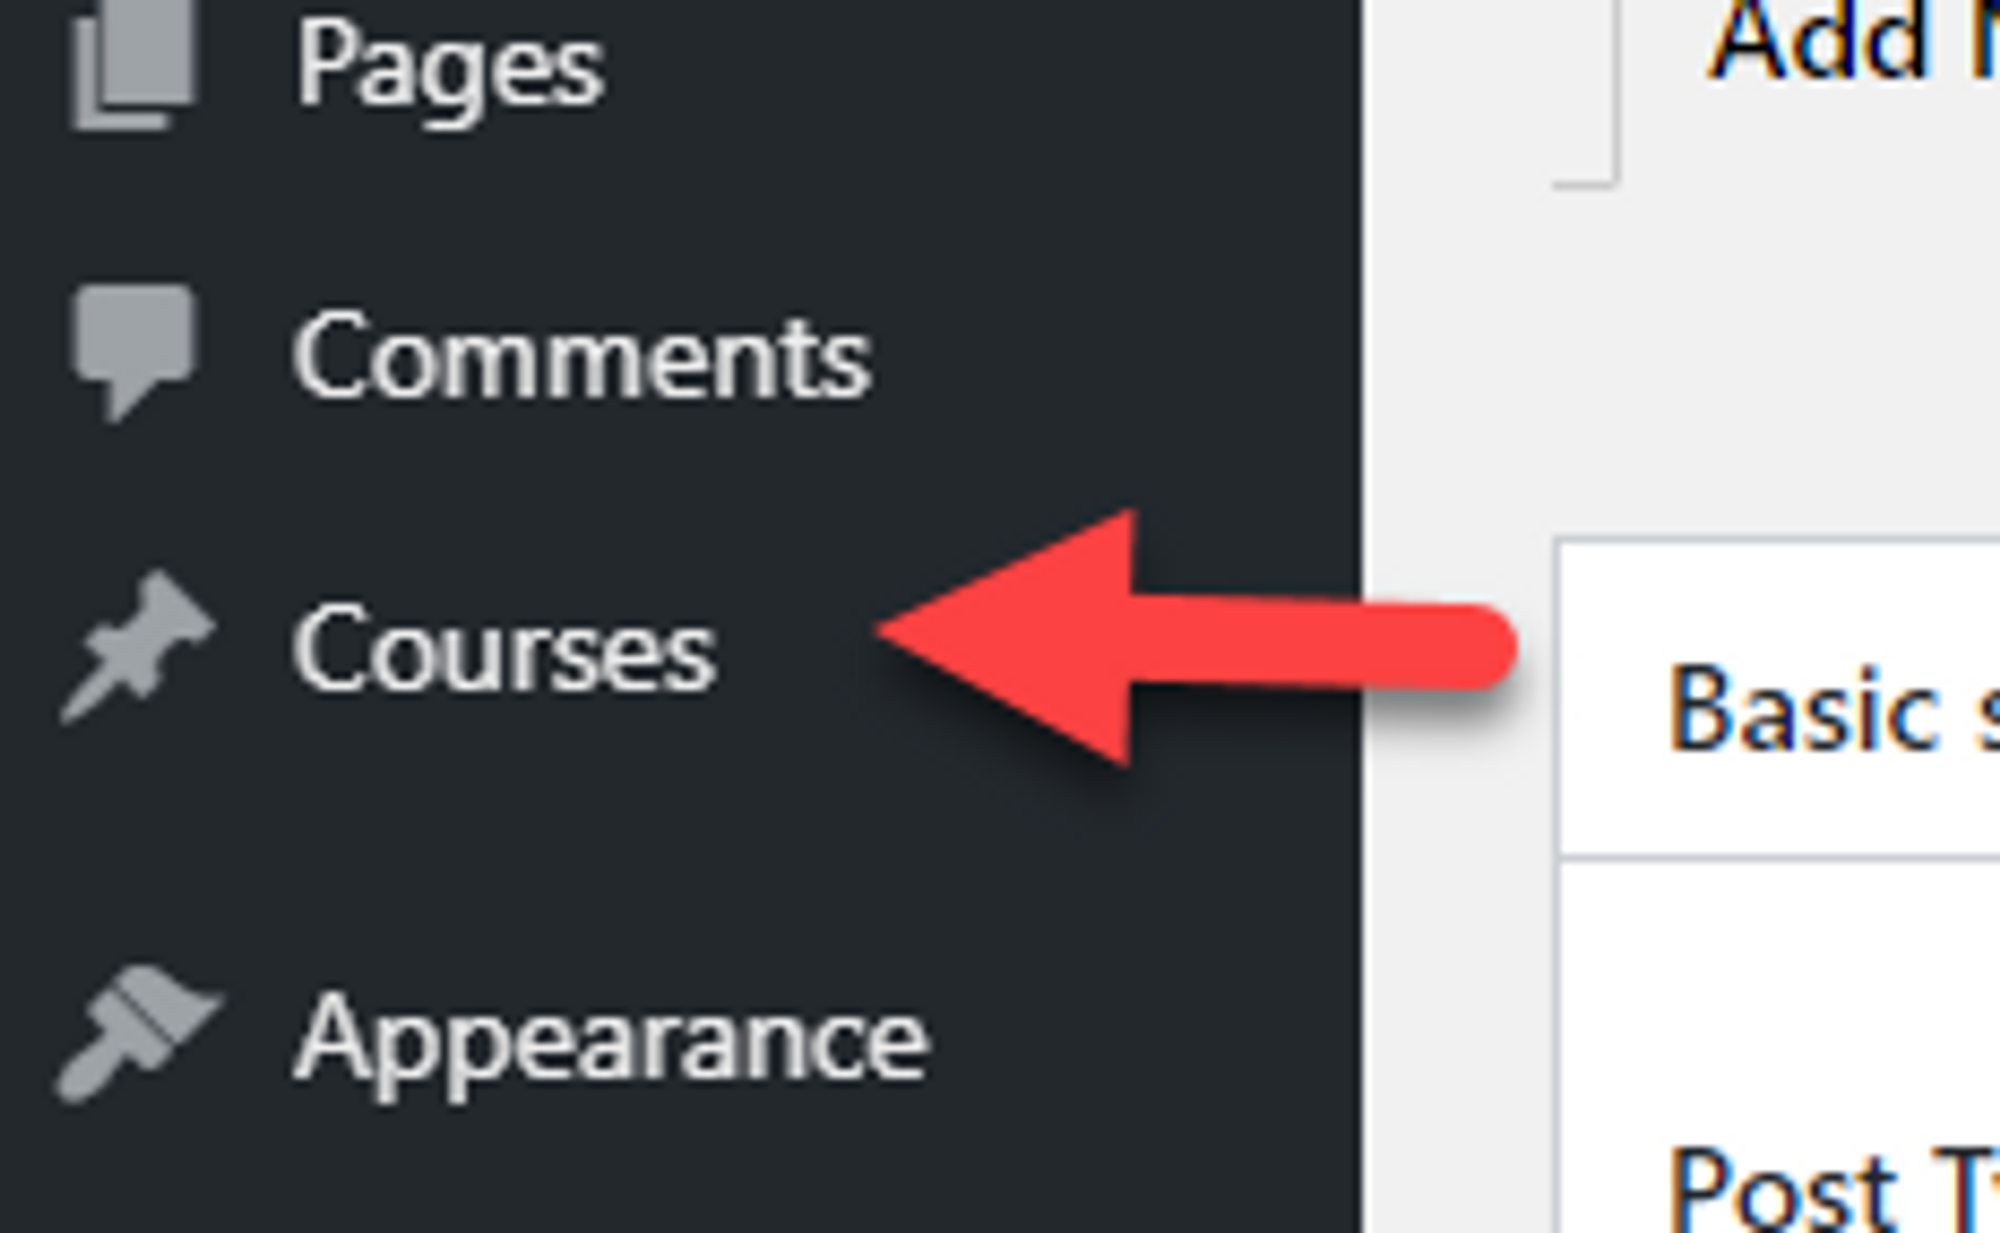
On the left nav, you should now have a new entry for Courses.
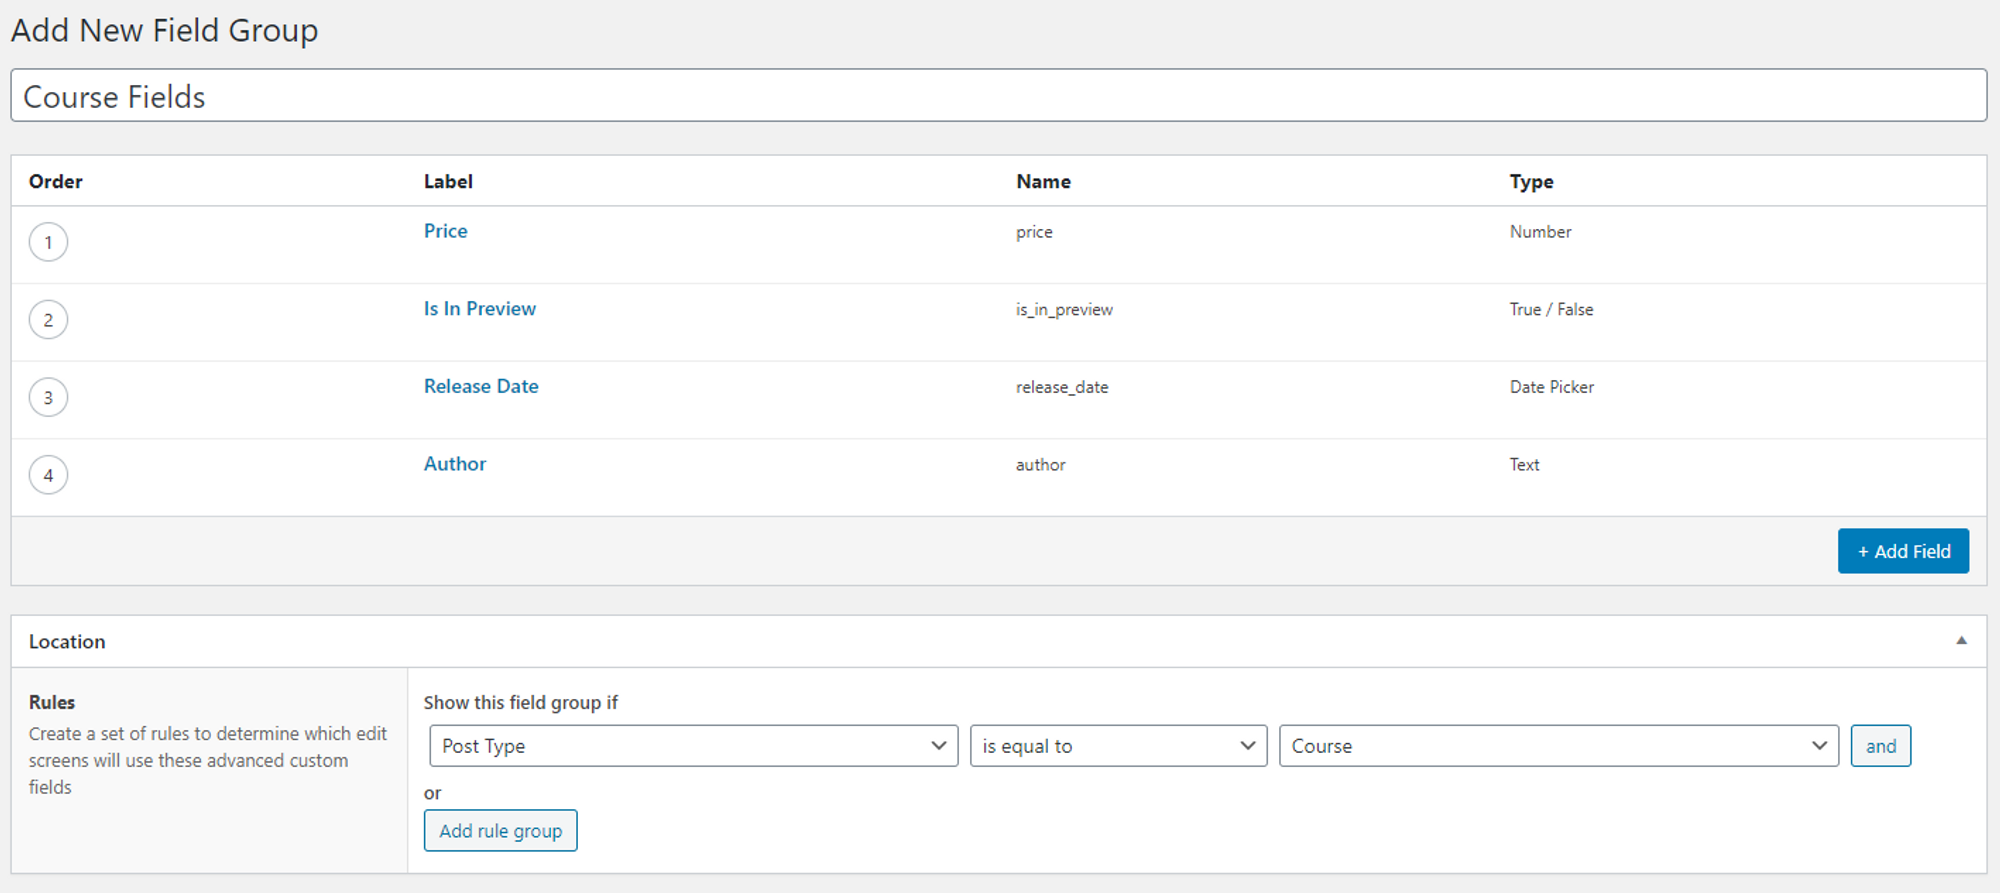
Now lets add those other fields we need. Head into Custom Fields then Add New. Lets name our group Course Fields. We can use the built in editor for the courses description, but the other fields will need to be added here. Click on Add Field to start adding them. You'll also need to update the Rules in Location to be Course instead of Post. The last thing to do before saving is scrolling down to the bottom and setting the GraphQL settings.

Now lets add a course. Why not Building Websites with WordPress and Gridsome?! Make sure you add some text in the description and populate all the fields we just setup.
Pulling into Gridsome
Now that we have the data setup, lets fire up Gridsome and head to the explore URL to make sure we can get the data from the GraphQL layer. Execute the following query and you should see the new post type along with the custom fields we setup.
{
  courses {
    edges {
      node {
        id
        title
        content
        courseFields {
          isInPreview
          author
          releaseDate
          price
        }
      }
    }
  }
}
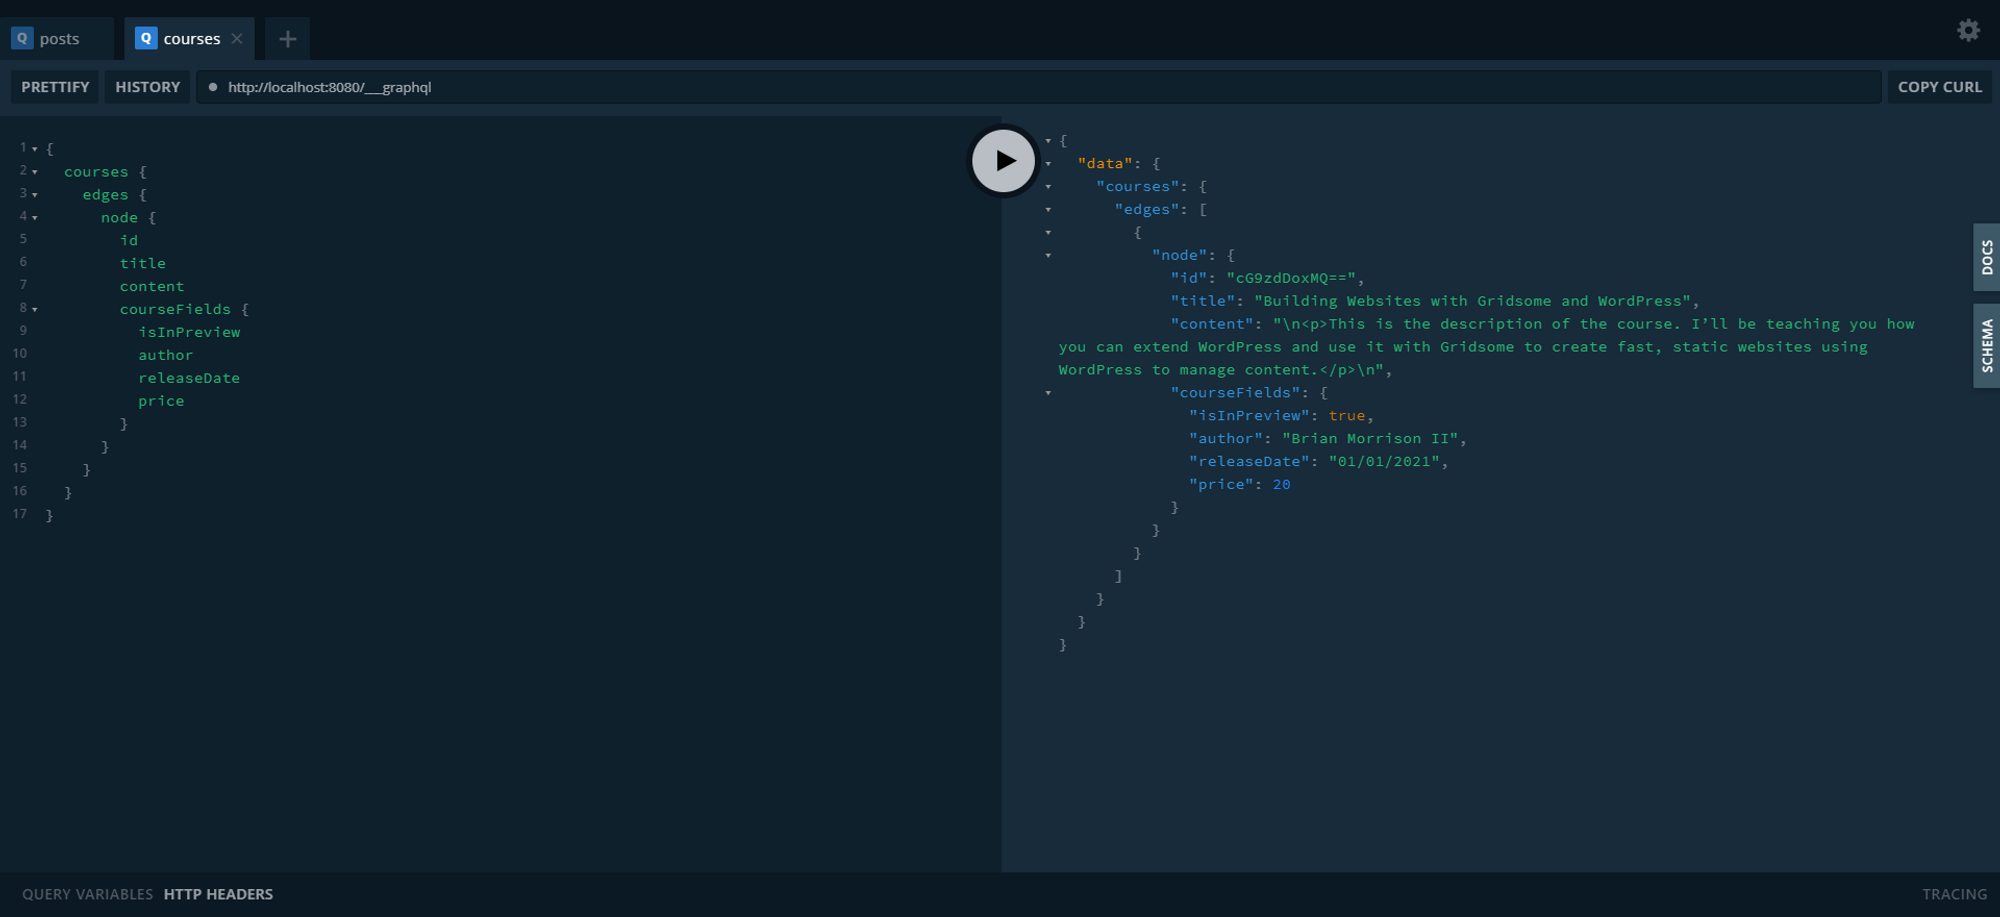
There you go! You now have a system that can be extended to fit pretty much any data structure you need, all using the WordPress publishing tools you might already be familiar with. The next step would be to setup another template just like we did in the previous article to display the data.
Happy Coding!