As you add commits to a repository, a timeline of the code is being built as more and more changes are added. This allows us to roll back to previous versions of the code, but what if you want to make some changes with affecting what's been done so far? This is where branches come in.
Branches are isolated versions of your code that can be created to allow developers to work on a repository, save and commit their changes, all while leaving the original version unaffected. Considering the timeline example, this would be like creating a complete separate timeline where changes can be made independently of the other timelines. I'll be using a VS Code extension called Git Graph to demonstrate various branching concepts.
Working with Branch
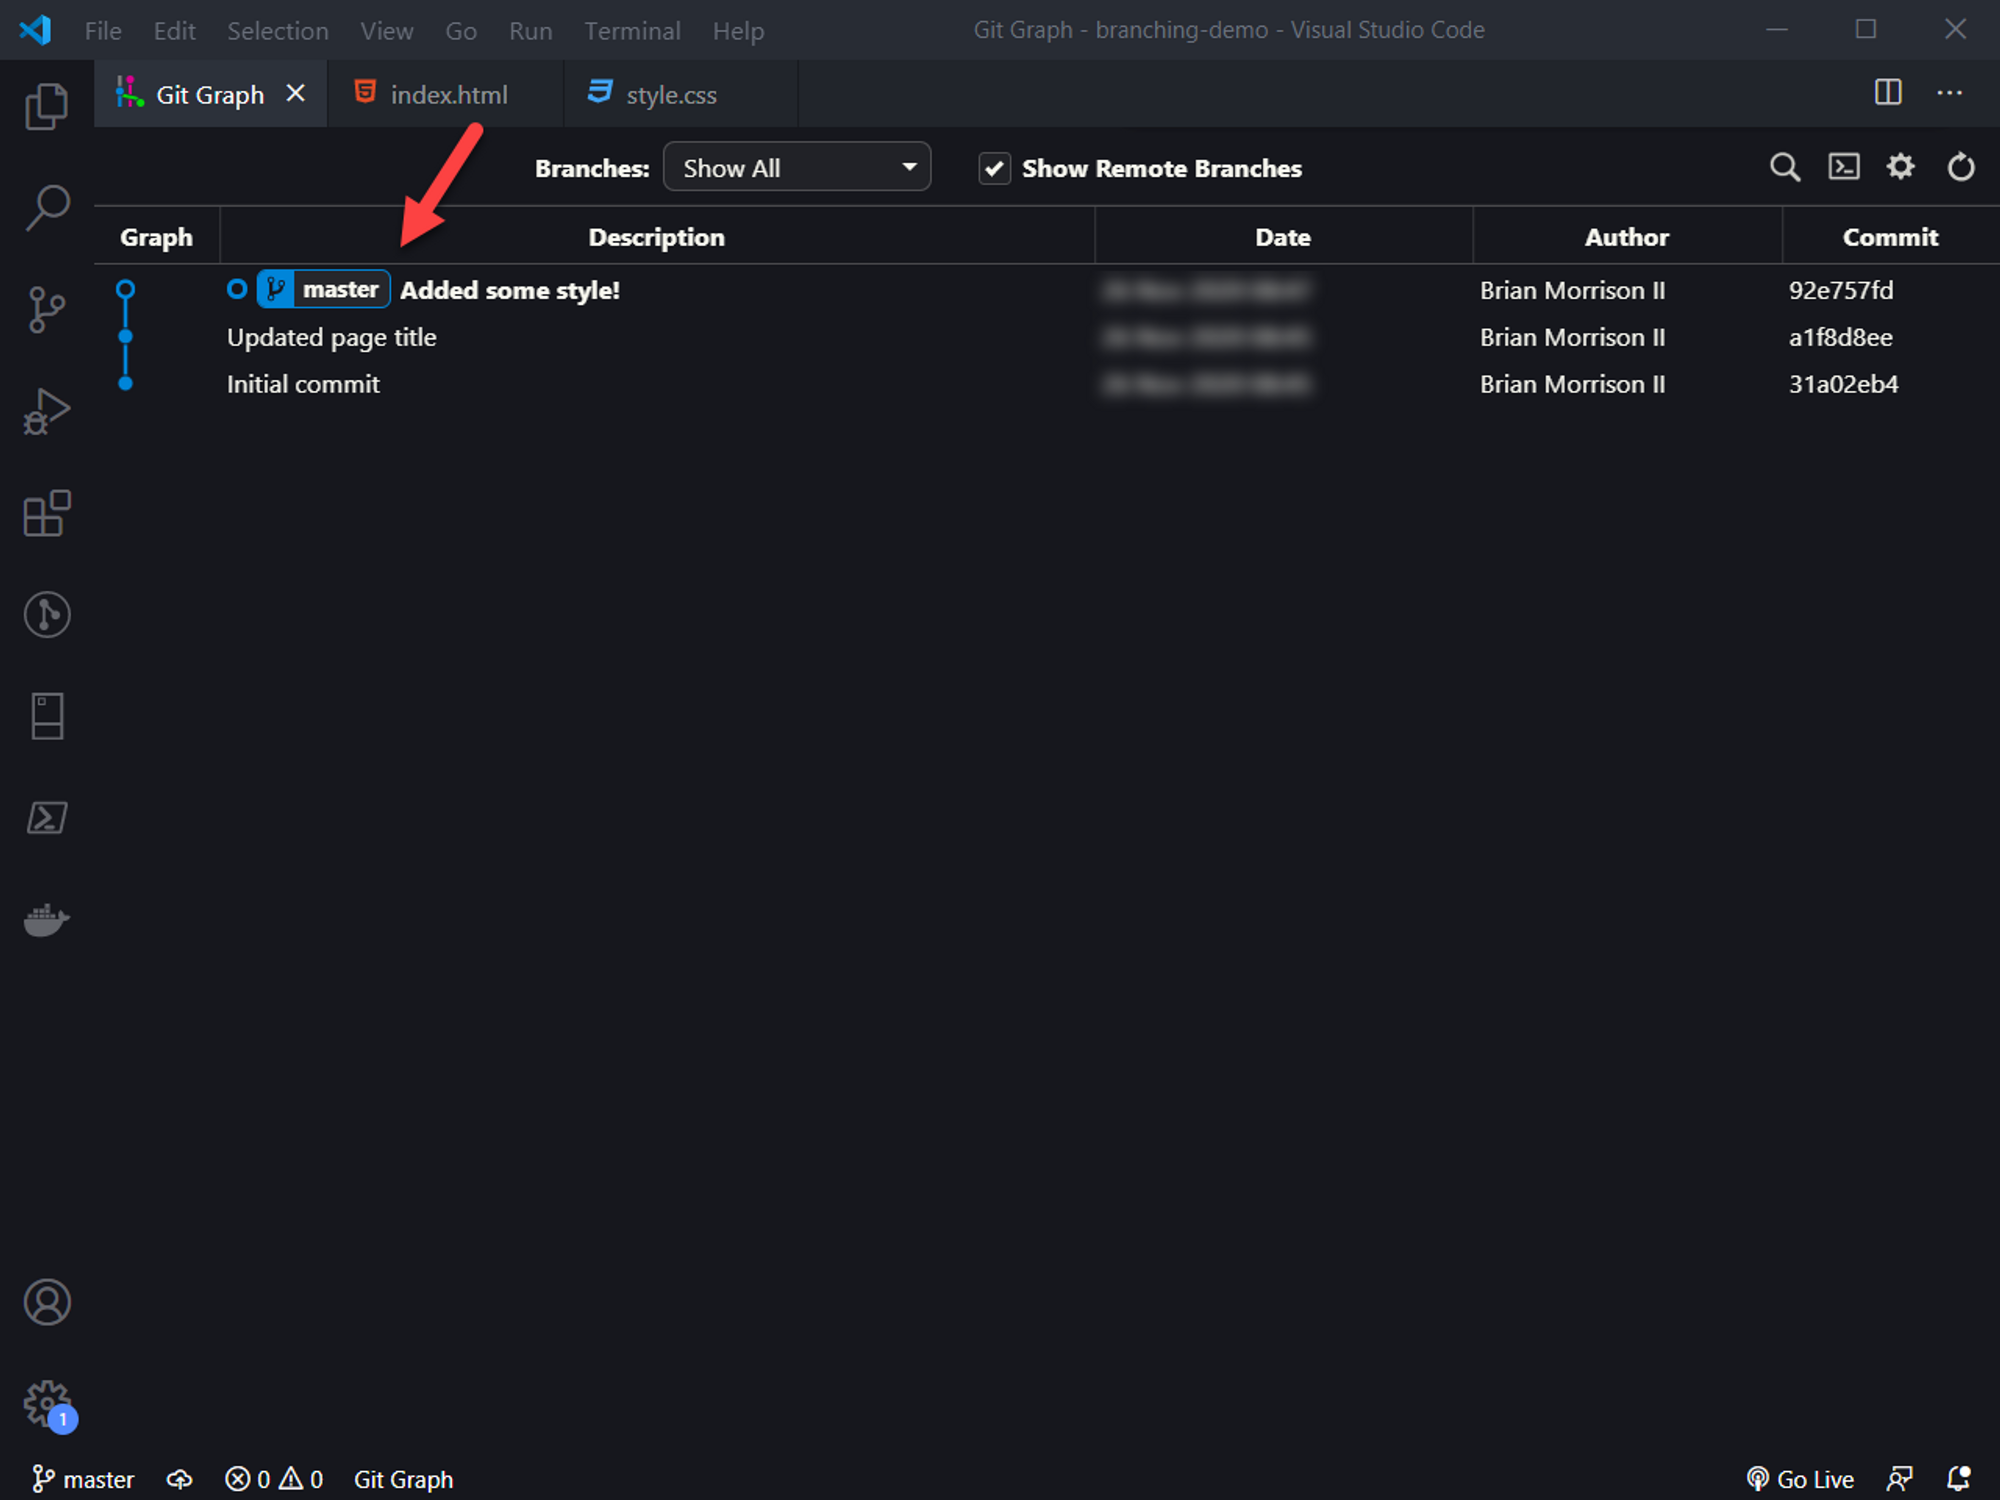
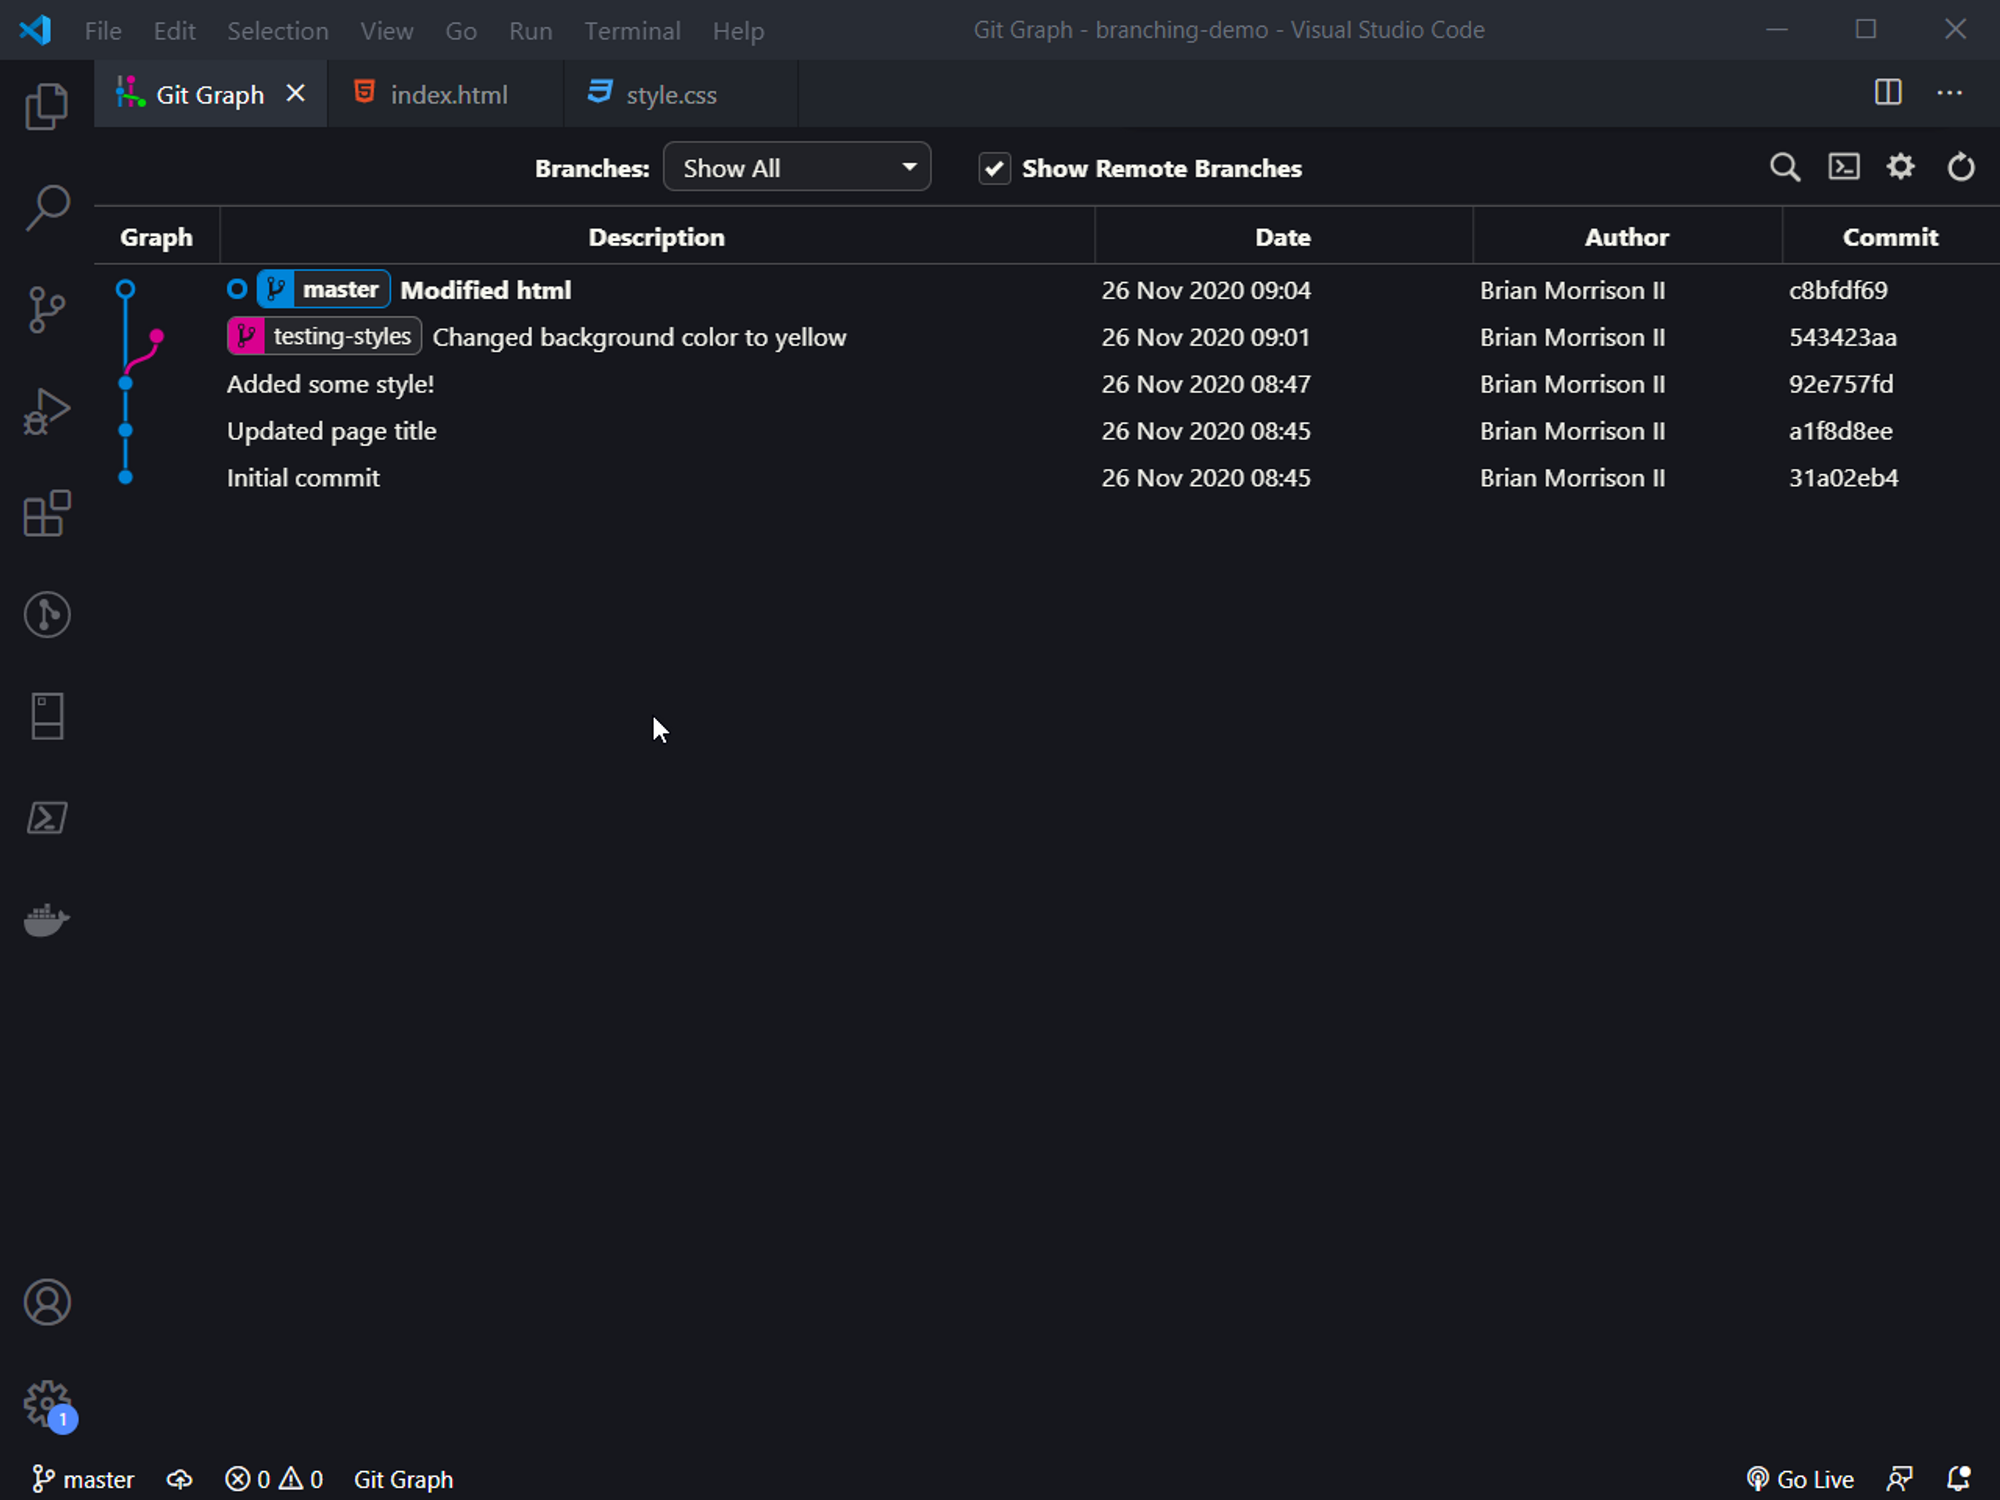
Before we create a branch, I want to set the stage for the rest of this article. I have a small repo that I created with a few commits. Looking at the repo in Git Graph, we can see the timeline of my commits displayed visually. Note in Git Graph the name of the branch is highlighted by the color represented on the timeline.
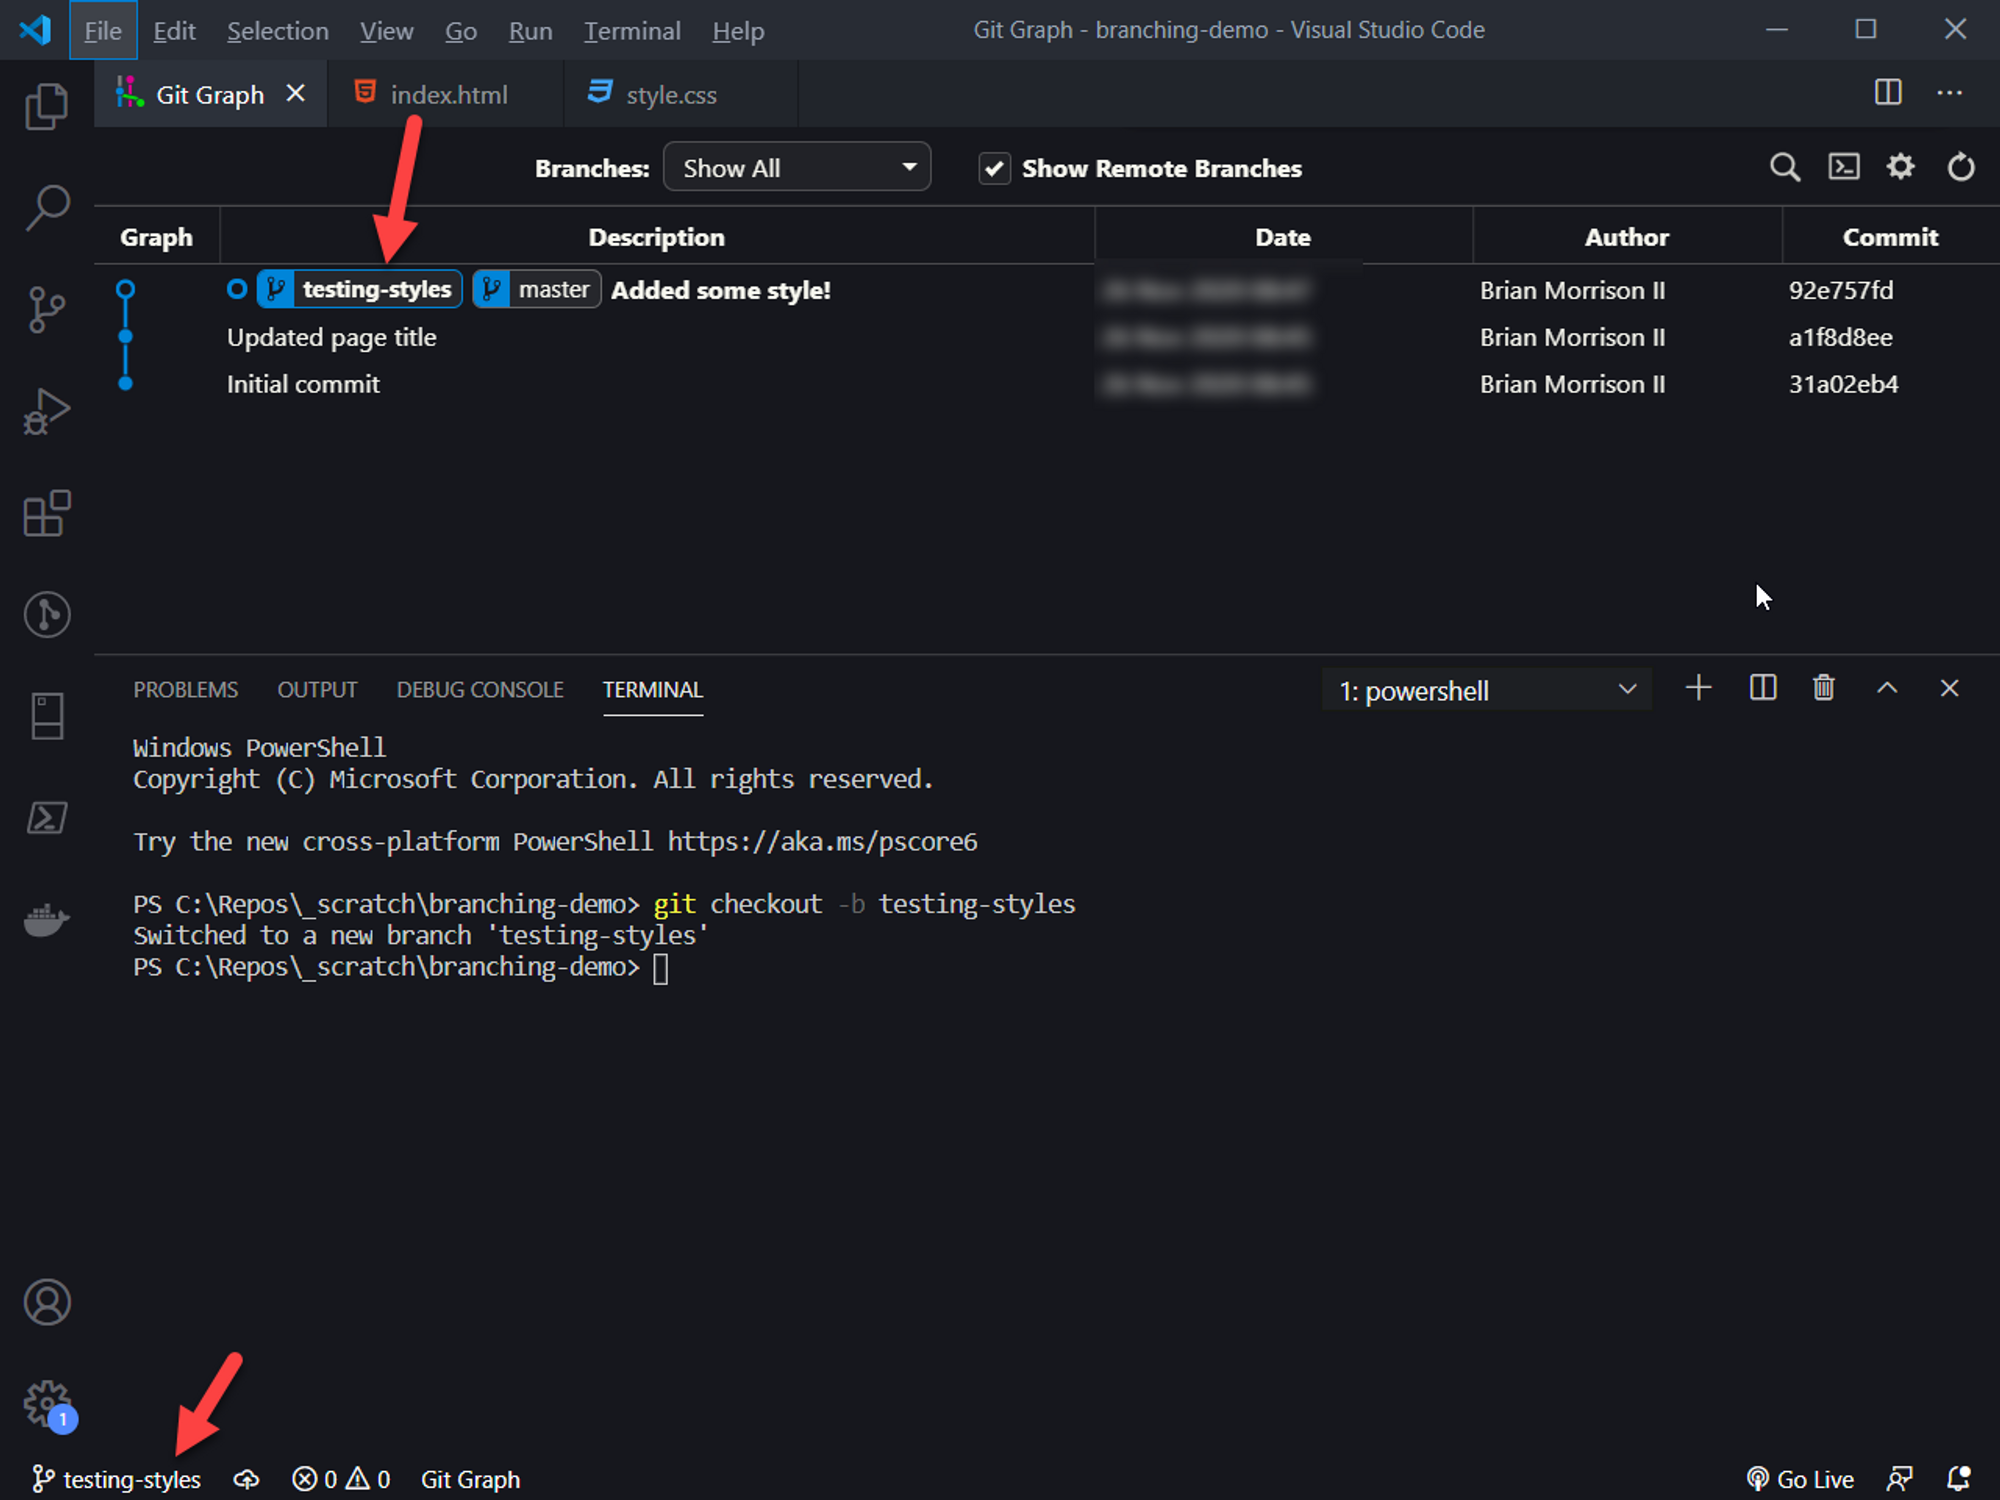
Now lets say I want to modify my styles to give the background a different color, but I'm not sure I really want to keep it. What I can do is create a branch to test my changes out. We can do this using this terminal command. This tells git to create a new branch and switch to it to start working on.
git checkout -b testing-stylesNow you'll have another branch name appear next to the timeline. This is because we haven't made any changes yet. Also note in the bottom left of VS Code, your working branch will be displayed. You can also create a new branch by clicking the name of the working branch.
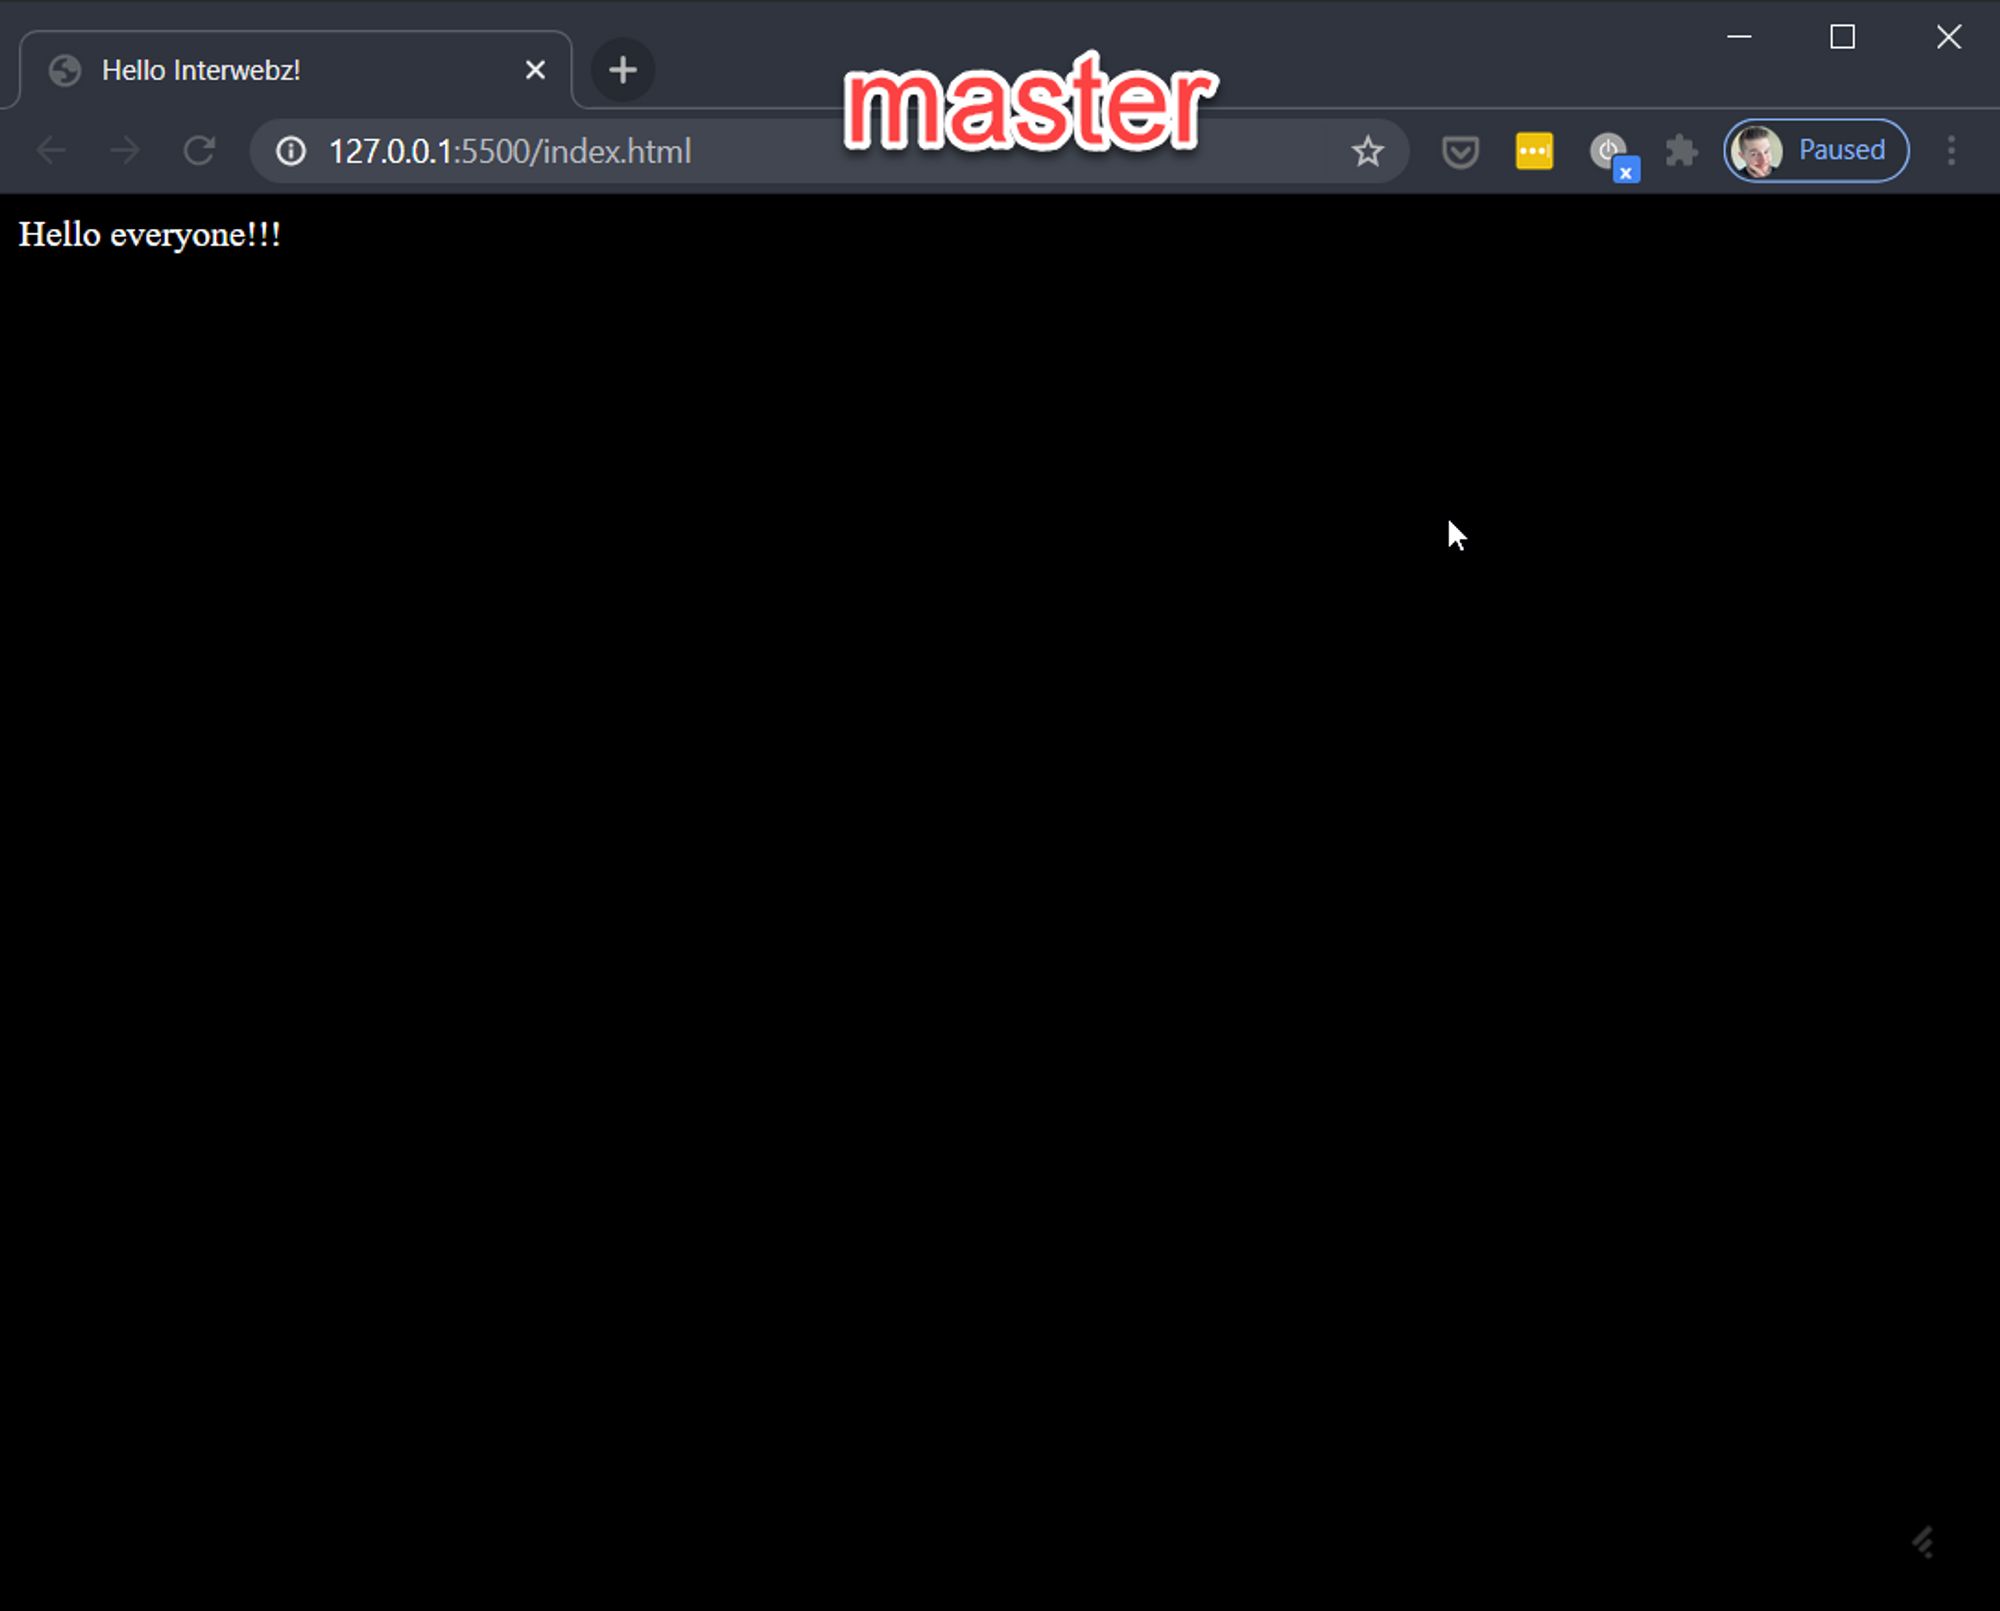
Now lets add a change to the new branch. I'm going to modify style.css to set a new background color on the page. If you're new, working branch is ahead of the source branch (master in this case), it won't display any different since there are no real differences between the branches, so for the sake of the demonstration, I'm going to modify a file on master and commit that as well. Notice how the colors change and you can visually see the branch break off of the main trunk.
Now we can switch between our branches and review the changes independently.
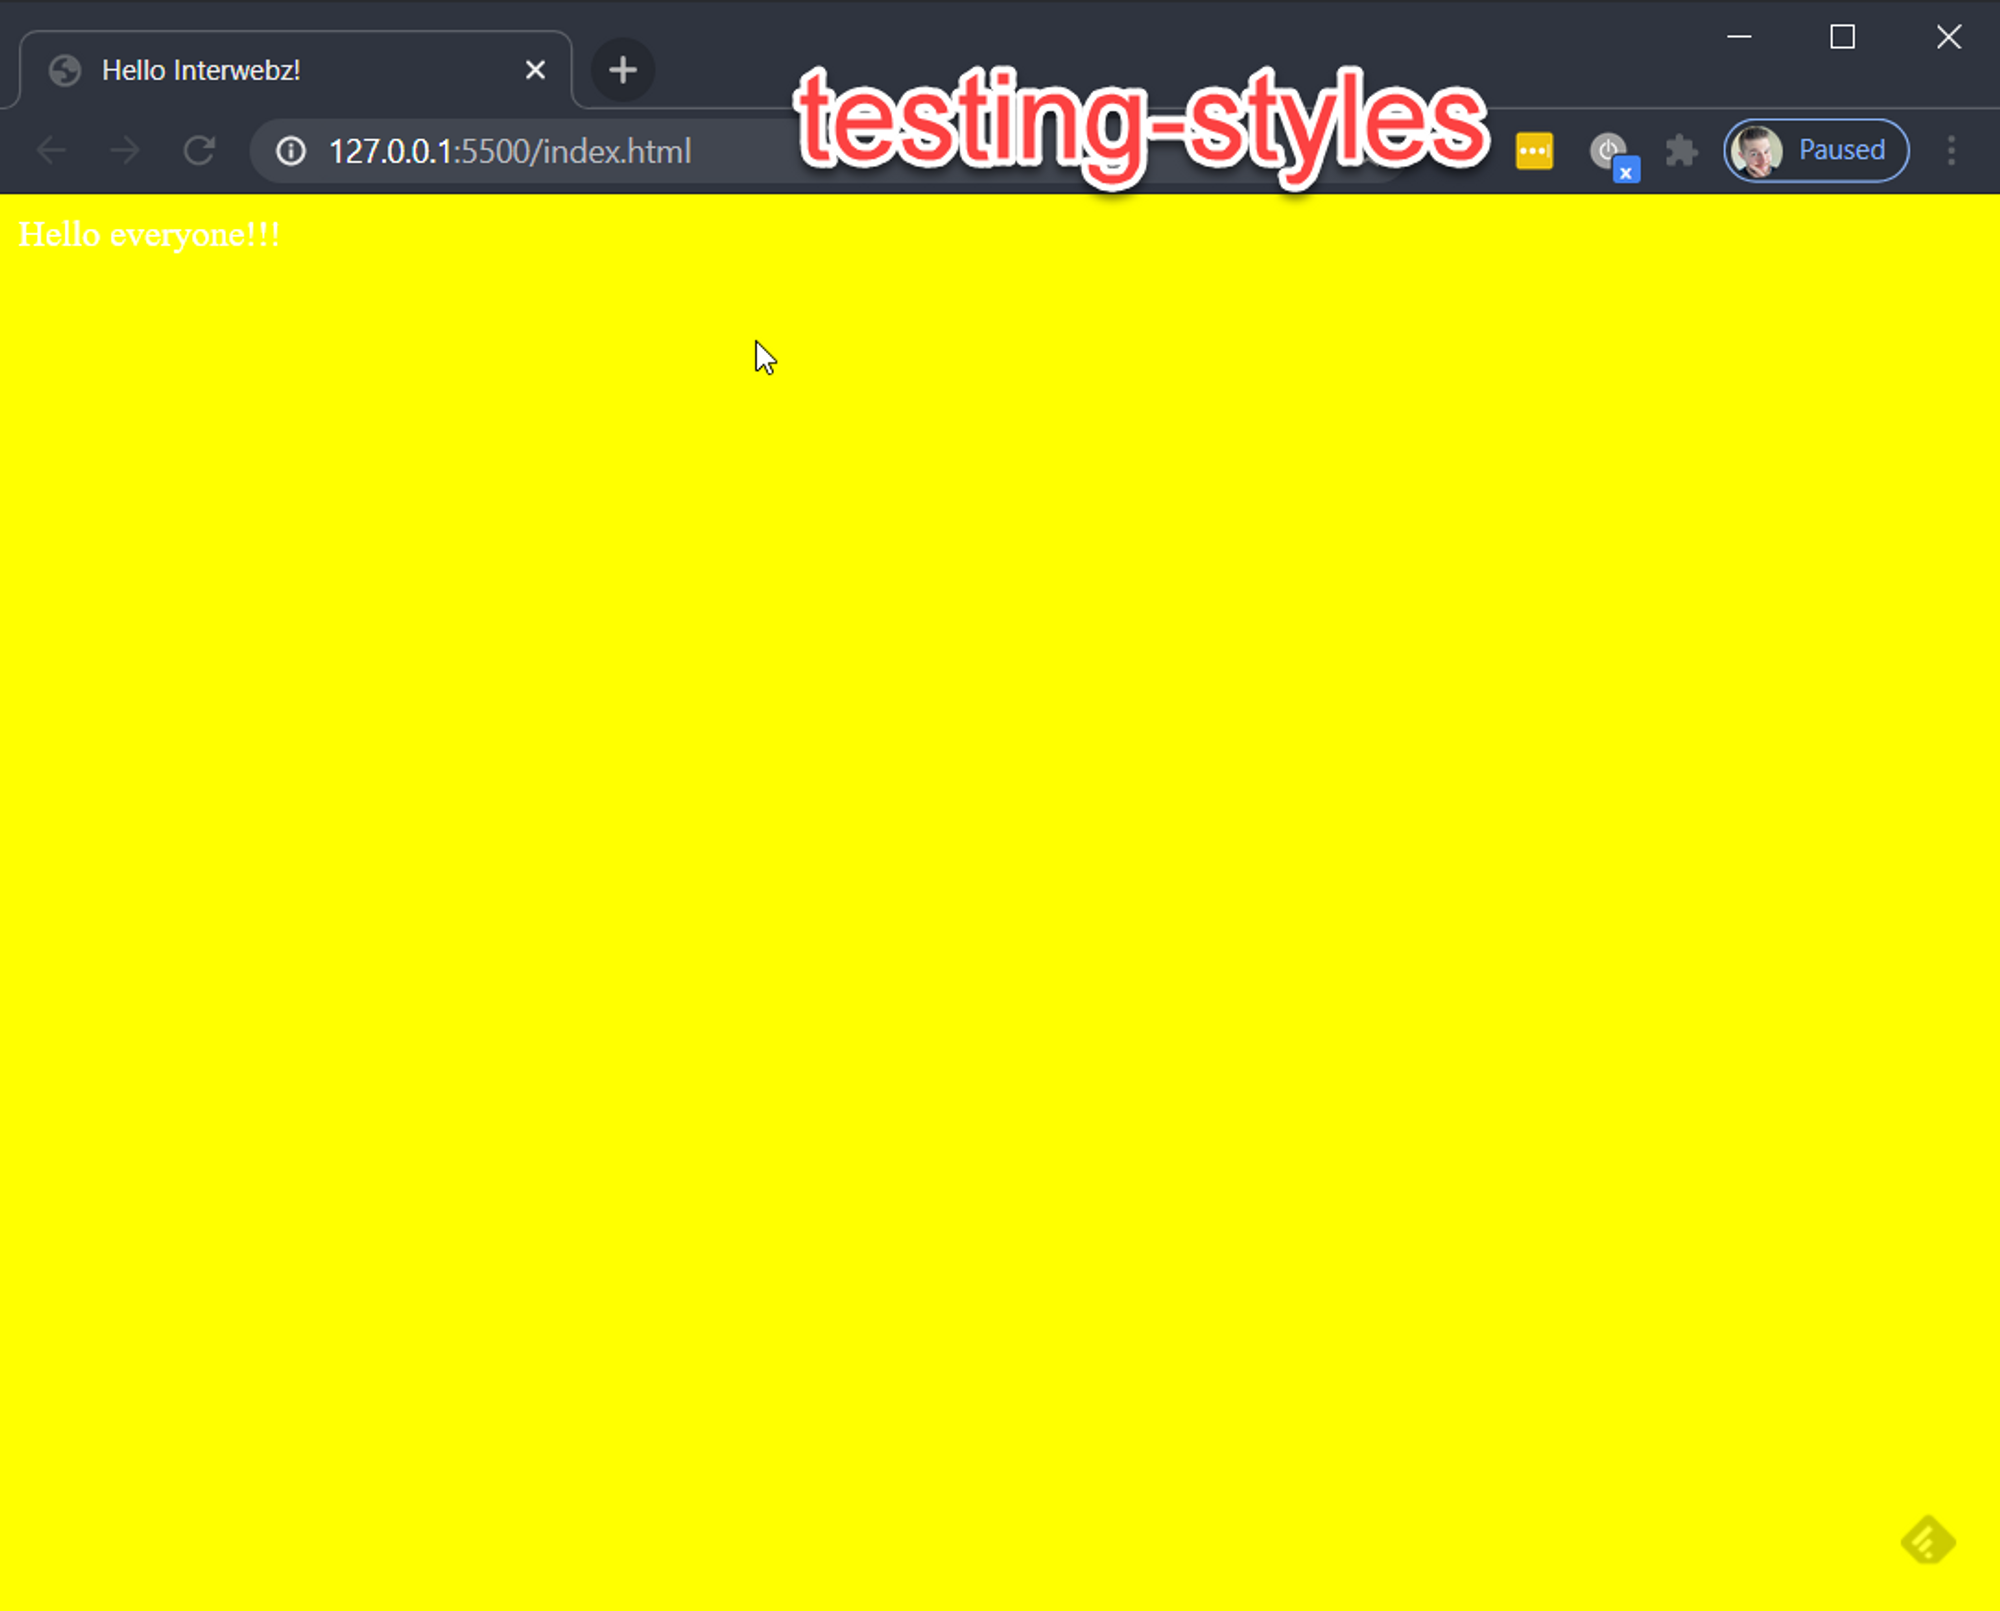
Yellow is clearly hard to read, so lets change it to a dark grey.
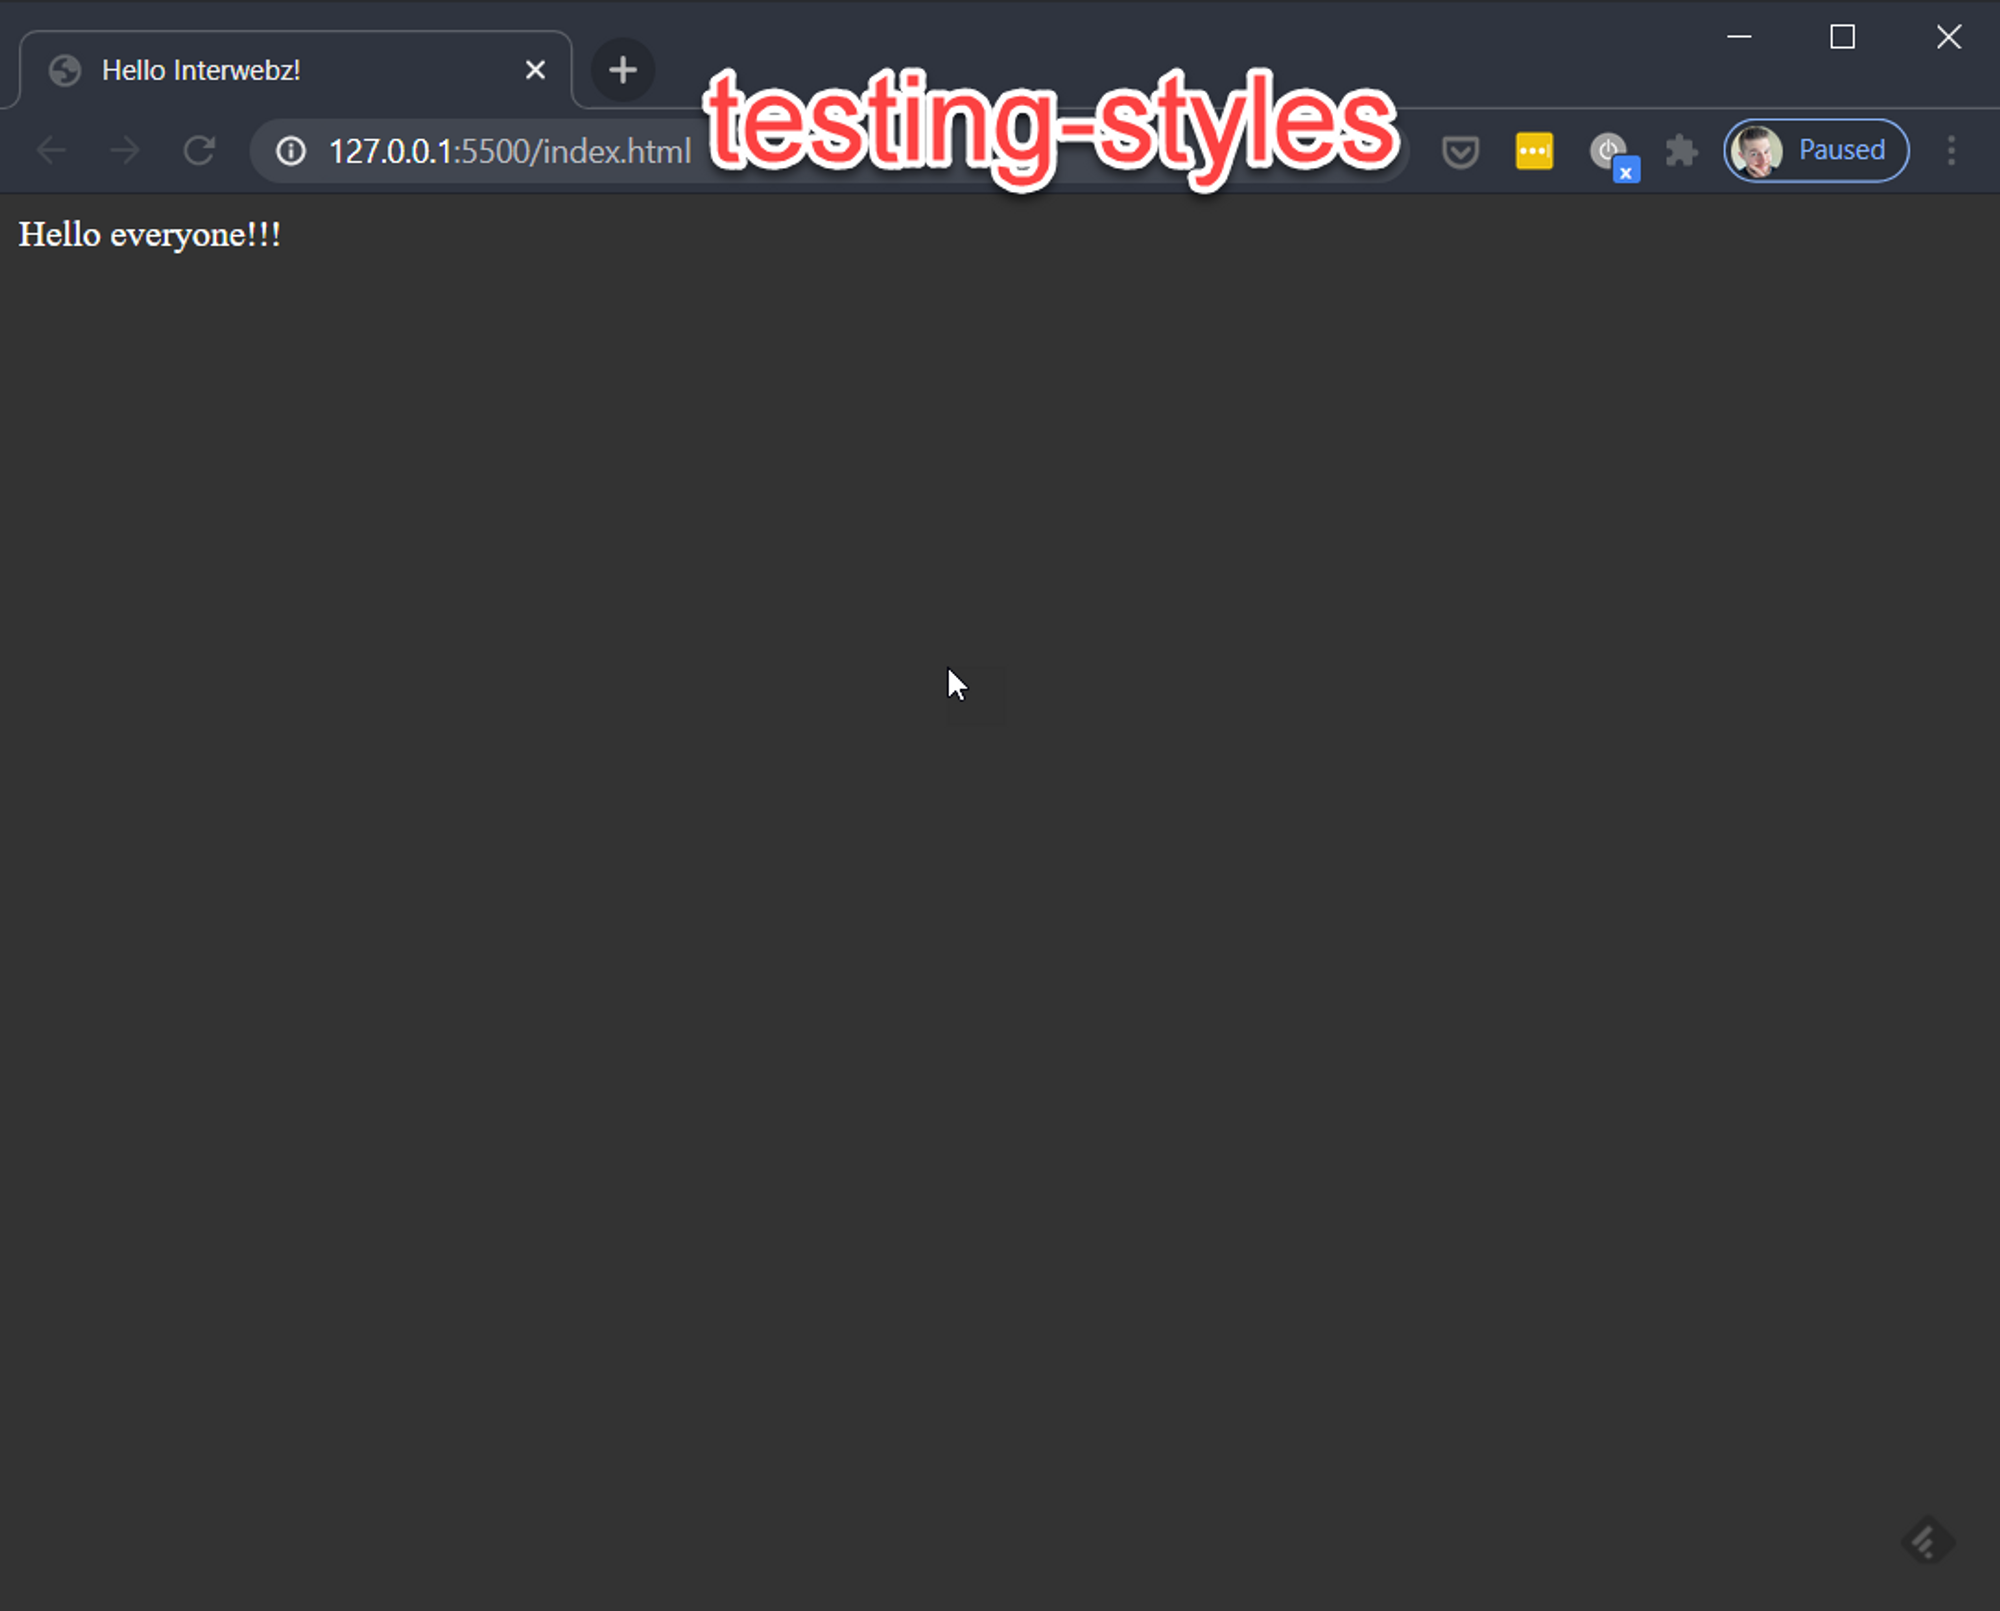
Much better. Now that we're satisfied with the change. Lets get it merged in.
Merging
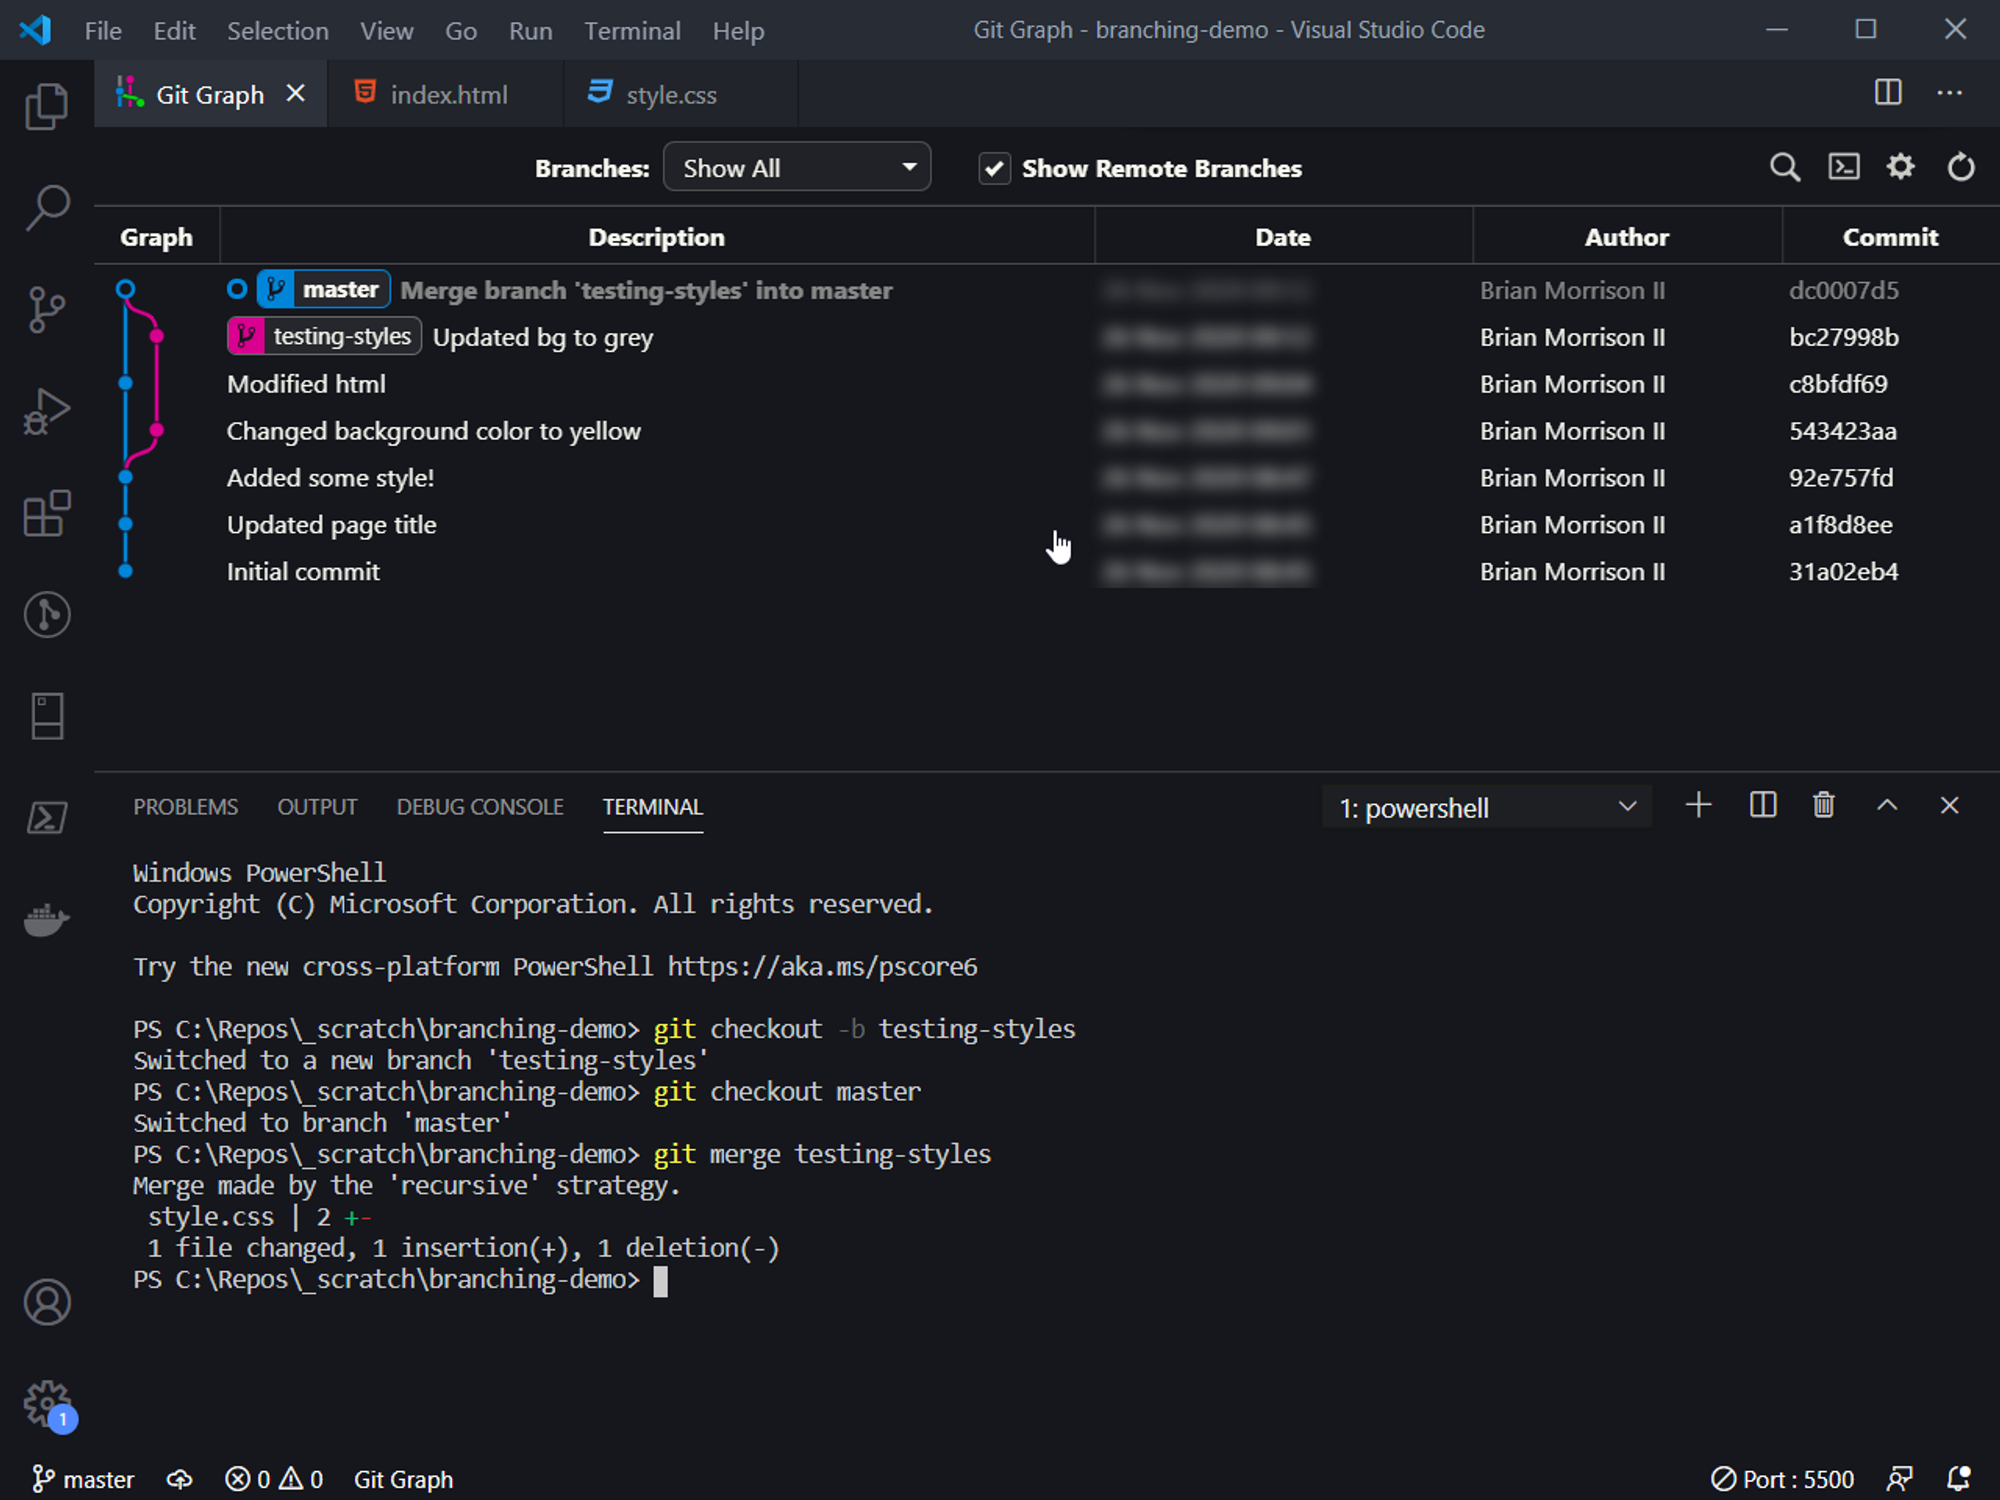
Merging is the process of taking all the commits that have been done on one branch and applying them to another. To merge our testing-styles into master, issue the following command in your terminal.
# Switch to the branch you want to merge into
git checkout master
# Specify the branch you want to merge into this one
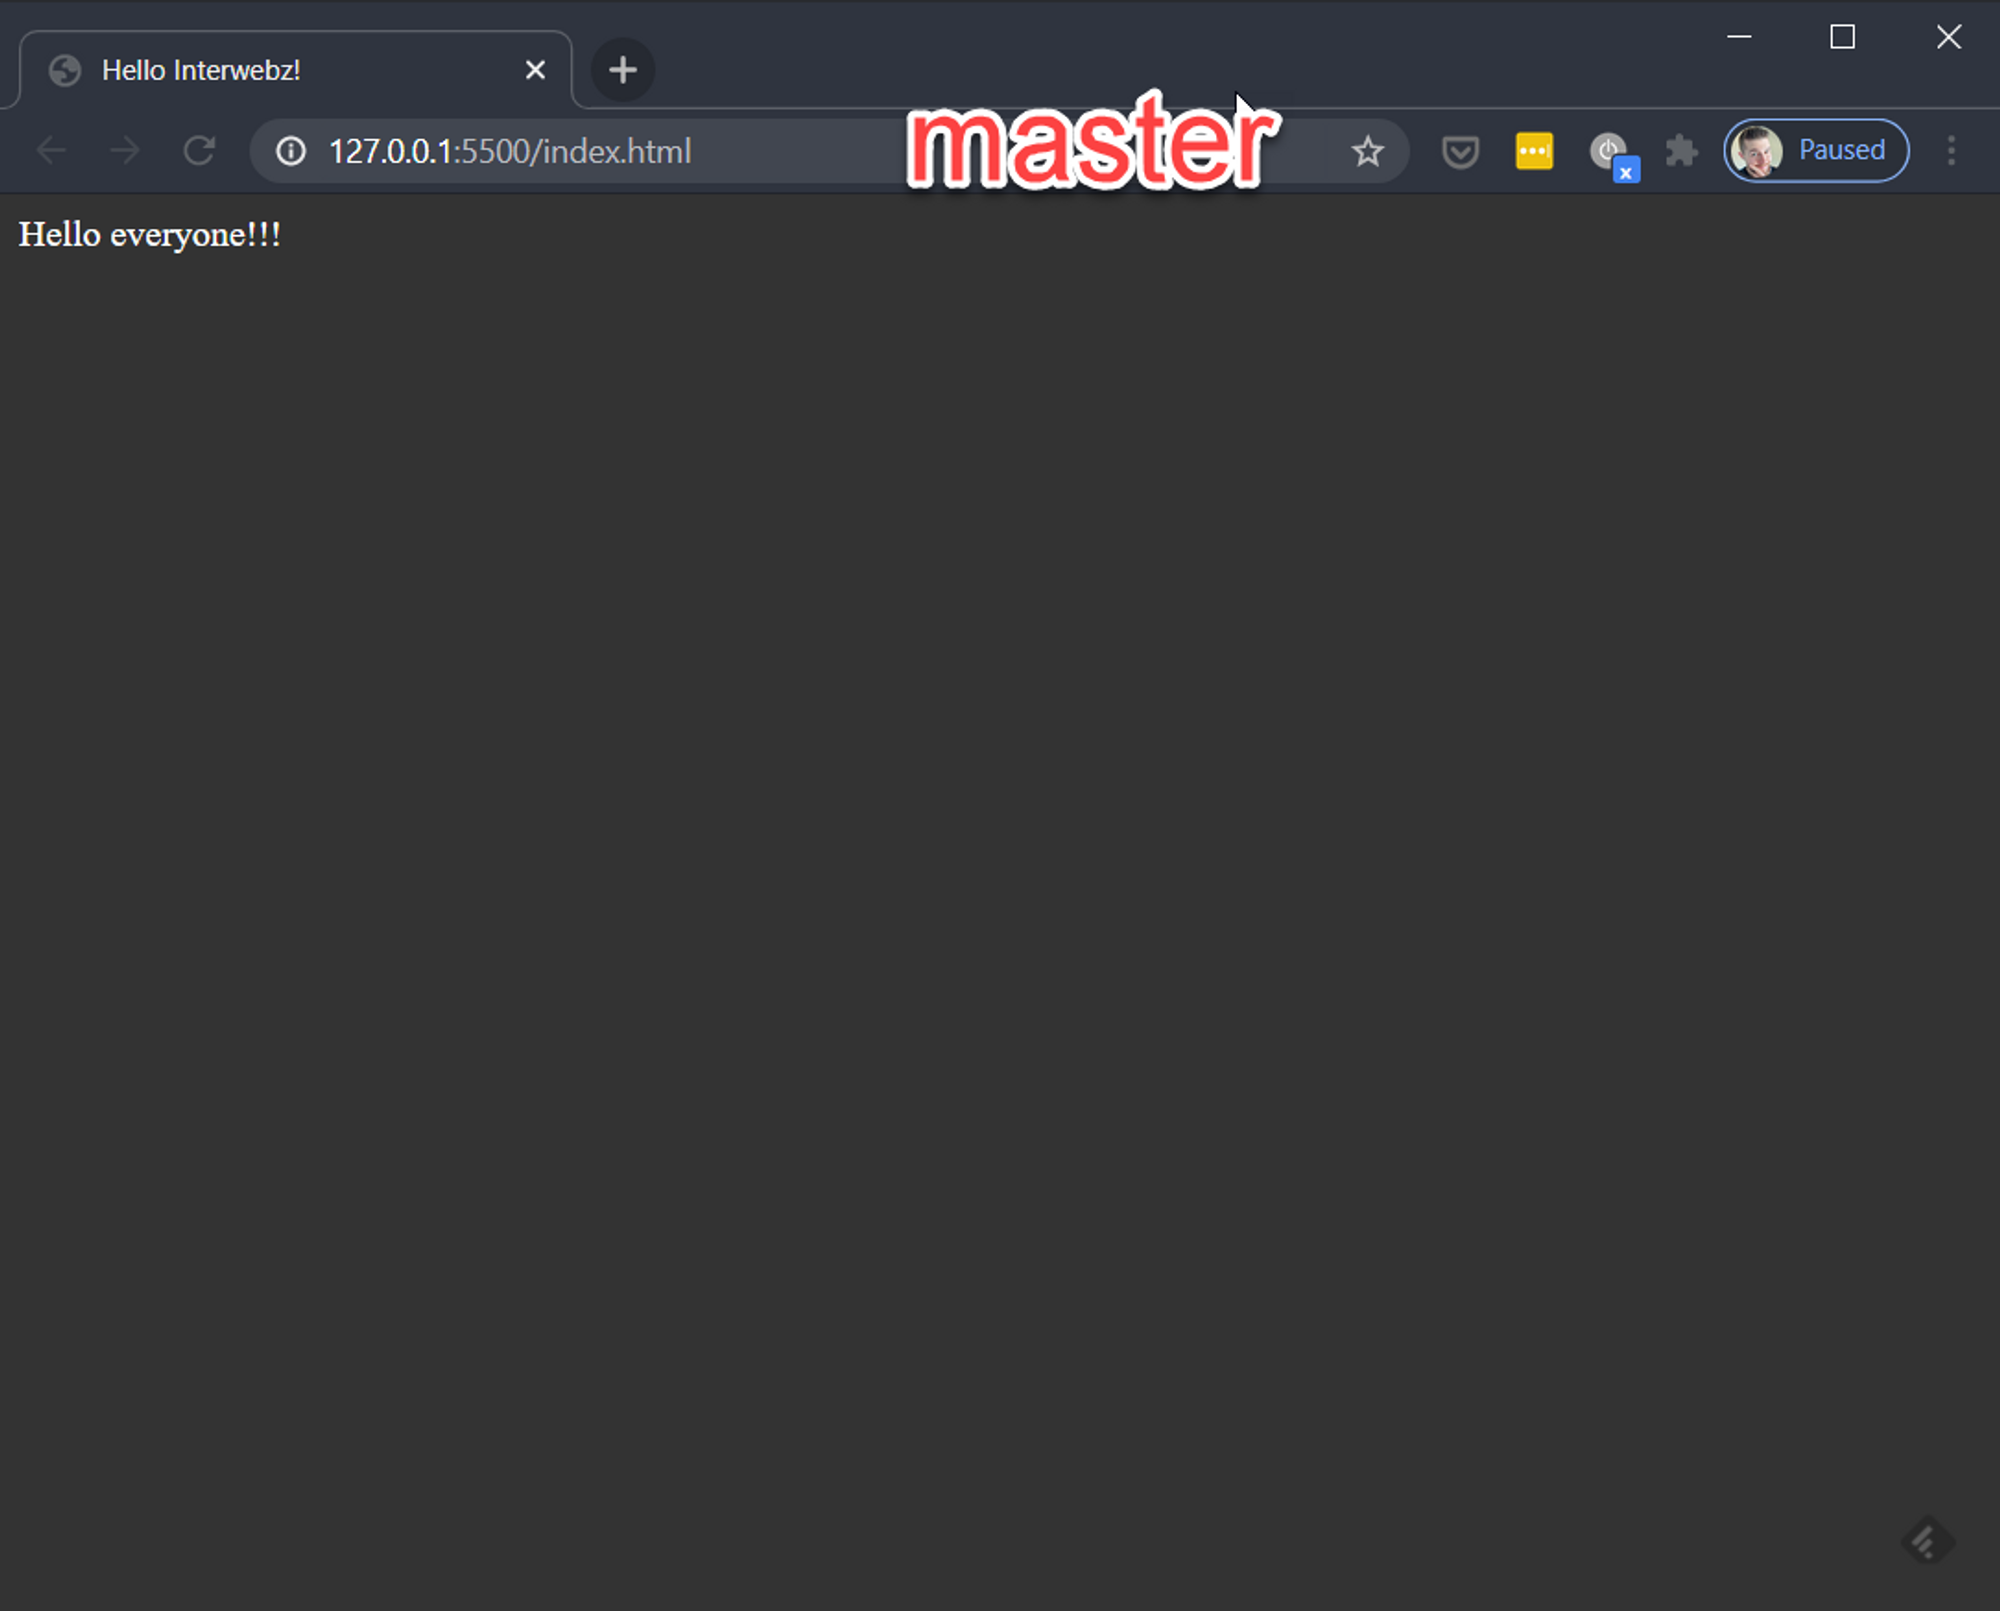
git merge testing-stylesNow our changes to style.css have been brought into master and we can view the changes in the browser. We can also see in Git Graph visually what the merge looks like.