If you ever work on multiple projects, you likely have duplicated code between your projects to handle simple things. One example of this for me specifically is building Lambda Functions in Go. Instead of constantly returning an object that contains the standard API response (response code, body content, CORs headers, etc), I created my own Go package (https://github.com/bmorrisondev/go-utils) that I can refernce from any of my Go projects! Here’s how you can do the same.
I’ll be using a Windows machine with VSCode as my IDE throughout this tutorial. You may need to tweak things to fit your environment but the process is generally the same.
Building A Package
First thing you’ll need to know how to do is create a Go module. Go works by pulling in the source code from a public repository using Git tags to version the package. This means you dont need to worry about publishing to a third party package repository like NPM or Nuget. In this article, we’ll be publishing our libary to GitHub so you should create a package with your GitHub profile URL along with the specific package name. Lets create a simple logger that we can use to log messages out along with the type of log message (Info, Warning, Error).
At your project root, open a terminal and issue the command go mod init github.com/{Your_GitHub_Username}/my-logger , just make sure you replace Your_GitHub_Username with, well, your username. My username is bmorrisondev, so on my box it will be github.com/bmorrisondev/my-logger. You should have a go.mod file that looks like similar to this:
module github.com/bmorrisondev/my-logger

go 1.16
Now create a file called main.go an put the following code in there:
package mylogger

import "log"

func LogInfo(message string) {
  log.Printf("INFO - %v", message)
}

func LogWarning(message string) {
  log.Printf("WARN - %v", message)
}

func LogError(message string) {
  log.Printf("ERROR - %v", message)
}
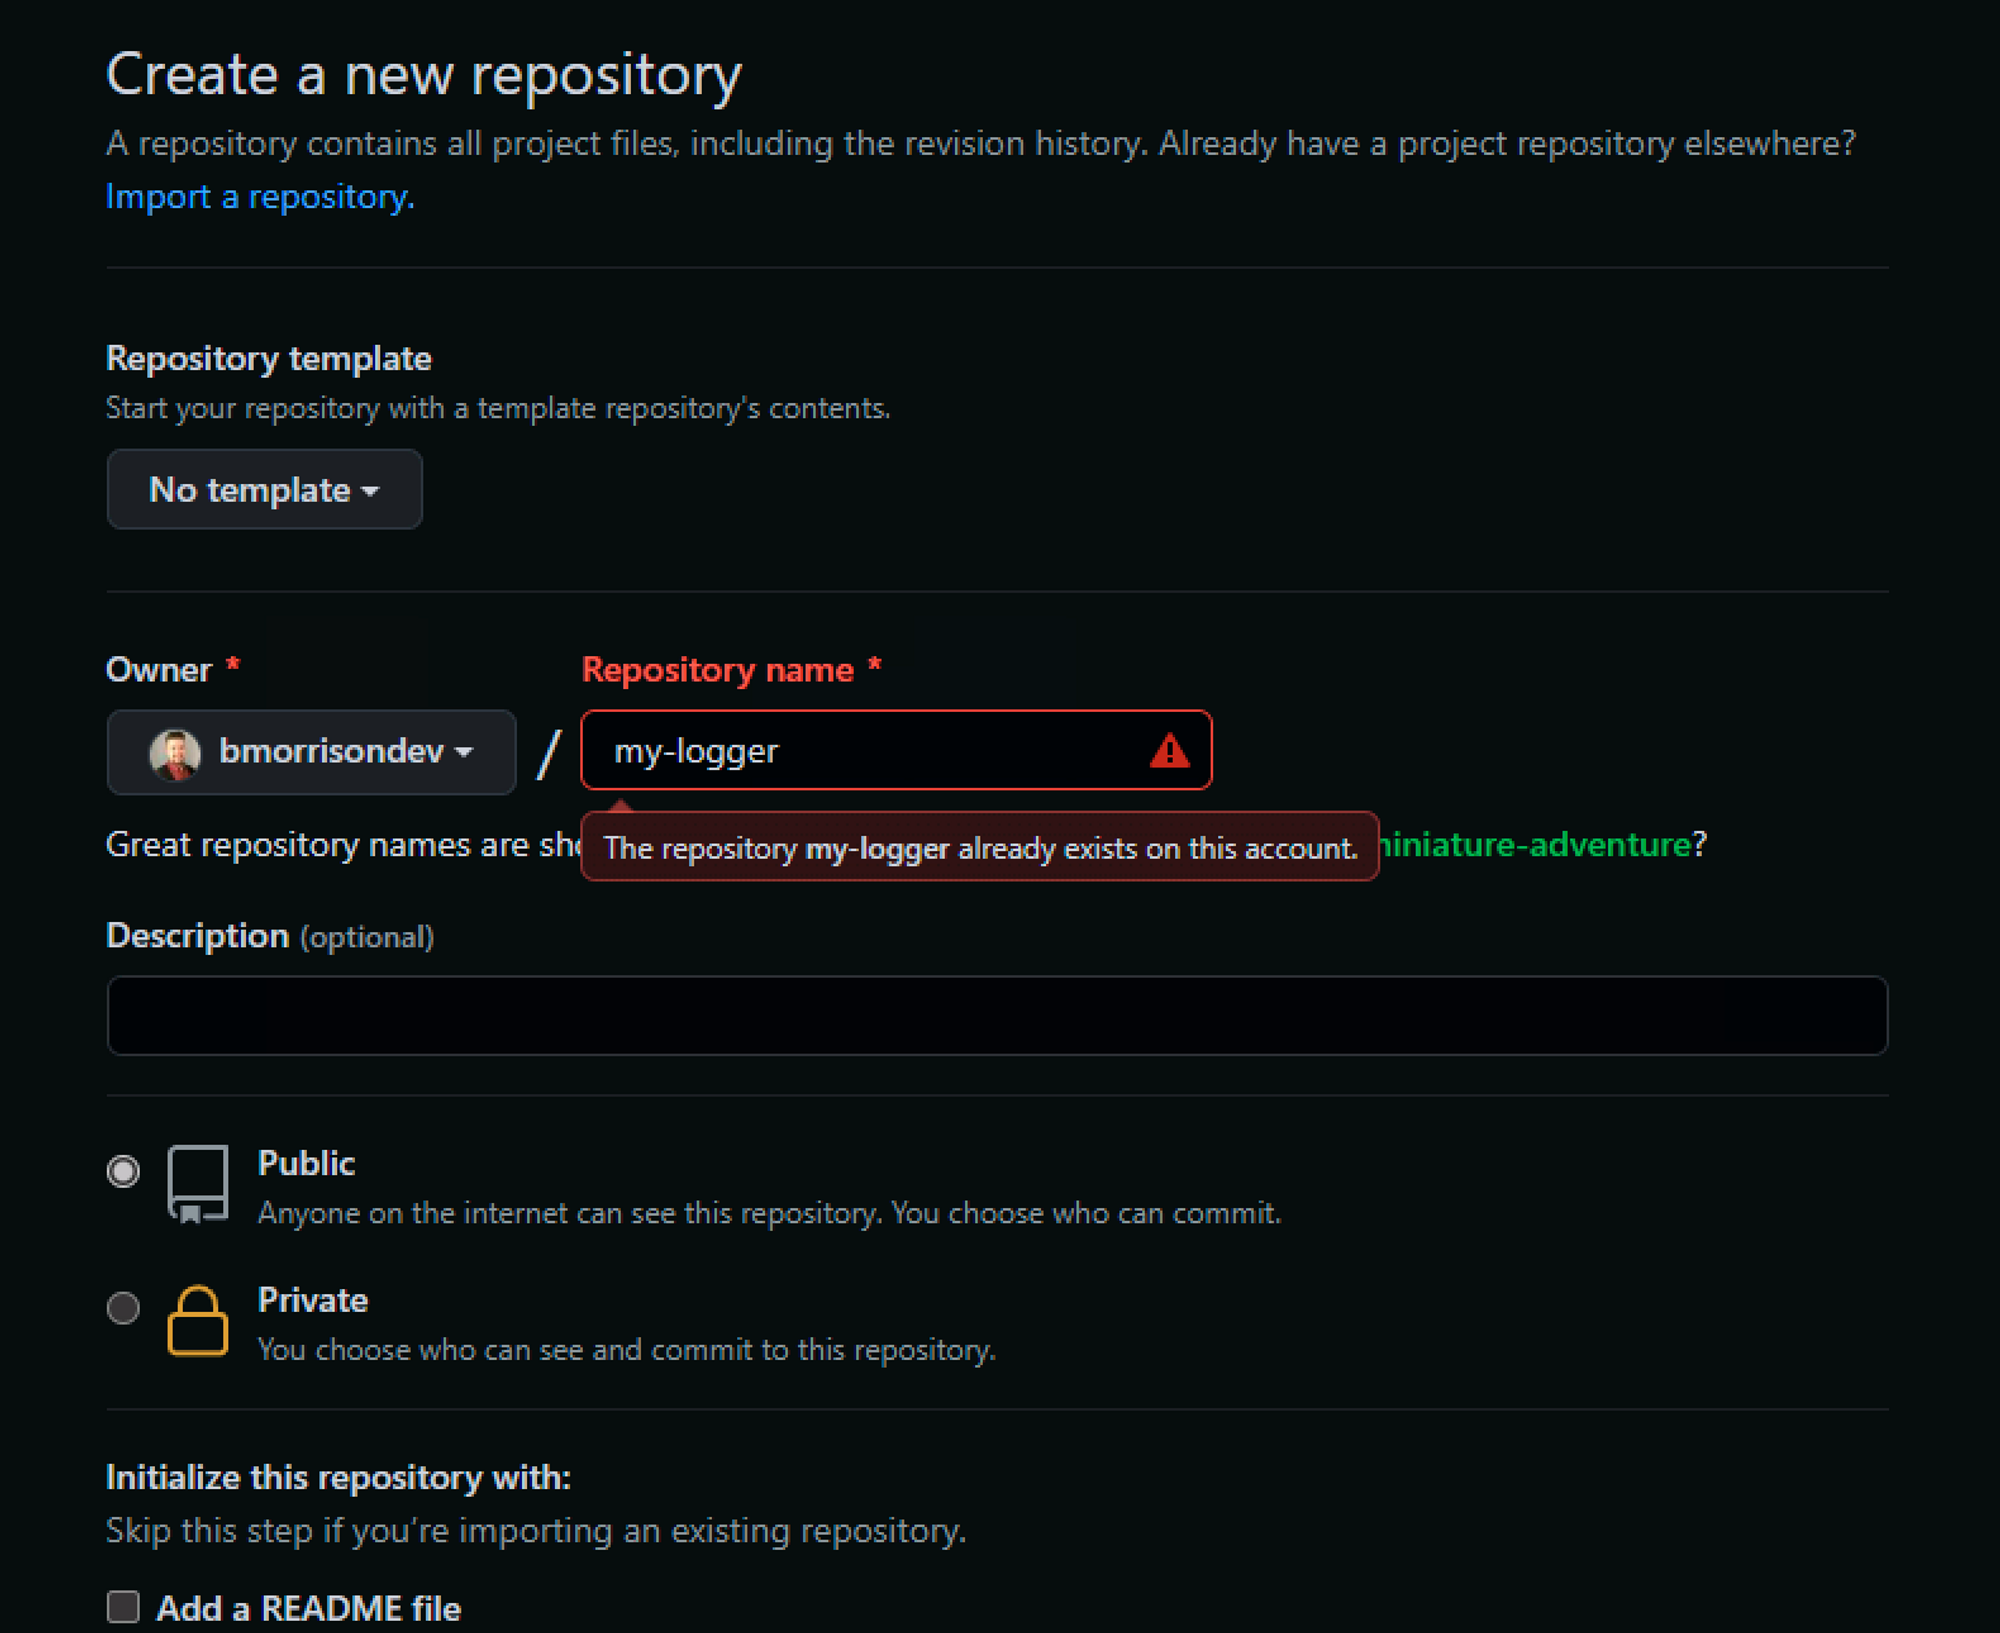
We have three exported functions that simply prepend the log level to the message we pass in. This will be sufficient enough to demonstrate how to create packages. Now create a repository in GitHub that matches the name of your package, which is my-logger in this case. (Ignore the error message here, it only shows that because I made mine already.)
Now back in the VSCode terminal, lets wire up our local project with the new GitHub repo we created. Here are the commands you can run in the terminal to do so.
git init
git remote add origin https://github.com/bmorrisondev/my-logger.git
Now lets commit our code & push it up to GitHub.
git add .
git commit -m "Initial commit"
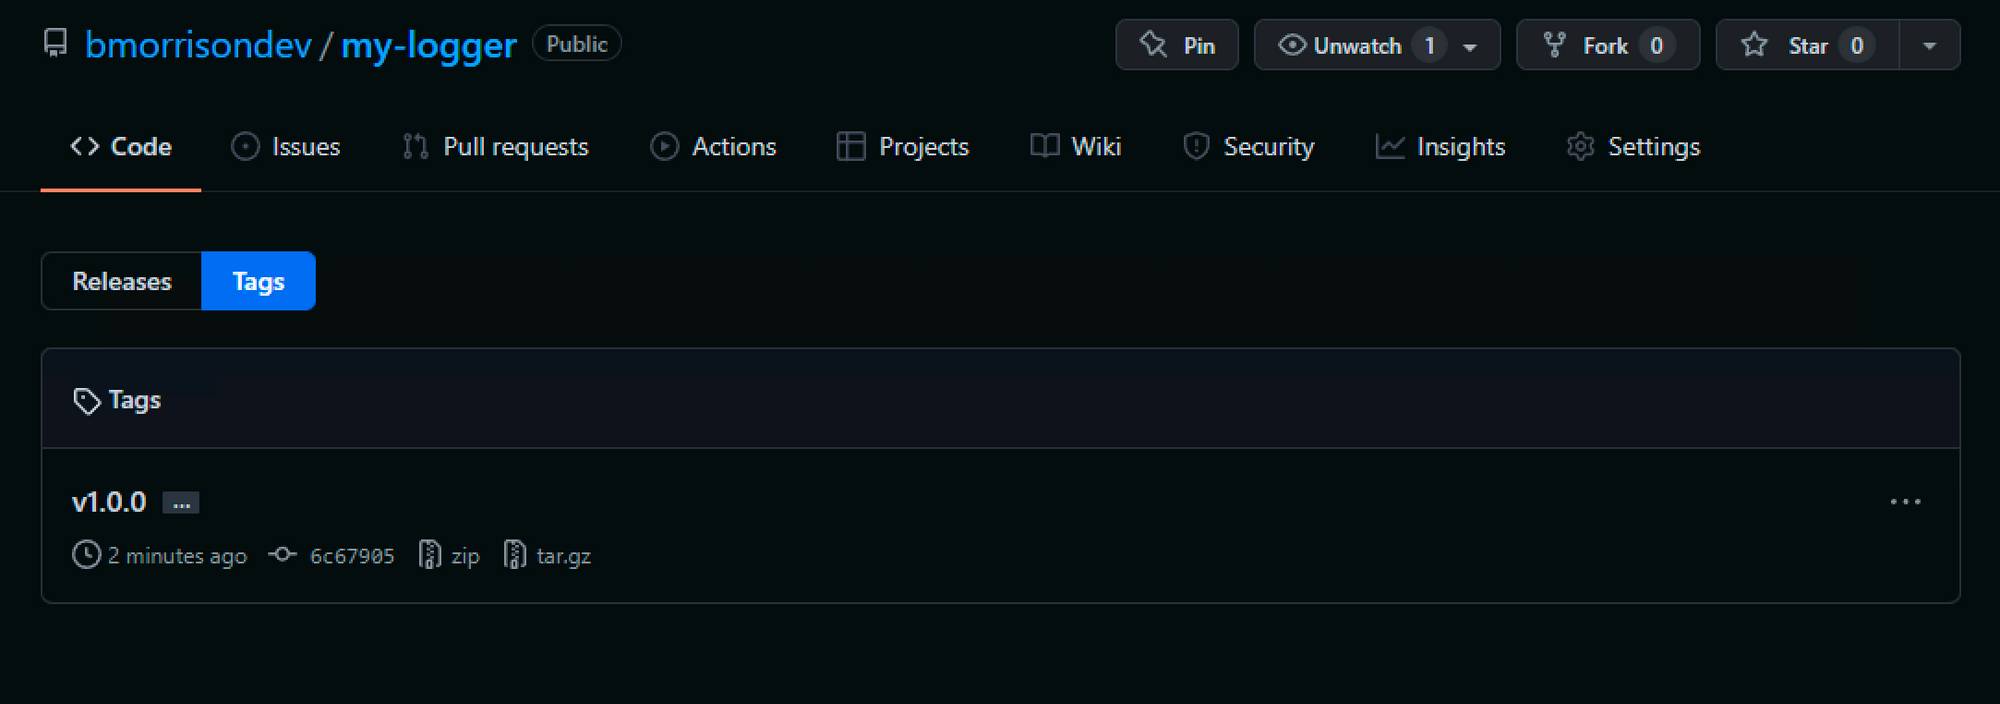
git push --set-upstream origin masterNow here’s the trick, Go uses Git Tags to manage versions of your code. In order to tag our package as v1, issue the following command in the terminal to tag it and push the tags.
git tag "v1.0.0"
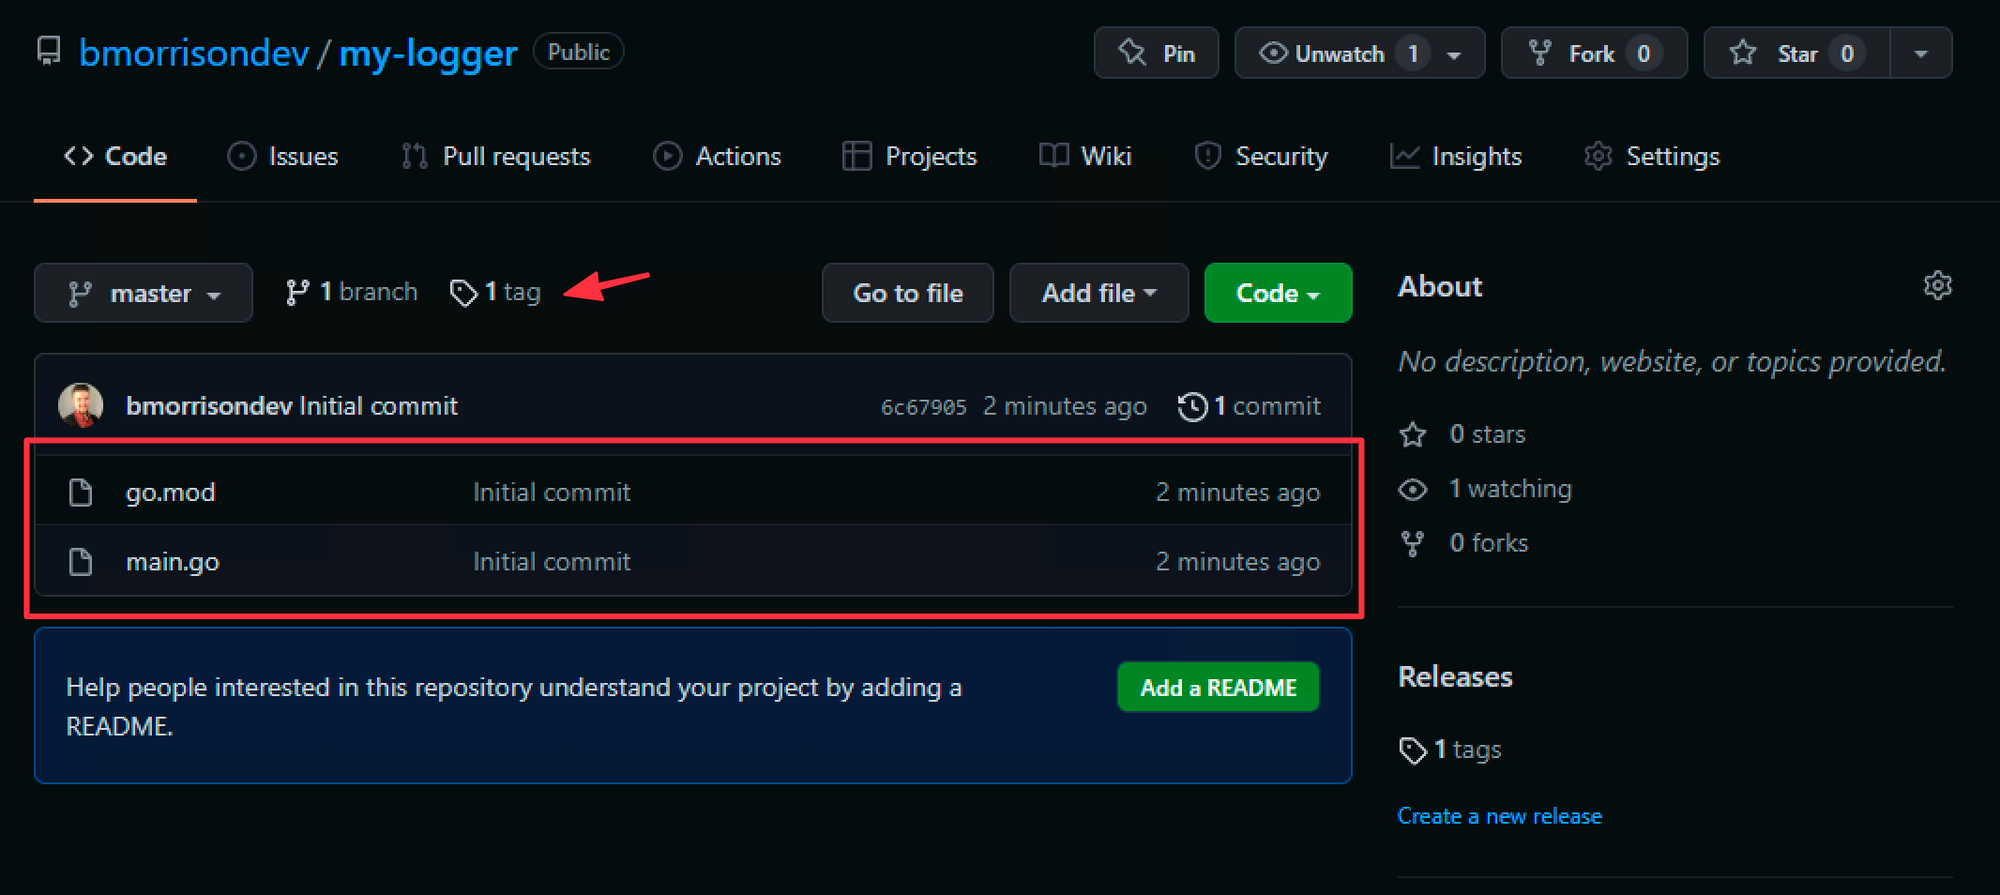
git push --tagsLets head back to GitHub and make sure that our code is there and is properly tagged.
Using Your Package
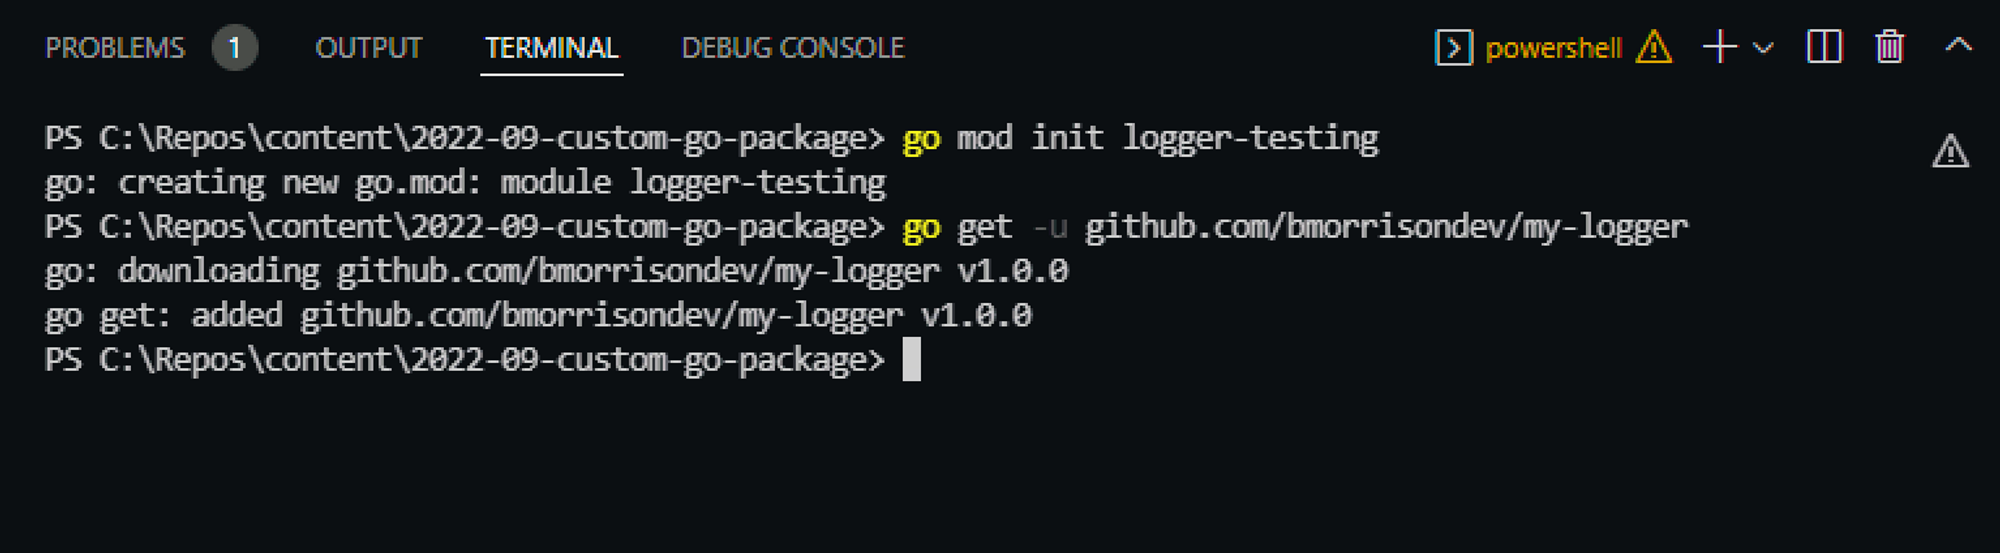
Now setup another Go project on your computer. We wont be pushing this one to GitHub, so no need to use a GitHub URL with the package name. I’ll name my package logger-testing. Then I’ll issue the command to install the package using the full project name we setup in the previous step.
go mod init logger-testing
go get -u github.com/bmorrisondev/my-logger
Then I’ll create a main.go file again with the following code in it.
package main

import mylogger "github.com/bmorrisondev/my-logger"

func main() {
  mylogger.LogInfo("This is an info message!")
  mylogger.LogWarning("This is a warning message!")
  mylogger.LogError("This is an error message!")
}
Now if we head back to the terminal and run the go file with go run main.go, you should see the following output.

And there you have it! While this example was relatively simple, you can build your very own utility library to simplify things and share it across all your projects!