I've wanted a good strategy to build animated diagrams to use within my videos for quite some time now. I've explored things like Adobe After Effects or DaVinci Fusion, but they felt like overkill to me. When I got the idea of using SVGs and code in some way to accomplish this, my research turned me on to Framer Motion. Today is the first day I've used this library and so far IT'S AWESOME! Here's what I was able to pull off in about 2-3 hours of using it.
General overview
This is by no means an elaborate explanation of how to use Framer Motion, just how I interpret it. When you import motion from the library, you can prepend any element with it. So div becomes motion.div, then you can use the custom props that come with the library. These are as follows:
initial- The initial state of the object.animate- The final state of the object.transition- Attributes around how the object behaves (duration, easing animation, etc)
The first two in the list are apparently controlled with CSS attributes and the transition prop has its own object to work with.
Making my first box
In infrastructure diagrams, boxes are pretty commonplace to represent components within the system, so it felt like an easy place to start. I first tried creating a div with a border to animate. Framer Motion seems to work off of CSS attributes, so I could animate scale and opacity, but not actually drawing the box on screen. FM did however support drawing paths in SVGs, so I created a custom Box component in React that I could use to animate the path when it gets dropped on the screen. This let me animate the border of the box being drawn, which is pretty good progress overall.
Notice in the code that it has the motion prefix on the SVG elements, as well as those three attributes from earlier on the motion.rect element:
<motion.svg viewBox={viewBox} style={{ position: 'absolute', top: 0, left: 0}}>
  <motion.rect width={width - stroke} height={height - stroke} rx="15" fill="transparent" stroke="red"
    strokeWidth={stroke}
    initial={{
      pathLength: 0
    }}
    animate={{
      pathLength: 1.1
    }}
    transition={{
      duration: 2,
      ease: 'easeInOut',
    }}
    />
</motion.svg>
Creating a canvas
Again, my primary goal is to build some kind of tool that lets me create animated diagrams for my videos. Preferably something I could control using my keyboard or a mouse click. I have an ultrawide monitor and record a section of my monitor that equates to 1080p, so I needed something that I could set the size to match as well. I built a canvas component that is hard set to 1920x1080 and has relative positioning so I can place child components at specific X/Y coordinates.
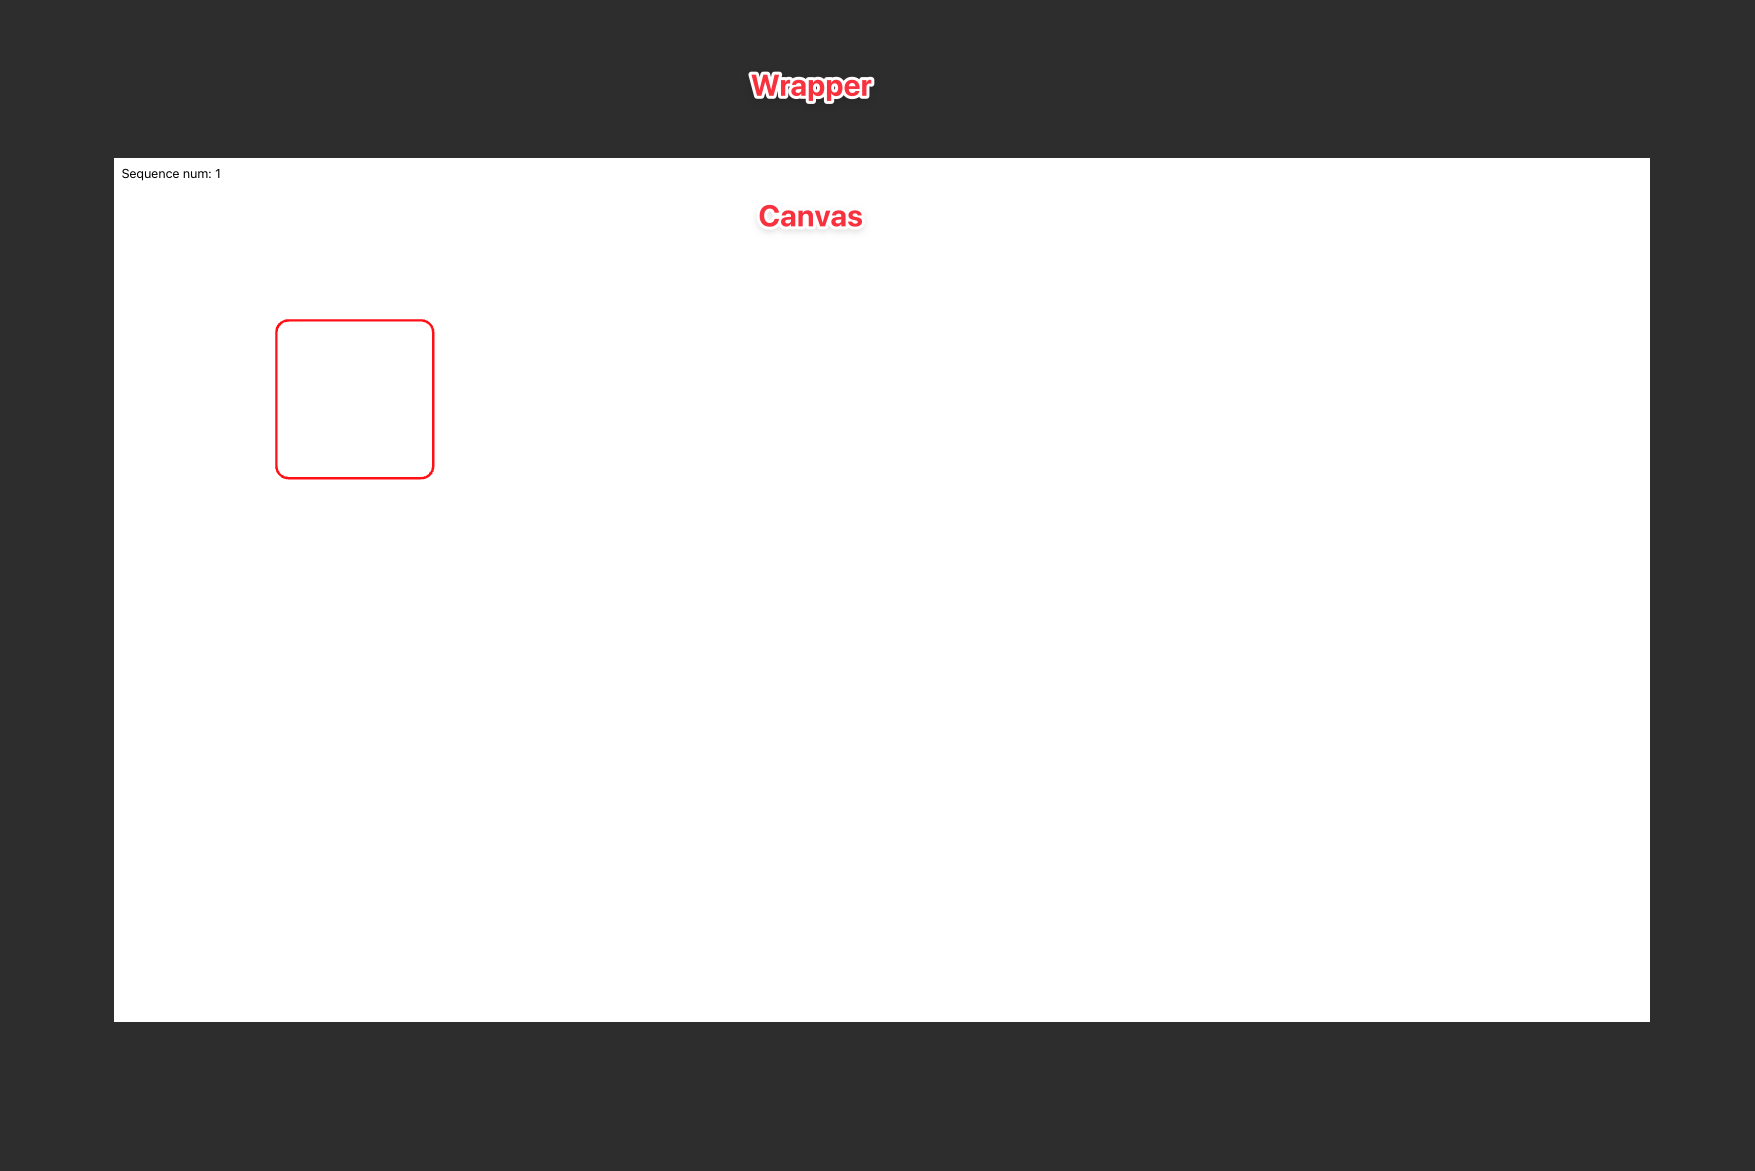
My Box component was updated to take in X/Y coordinates, height, width, and stroke size. There are some calculations done with those values to ensure the box is drawn properly within the viewbox of the SVG element, but the result is that I can place a box on the canvas using the following code:
<Box3 height={200} width={200} stroke={3} x={200} y={200} />Animating connectors
In diagramming software, its pretty easy to place connectors between various elements, but I wanted to take it a step further and create dotted, animated connectors that I can use to highlight certain parts of the diagram when I'm explaining what is going on with the diagram. I was able to animate an SVG line element by messing with the stroke-dashoffsetlike so:
<motion.line x1="400" y1="300" x2="600" y2="300" stroke="black" strokeDasharray="10"
  initial={{
    opacity: 0,
    strokeDashoffset: 60
  }}
  animate={{
    strokeDashoffset: 0
  }}
  transition={{
    duration: 1,
    repeat: Infinity,
    ease: "linear"
  }}
/>
Controlling the animations
Framer Motion has a React Hook called useAnimationControls() which lets you control when transitions should fire. Using a sequence number held in a state object along with useEffect(), I was able to wire up clicking on the canvas wrapper to iterate a number and control the animations based on that sequence number.
const controls = useAnimationControls()
const textControls = useAnimationControls()
const connectorControls = useAnimationControls()
const veryNiceControls = useAnimationControls()
const [sequenceNum, setSequenceNum] = useState(0)

useEffect(() => {
  async function handleSequence(sequence: number) {
    if(sequence === 1) {
      controls.start({
        opacity: 1
      })
    }
    if(sequence === 2) {
      connectorControls.start({
        strokeDashoffset: 0,
        transition: {
          duration: 1,
          repeat: Infinity,
          ease: "linear"
        }
      })
      connectorControls.start({ opacity: 1 })
    }
    if(sequence === 3) {
      veryNiceControls.start({
        width: 500,
        height: 566
      })
    }
  }
  handleSequence(sequenceNum)
}, [sequenceNum])
Putting it all together
After putting all of these things together, I was able to create a very basic animated diagram to represent the model I use to learn new stuff and build services. Here is the project so far:
My next step is to build on this project to create a framework for building animated diagrams for video content. Stay tuned for updates!