In this article, I’ll be demonstrating how to configure AWS S3 and AWS CloudFront to host a static website.
Setting up S3
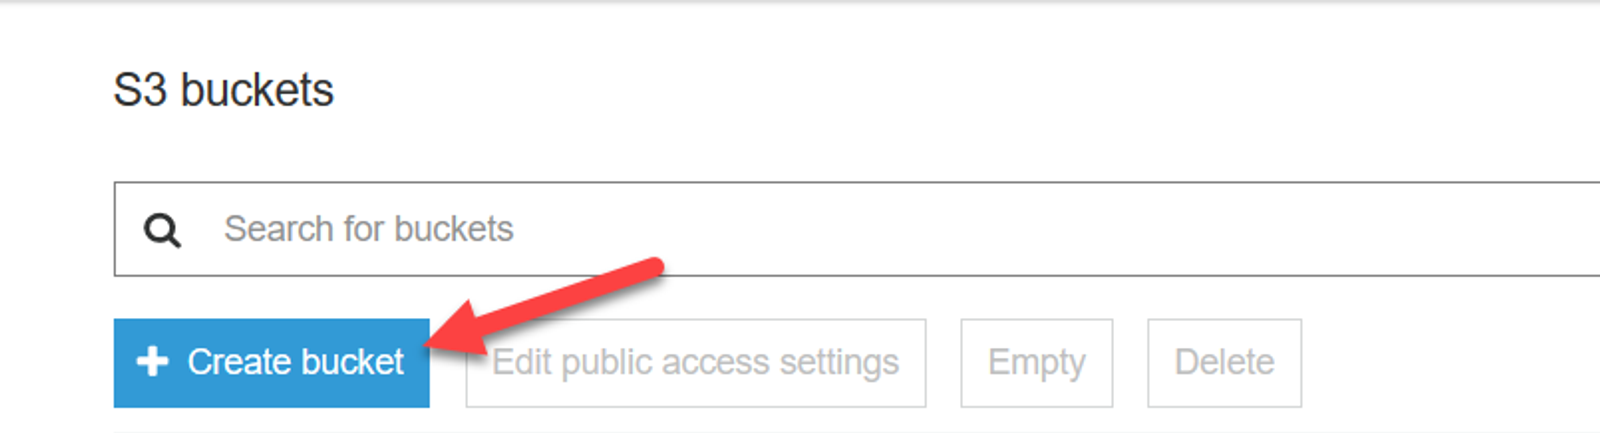
To start, I’ll need to create an S3 bucket to store the content of the website. S3 is object-based cloud storage hosted in AWS. You can store any kind of file here, but you can also host a website using their built-in Static Site Hosting. Head over to S3 and click Create bucket;
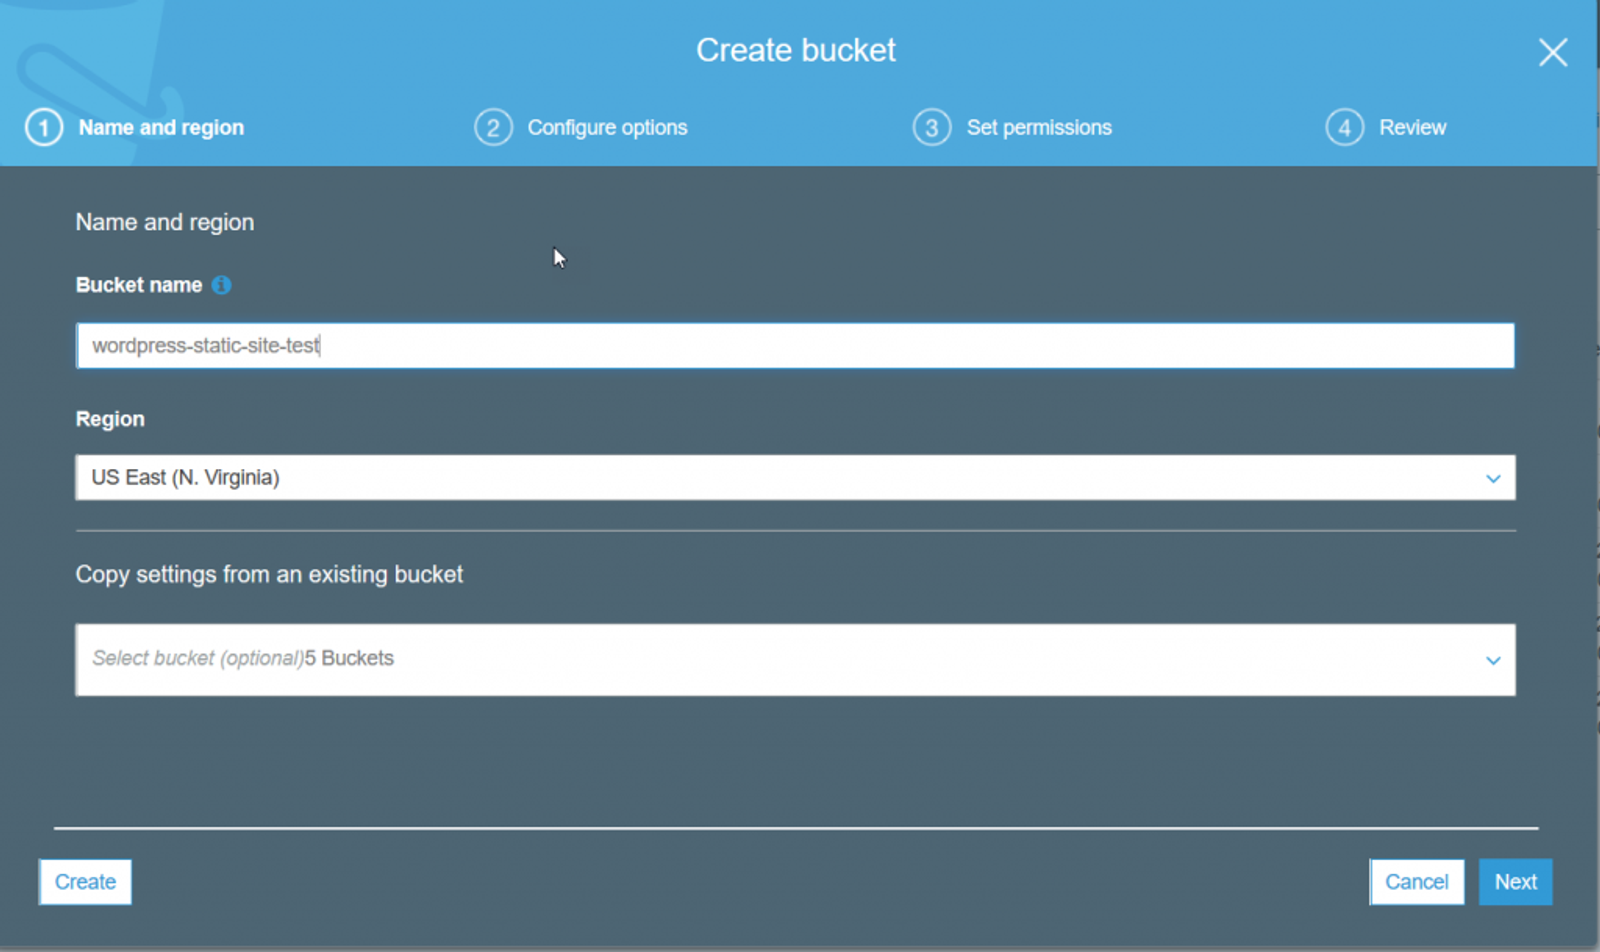
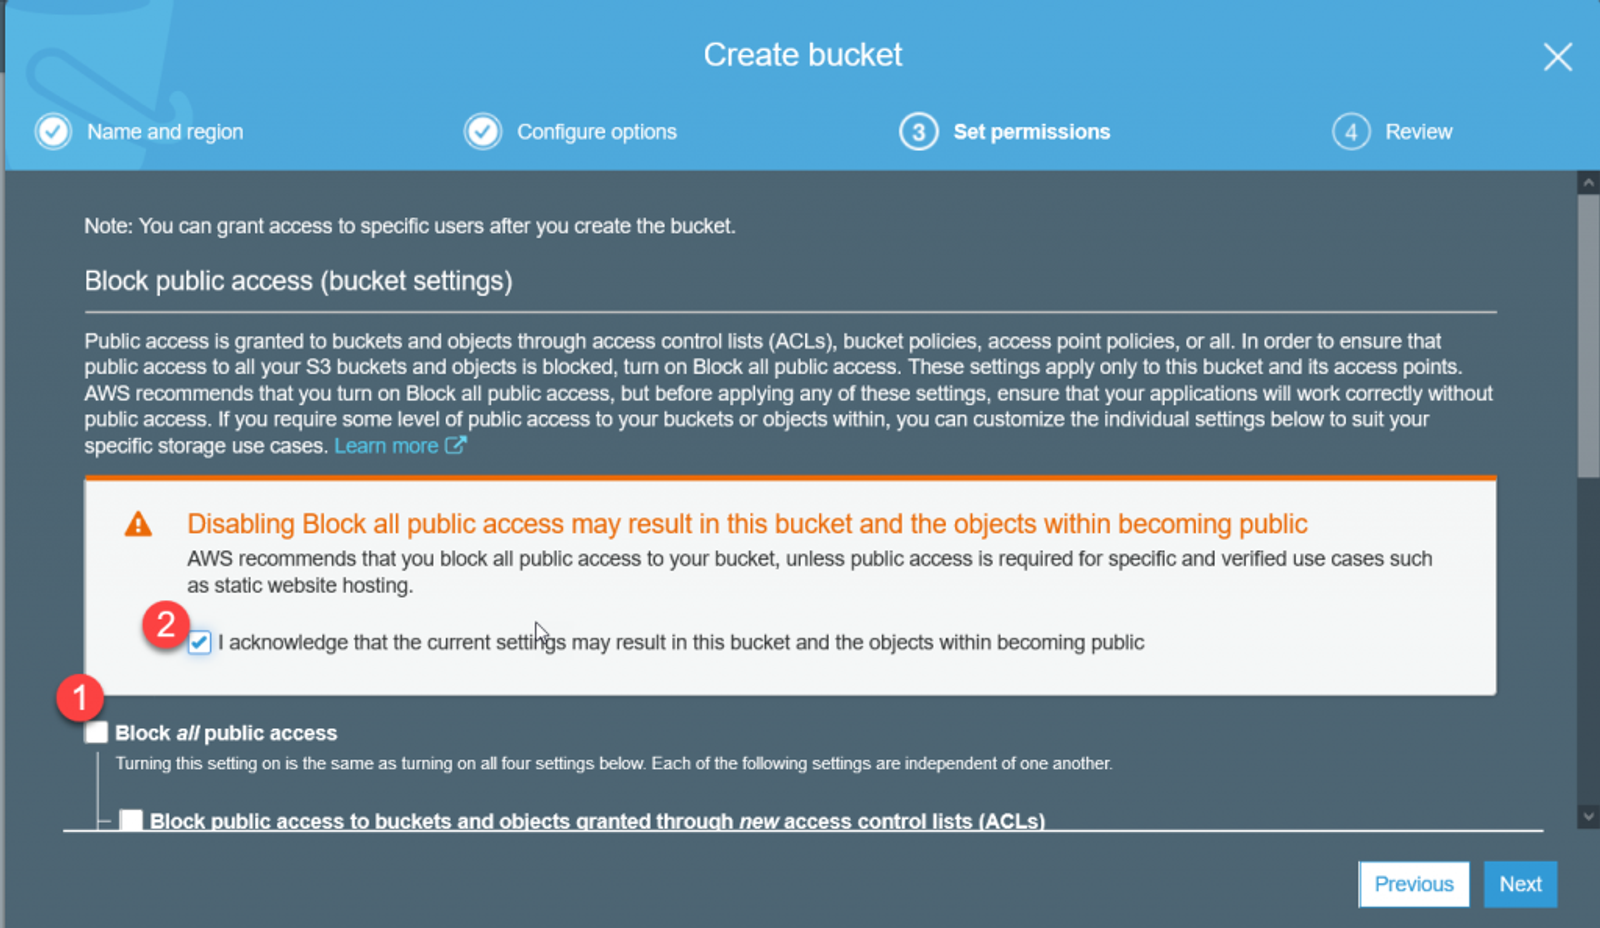
You’ll need to name the bucket something that DNS can resolve to. So lowercase characters, periods, dashes, etc. I named this wordpress-static-site-test during this. Later in the series, I’ll likely create a new bucket once I uncover any caveats that go along with this process. On the second page of the Create bucket wizard, I unchecked Block all public access and acknowledged the warning that the contents of the bucket will be public. I left everything else as defaults. If you are doing a lot of these, tagging them would be a good way to figure out what’s what for billing or organizational purposes.
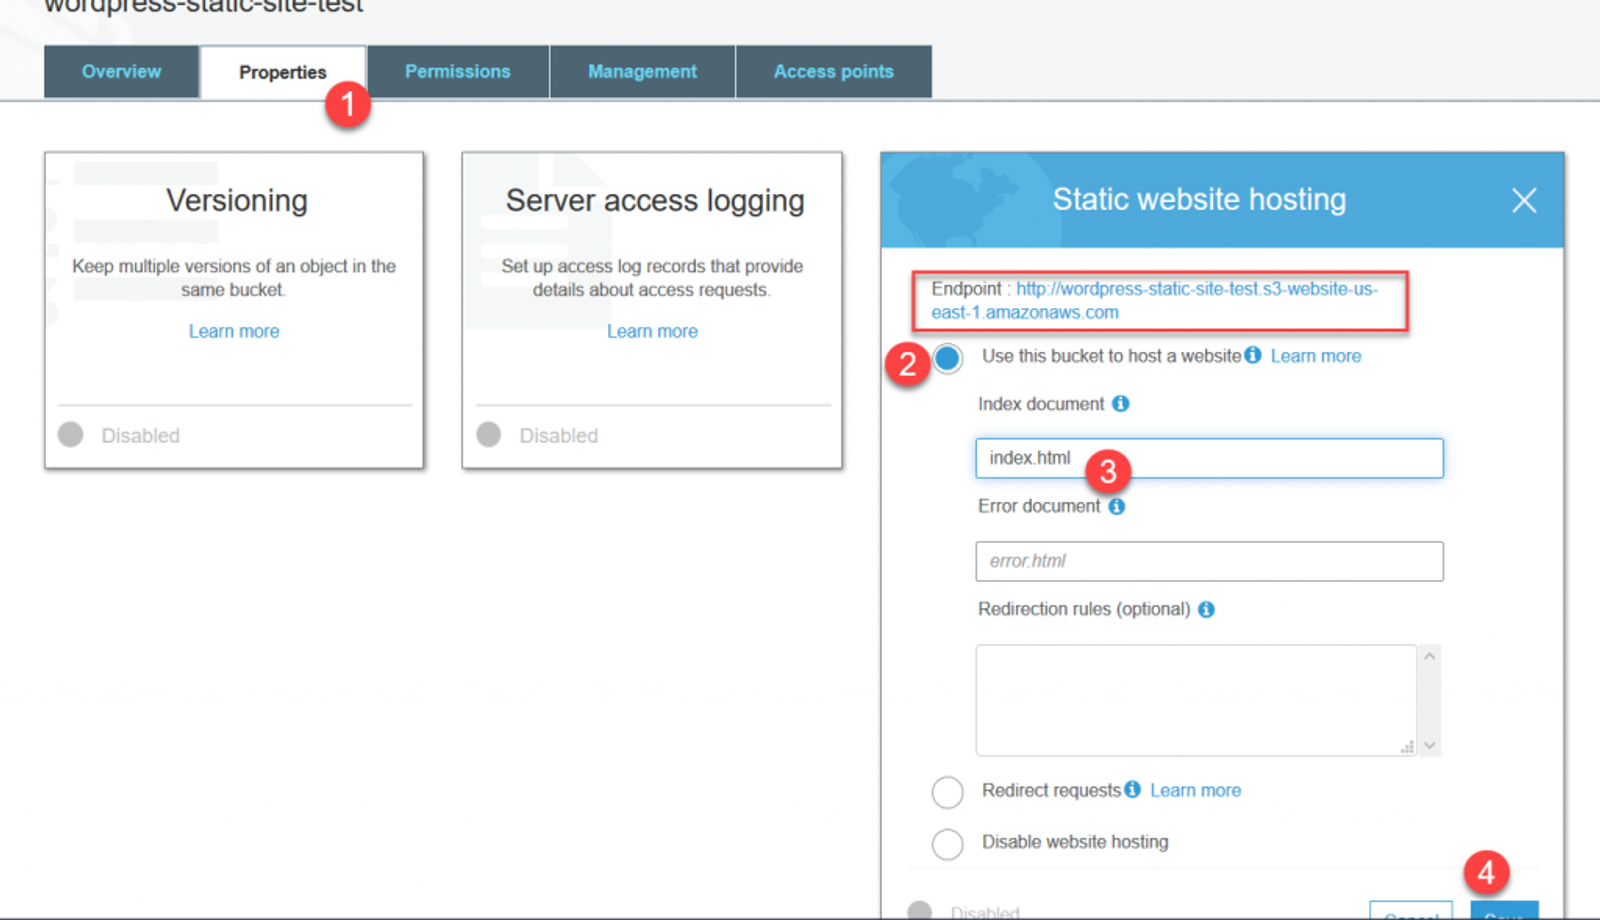
Once the bucket is created, click on it to manage it. Then head over to Properties, and enable Static website hosting. I set the Index document to index.html (I have a sample file I’m using for testing). Note the Endpoint URL as well since we’ll need to test this shortly.

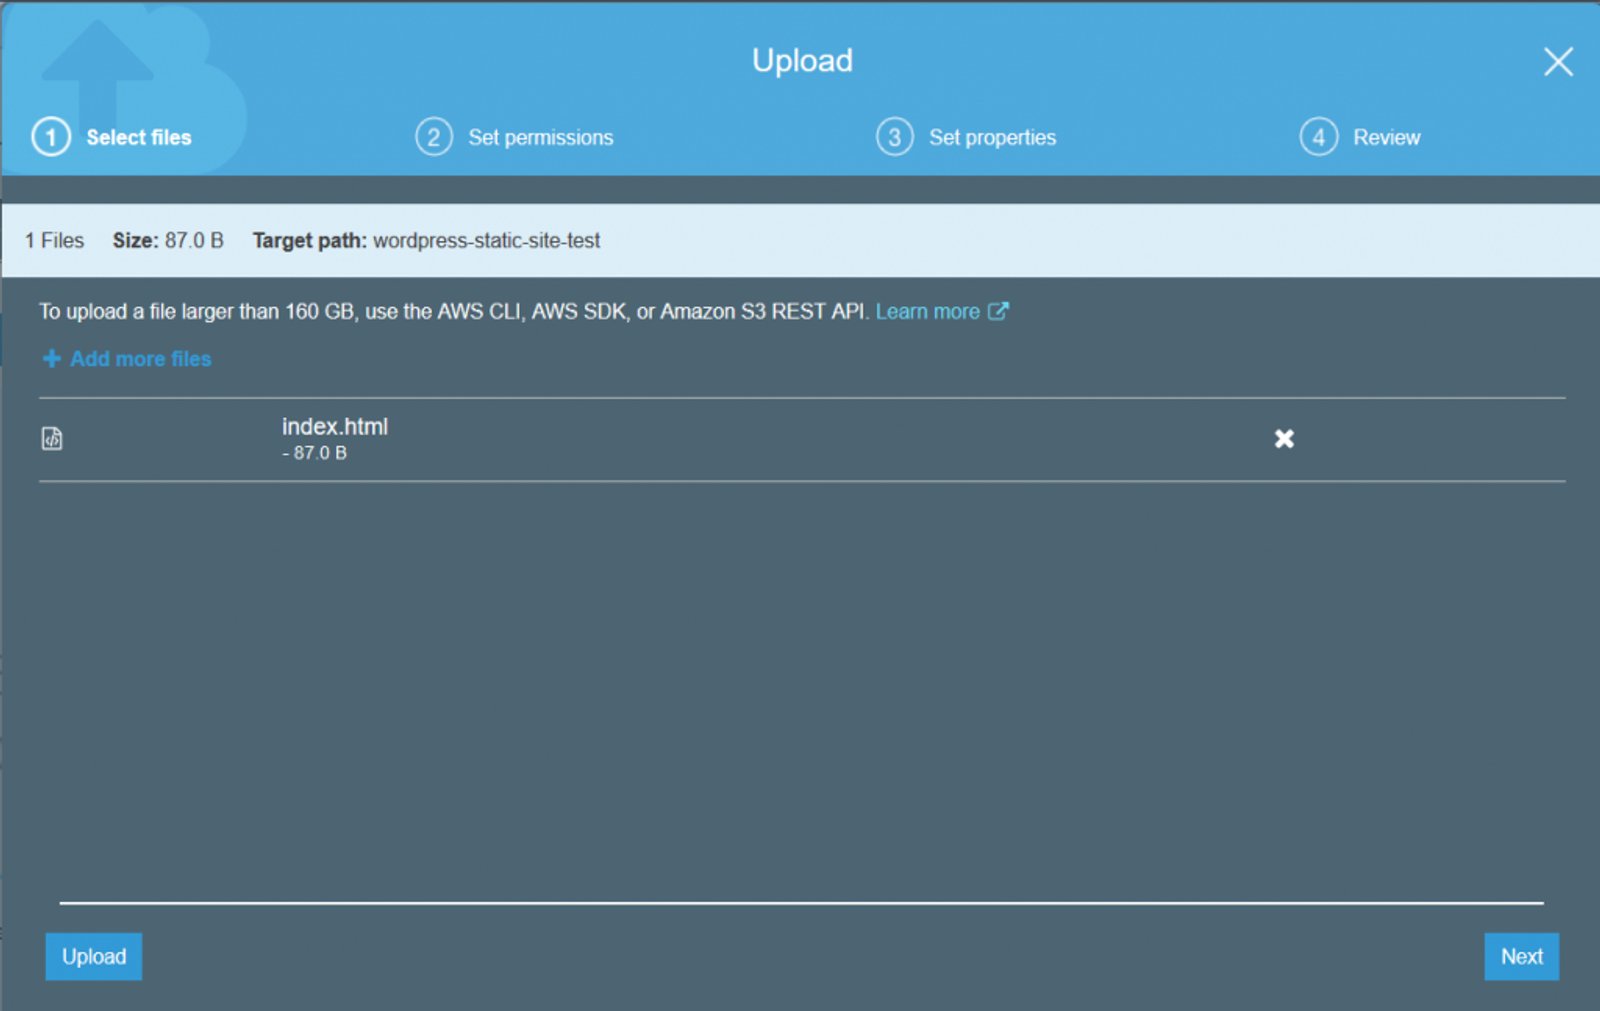
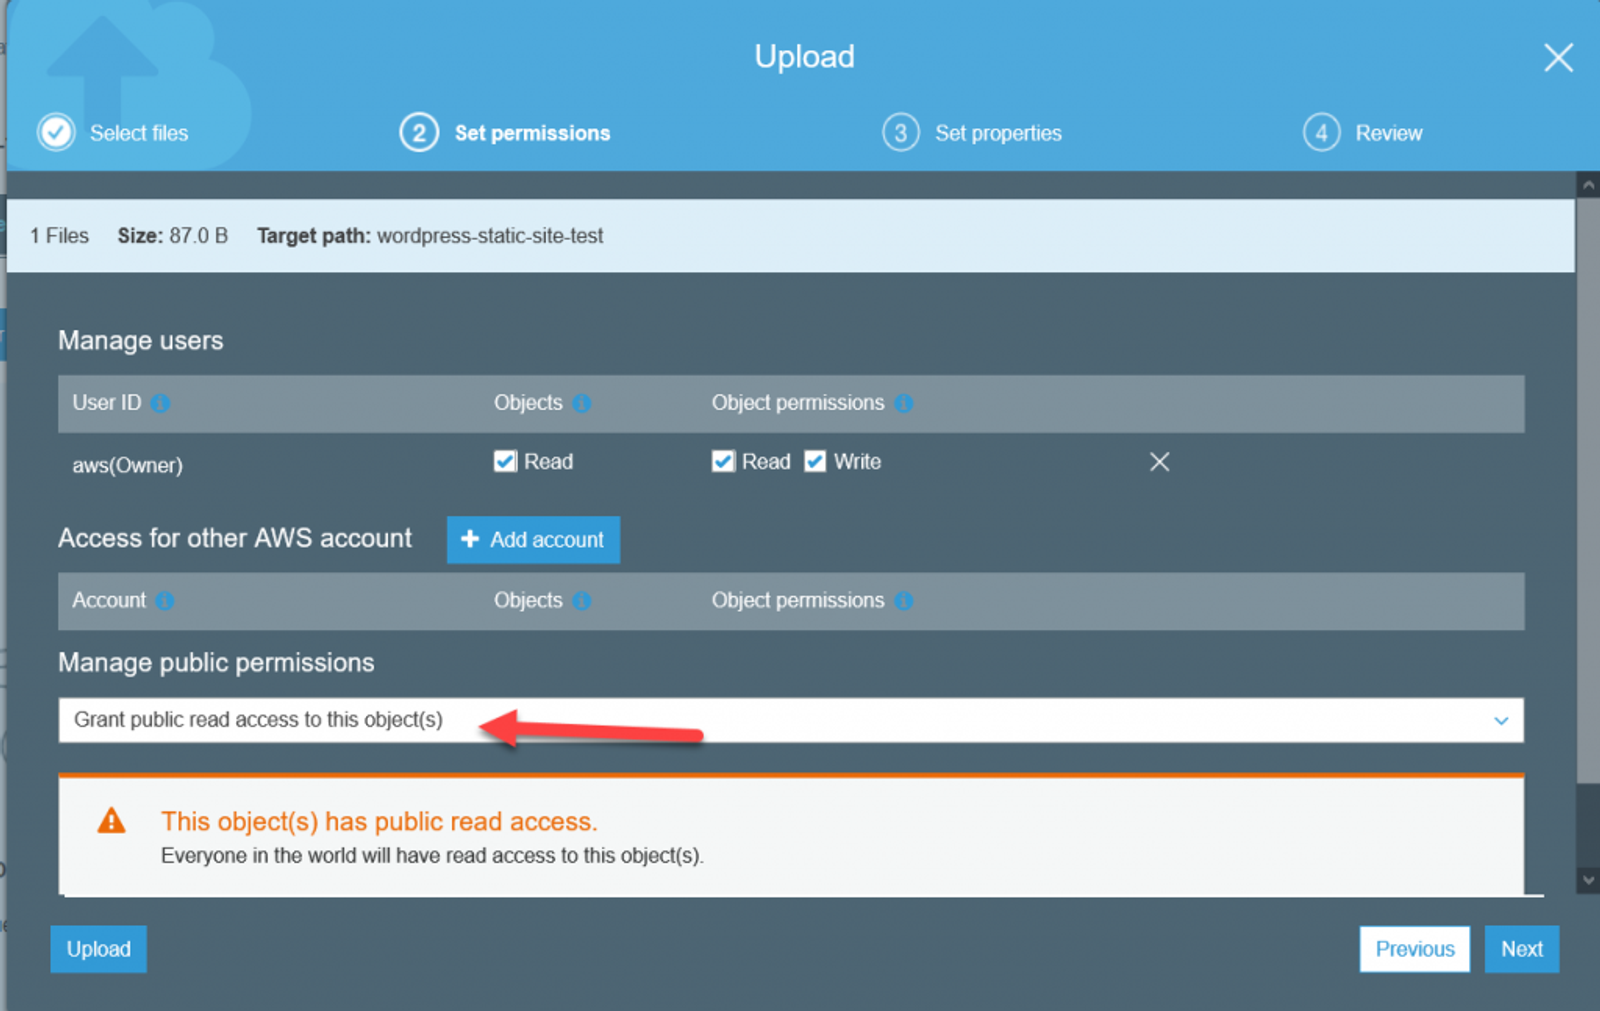
Now we need to upload the sample index.html. On the second page of the wizard, change the dropdown to Grant public read access to this object.
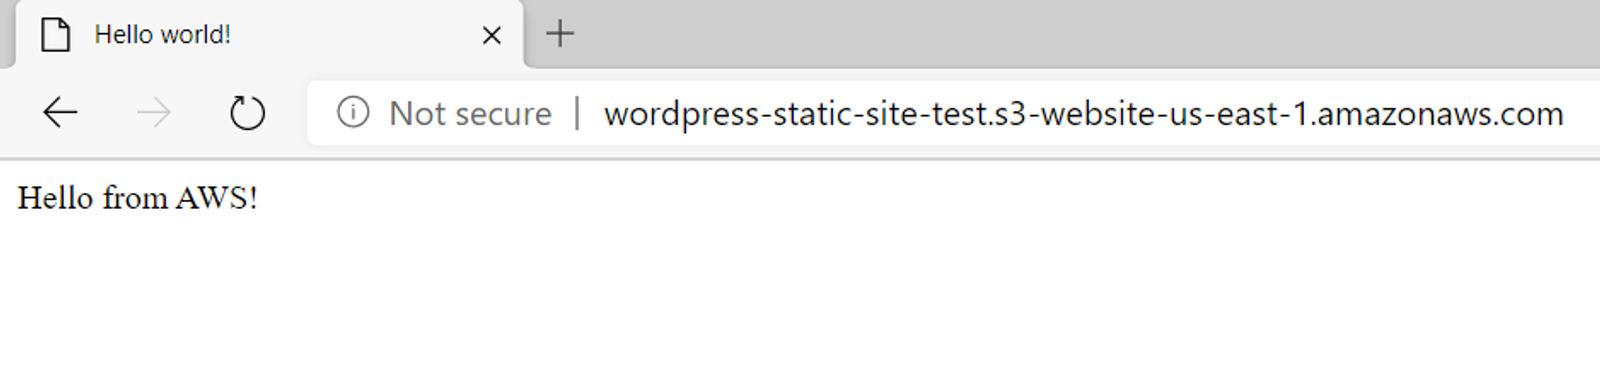
Now open a browser window and enter in the Endpoint URL you noted earlier. You should get the contents of the index.html file you uploaded. If you do, we’re looking good so far.
Creating a CloudFront Distribution
Next were going to deploy this site out to CloudFront, AWS’s CDN. If you are unfamiliar with a CDN, it is essentially a network of endpoints all around the world that is used to distribute your content closer to your users. For instance, if someone accesses my website in Europe, they’ll access it from an AWS data center close to them.
So head over to CloudFront and click Create Distribution. If you click on the Origin Domain Name, you should see a list of S3 buckets in your account. Select the one we created earlier.
An Origin is where the CDN will pull the content from. You can see here that if you wanted to publish an existing website out to a CDN, you’d just need to set the URL here.
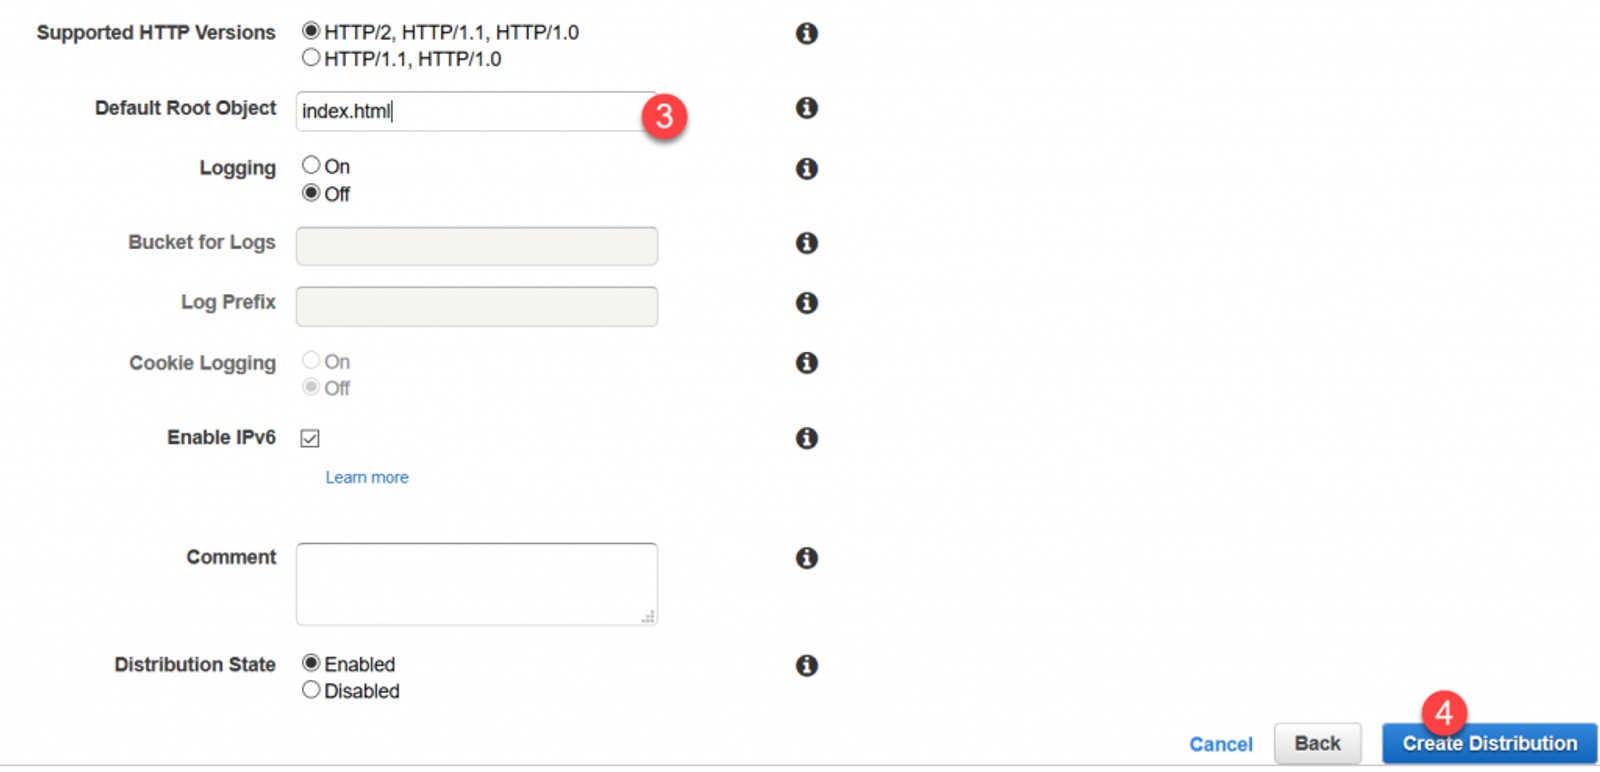
Then scroll down to the bottom and set the Default Root Object to index.html. We’re telling CloudFront that it will be the default object returned to the requestor if there is no other path or filename afterwards.
Finally, click Create Distribution at the bottom.


You’ll be returned back to the list of CloudFront Distributions and your new Distribution should show a deployment status of In Progress. Wait for it to say Deployed before going any further. This process can take up to 10 minutes in my experience.

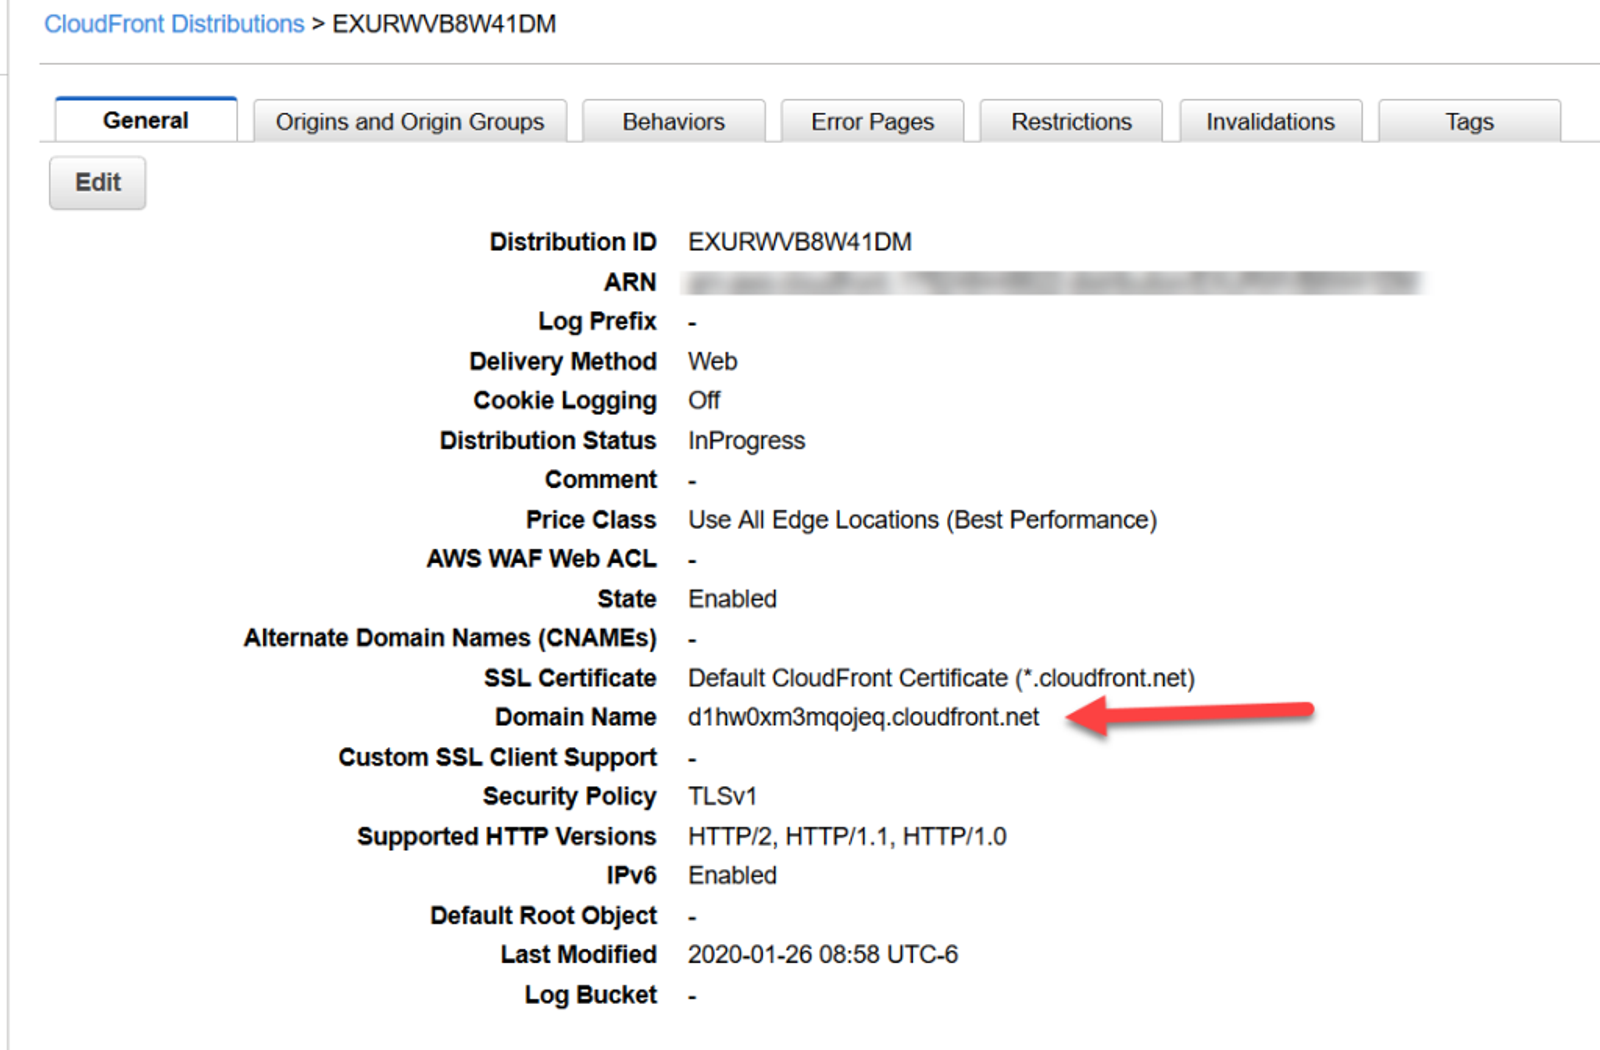
Once the status is Deployed, click on the Deployment ID to grab the URL. It’s listed under the General tab as Domain Name.
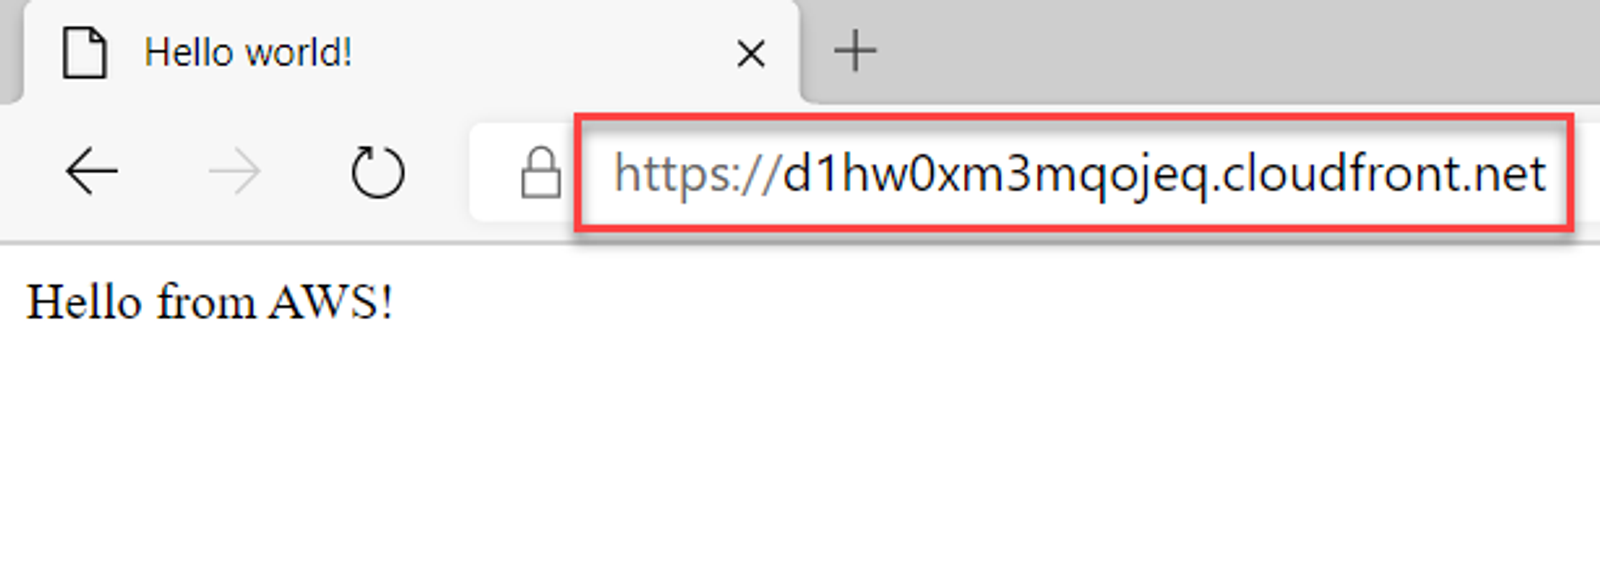
Enter that URL into your browser and you should receive the same web page you did earlier, but it will be coming from CloudFront instead of directly from S3.
That’s it! You now have a (rather basic) static website hosted in AWS endpoints all over the world! In the next part of this series, I’ll be looking at requesting a certificate with Amazon Certificate Manager and setting a CNAME in the CloudFront distribution so we can use our own URL.