Trello Power-Ups are like plugins for Trello that can extend its existing functionality and integrate external services. Today we're going to build a simple Power-Up, deploy it to Netlify, and add it to a board. Basic knowledge of JavaScript is required to really follow along. I'll be using VSCode as my code editor, but any editor will work.
Building the Power-Up
Power-Ups are hosted in an IFrame within Trello, so we need to basically create a website with some JavaScript that Trello will use to add the functionality itself. In your editor, create a new HTML file with the following in it, save it to an empty folder as index.html.
<!DOCTYPE html>
<html>

<head>
  <meta charset="utf-8">
</head>

<body>
  <script src="https://p.trellocdn.com/power-up.min.js"></script>
  <script>
    TrelloPowerUp.initialize({
      // Start adding handlers for your capabilities here!
      'card-buttons': function (t, options) {
        return [
          {
            icon: "https://i.ibb.co/6sbknH0/logo-stroke-32pt-style-2-no-stroke.png",
            text: 'Hello World!',
            callback: function (t) {
              return t.card().then((card) => alert("hello world!"))
            }
          }
        ];
      },
    });
  </script>
</body>
</html>
Here is what this little Power-Up will do to start.
- Add a button to every card.
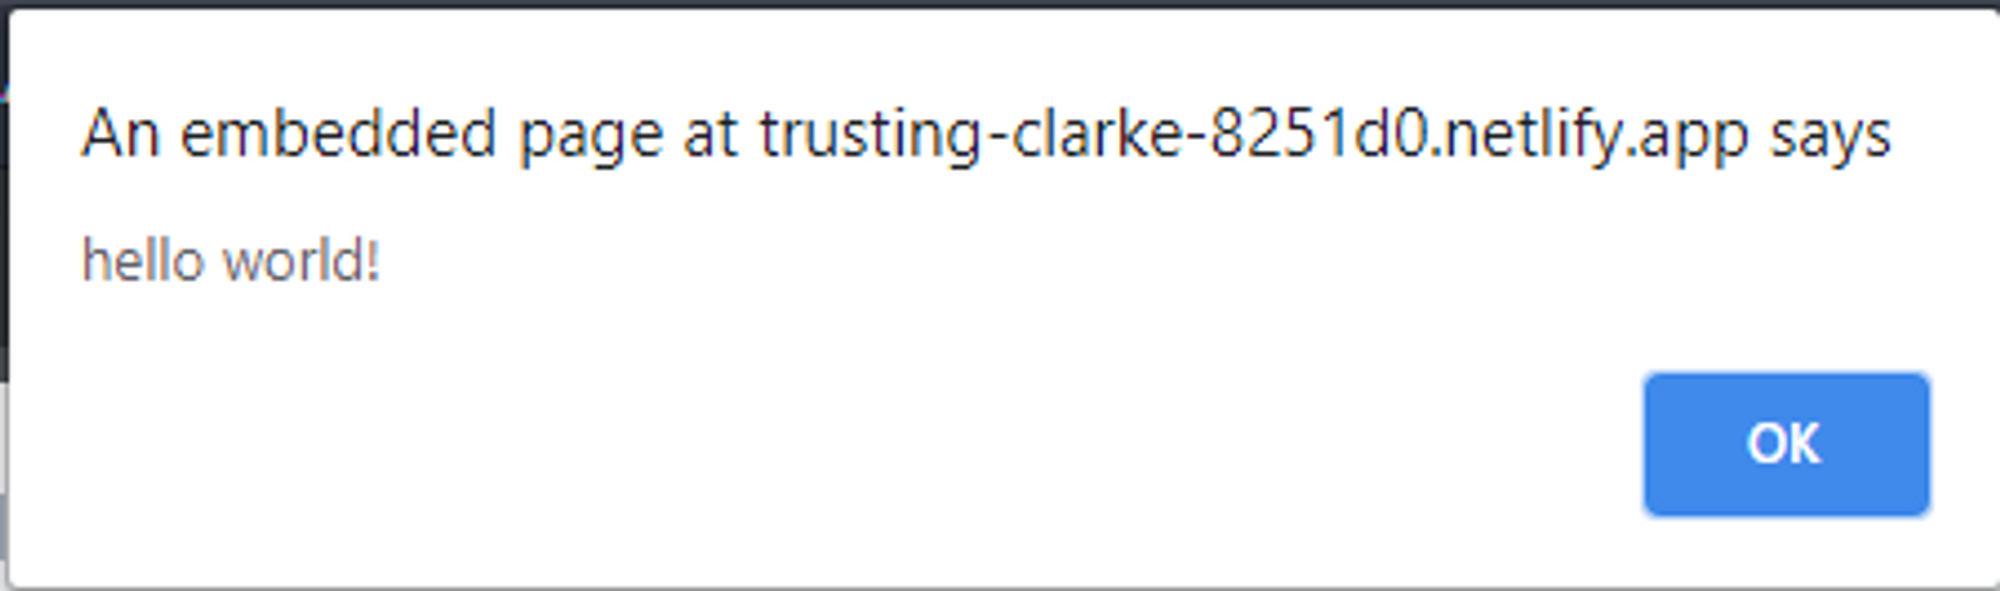
- When the button is clicked, it will display a browser alert of "hello world!"
Deploying to Netlify
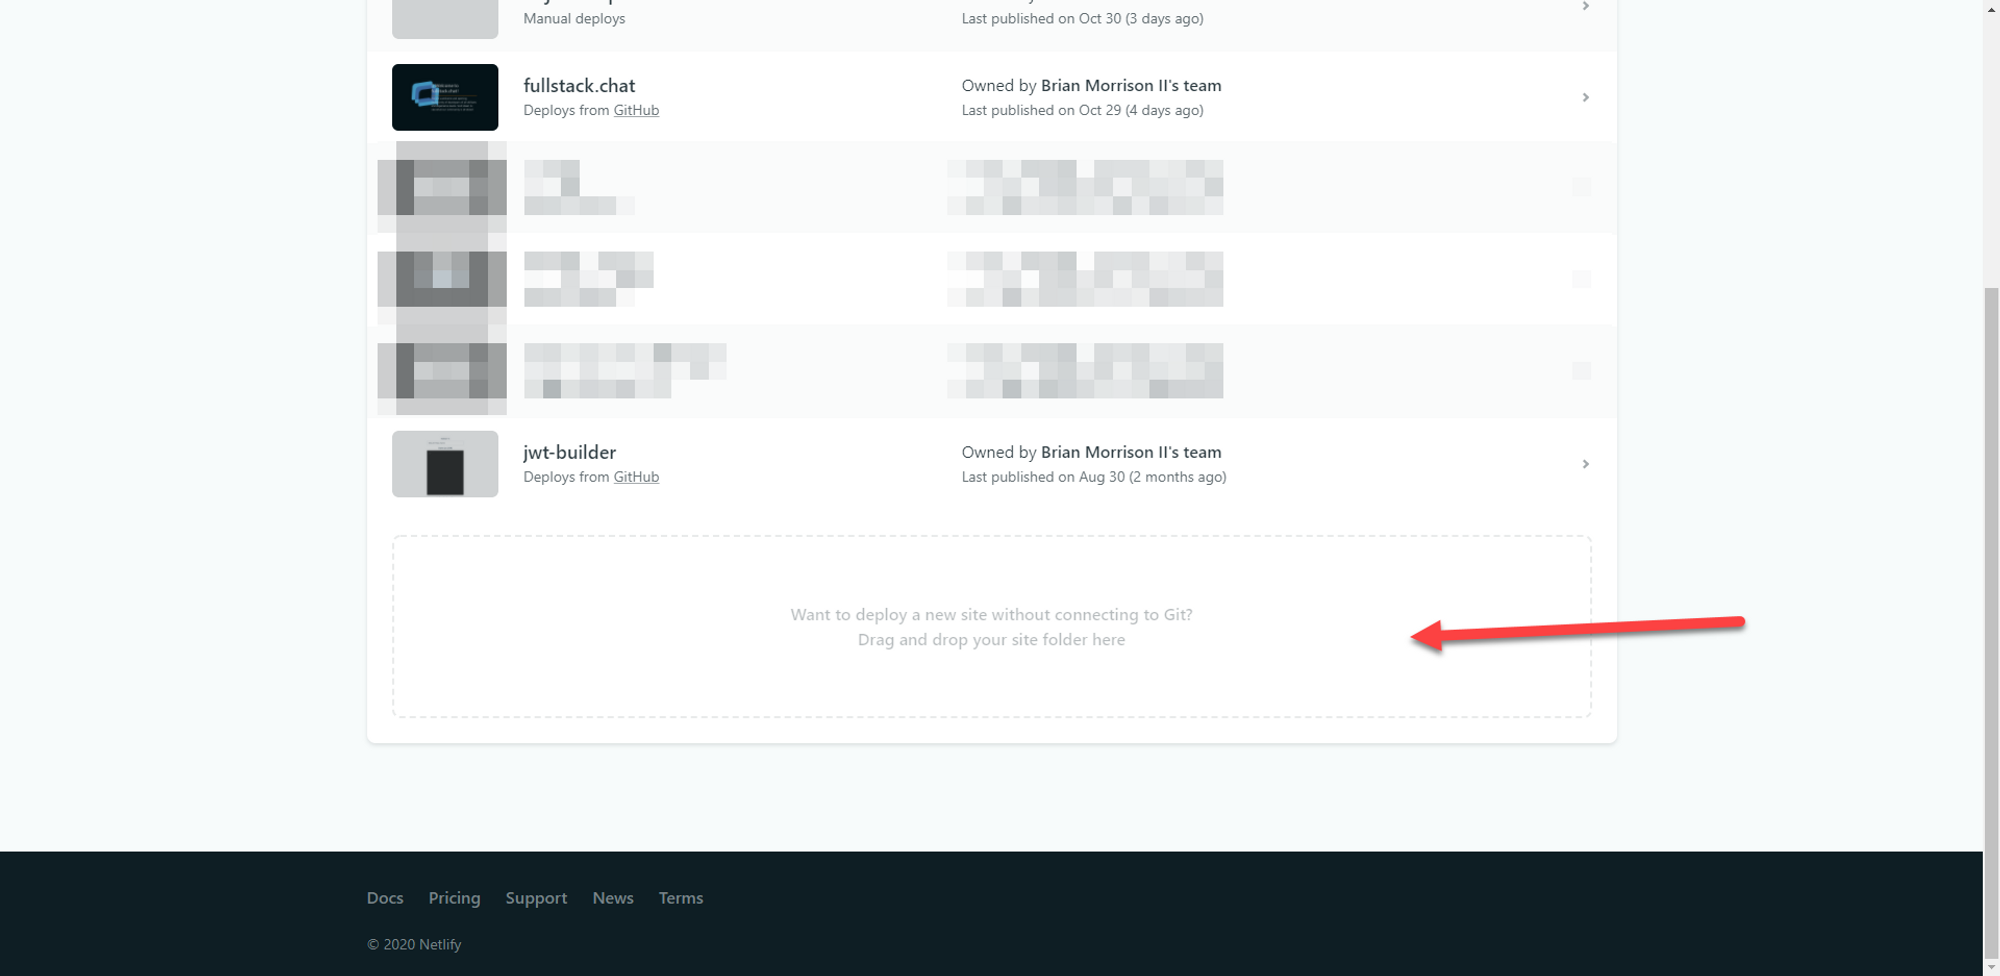
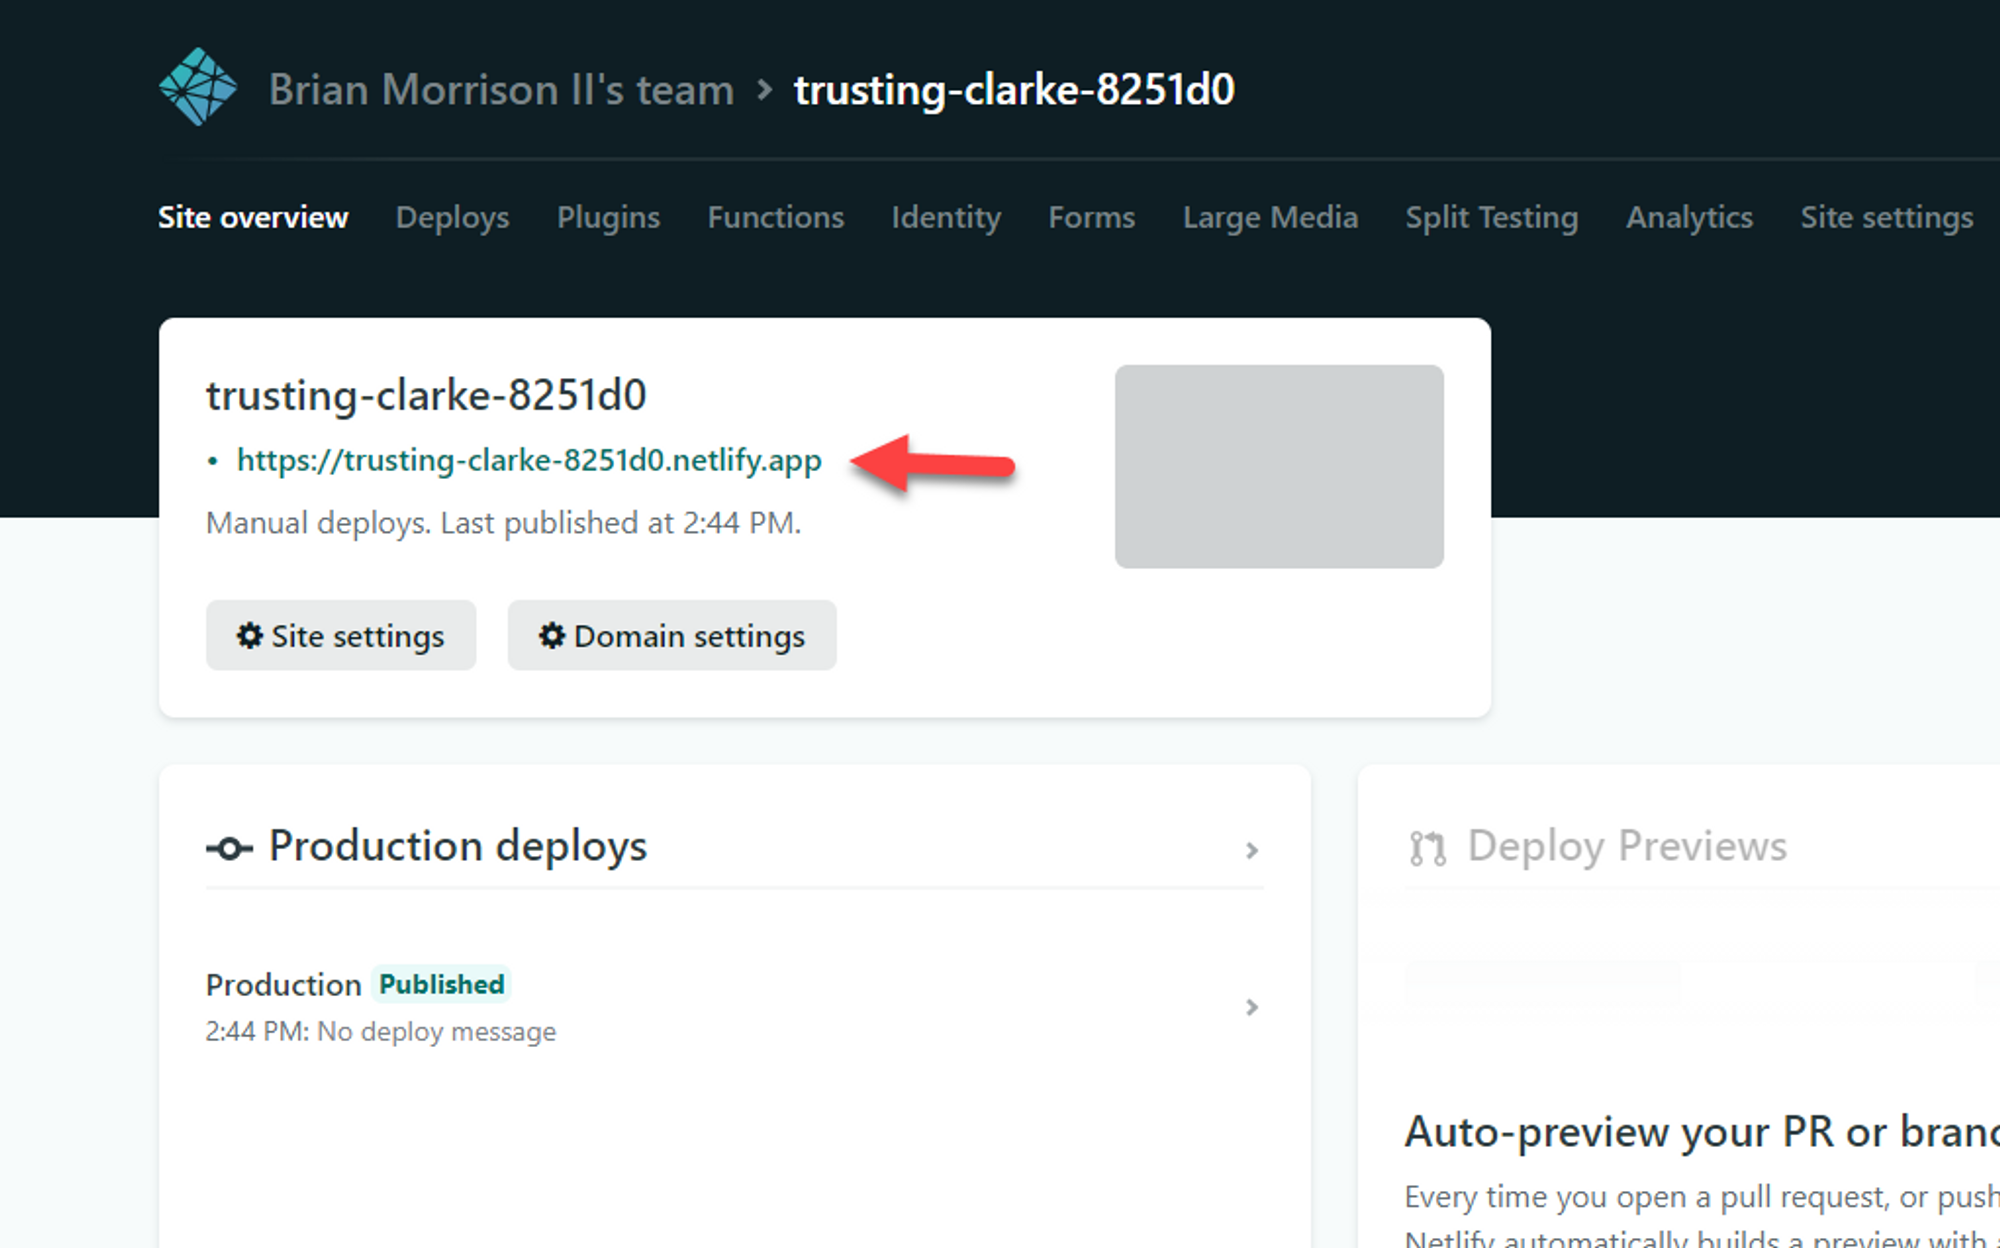
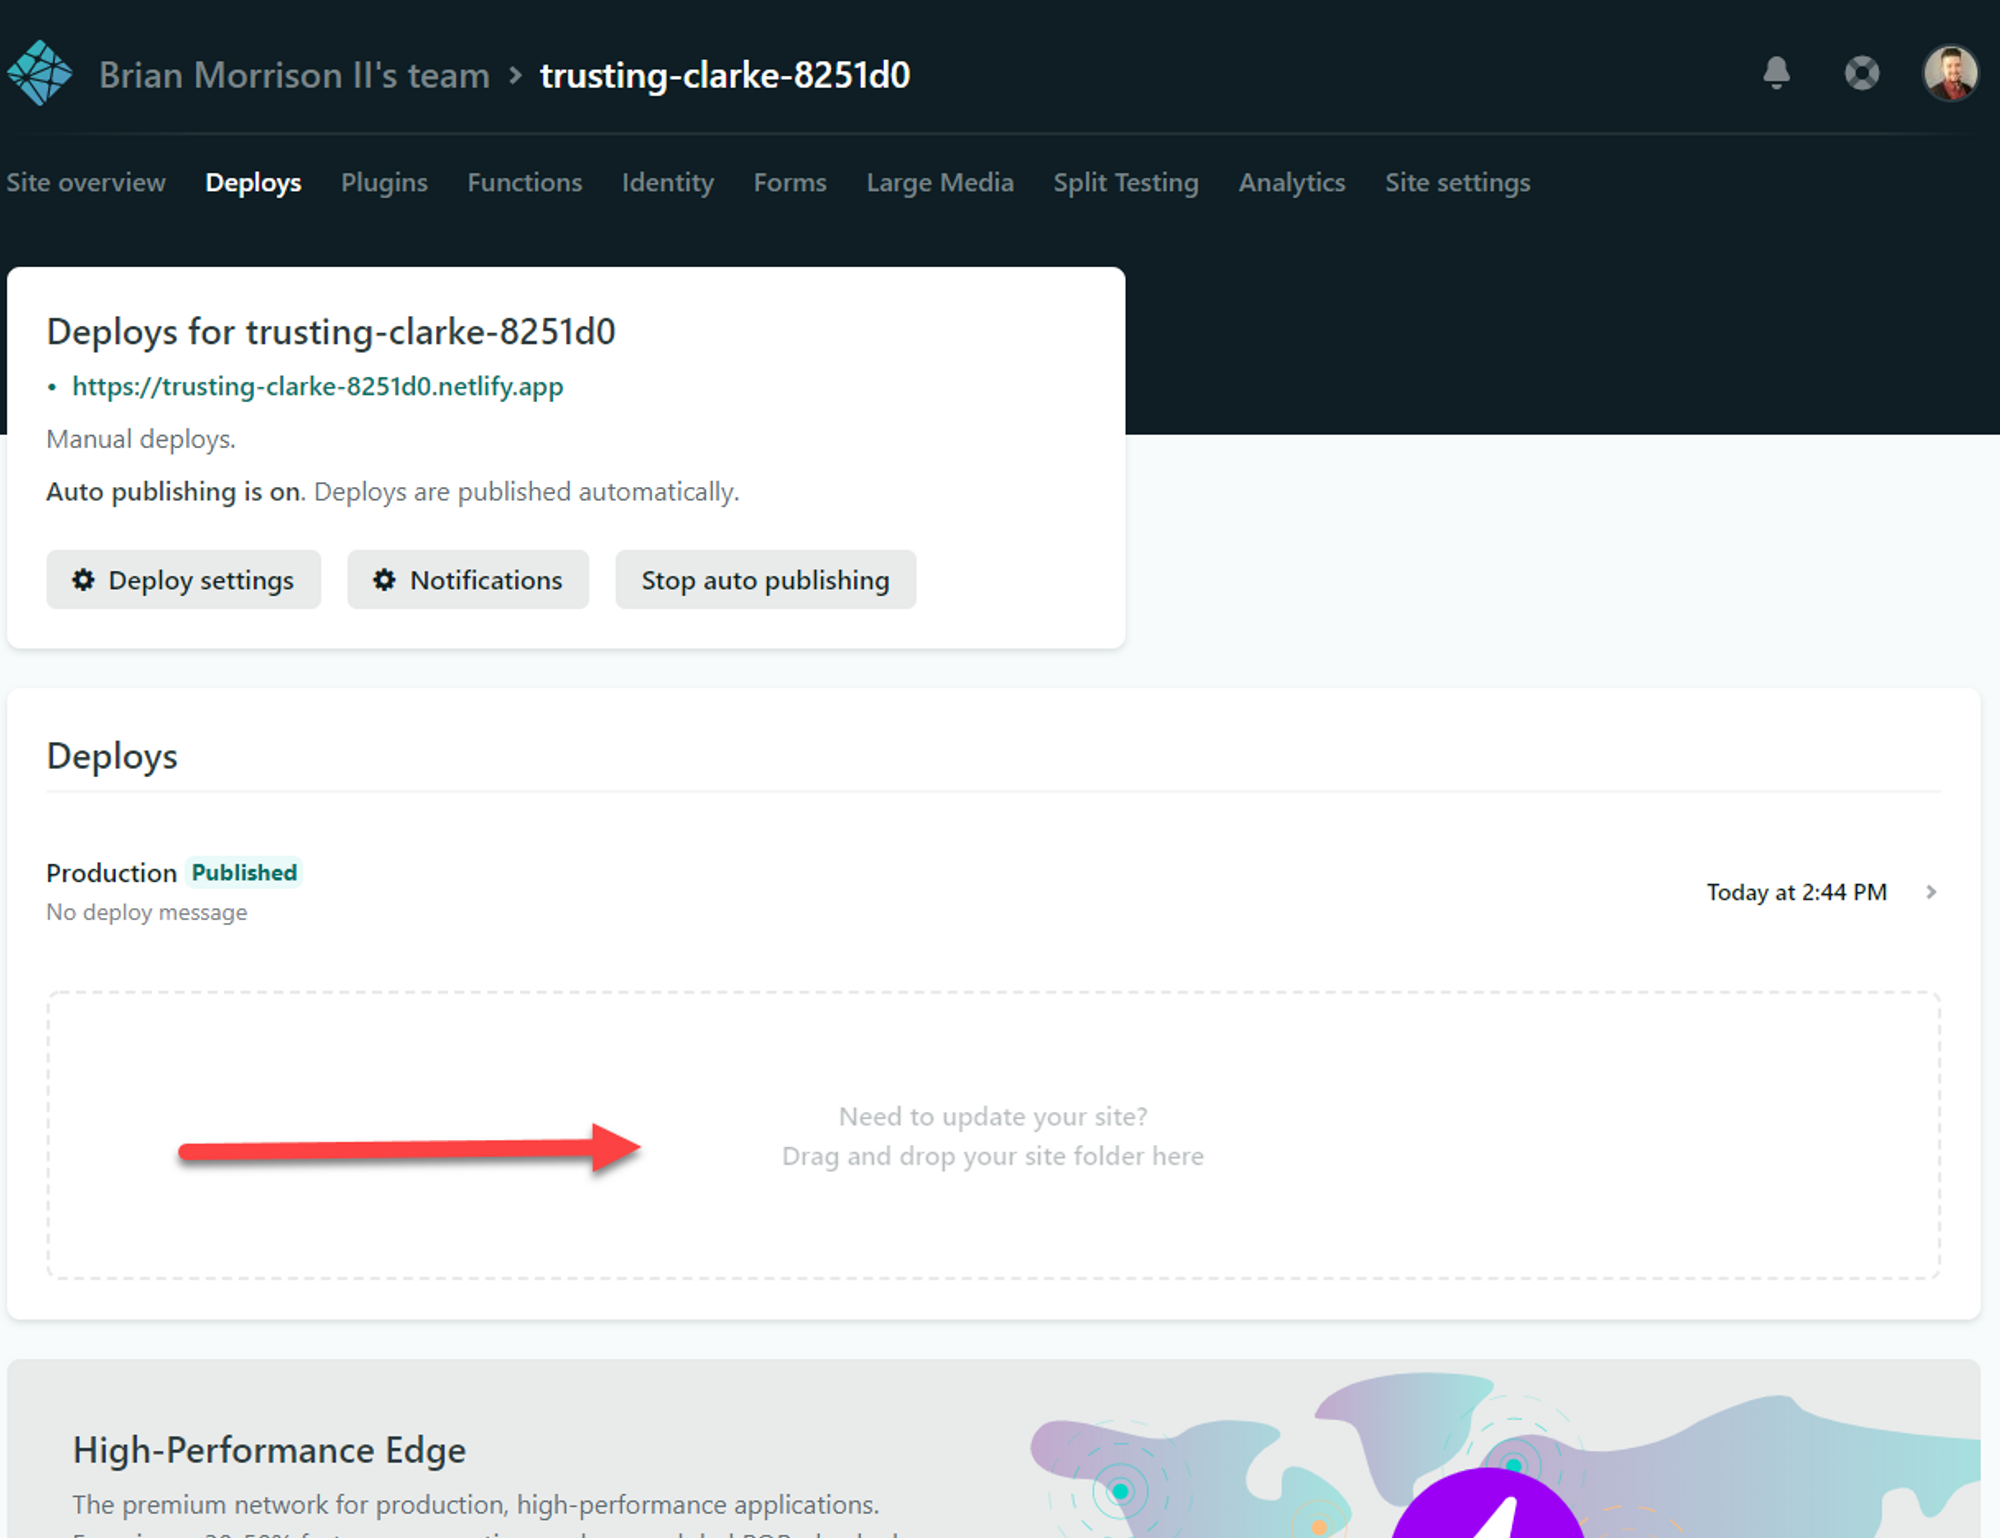
Deploying a Power-Up to Netlify is just the same as deploying any other site to Netlify. If you don't have an account, you can create one for free at https://app.netlify.com/signup/email. Once logged in, head over to sites, scroll to the bottom, and you'll see a place where you can drop a folder. Go ahead and drag the folder that contains the index.html file we created into this area. You'll then be presented with a new view that lists a URL for your site. This is what we will use to register the Power-Up with.
Creating a Power-Up App
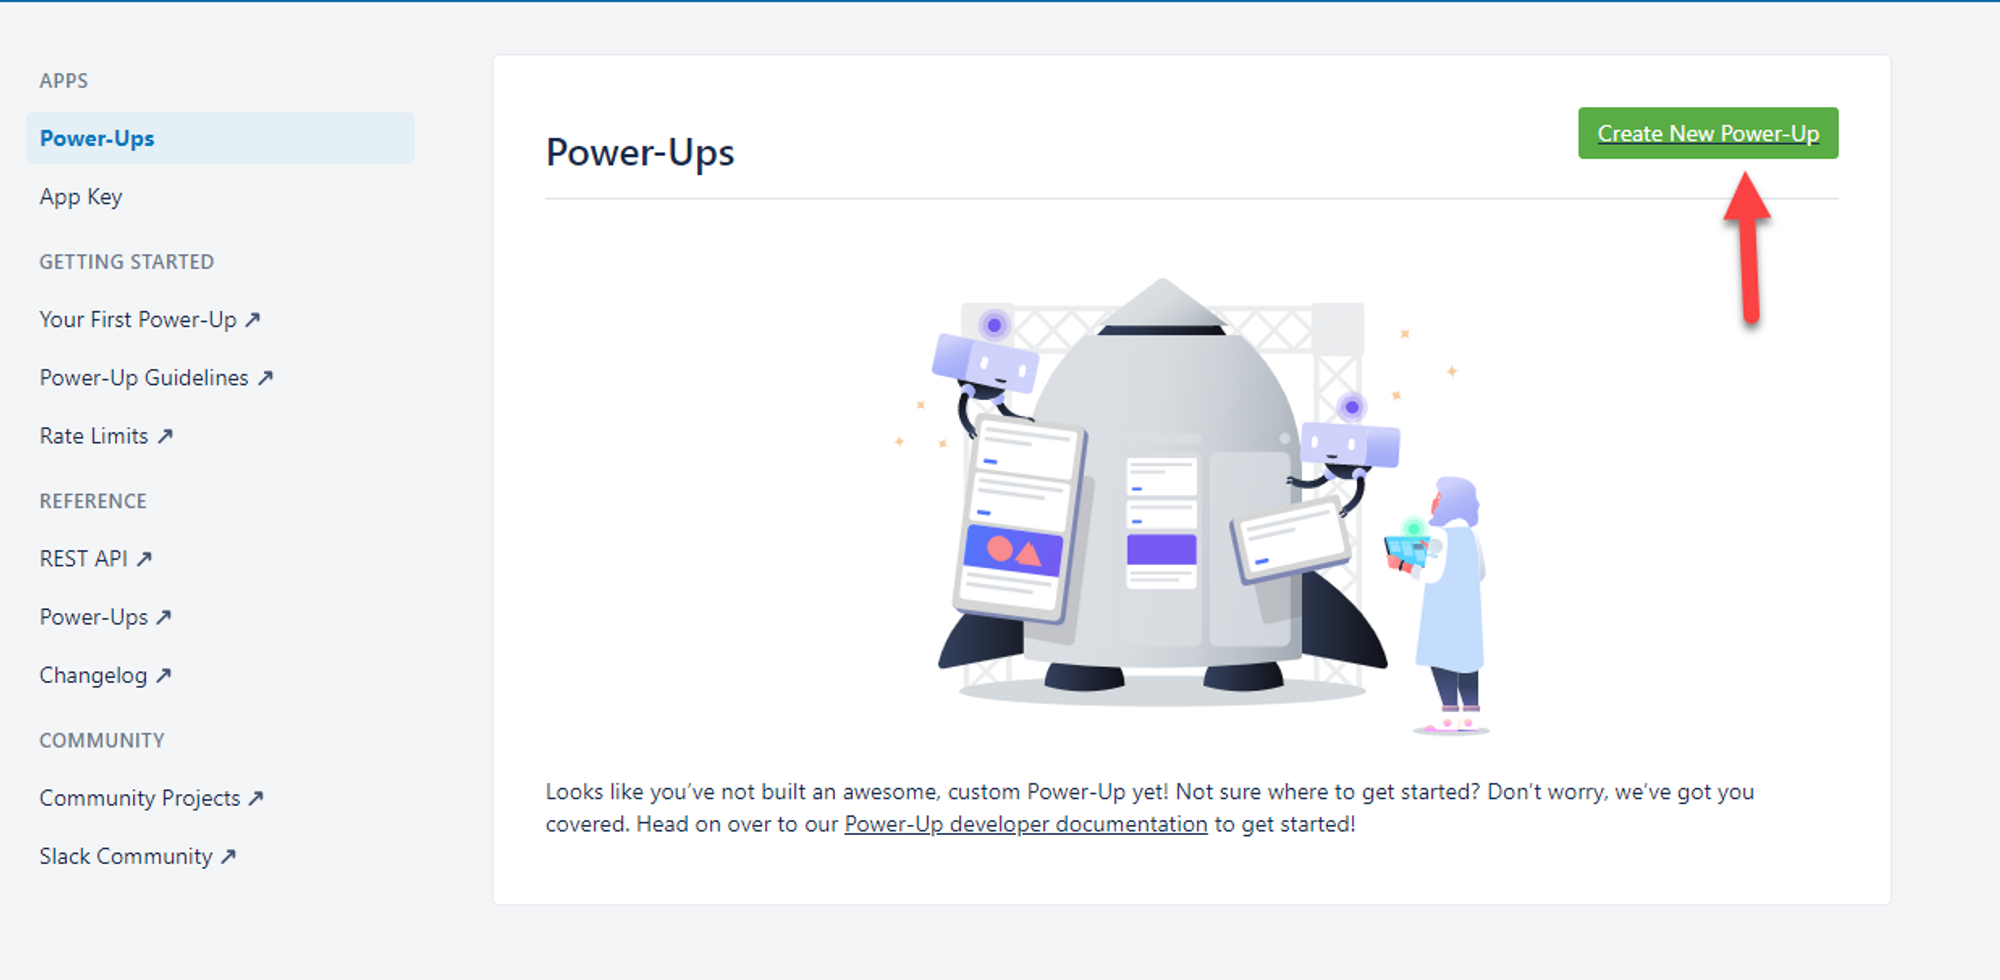
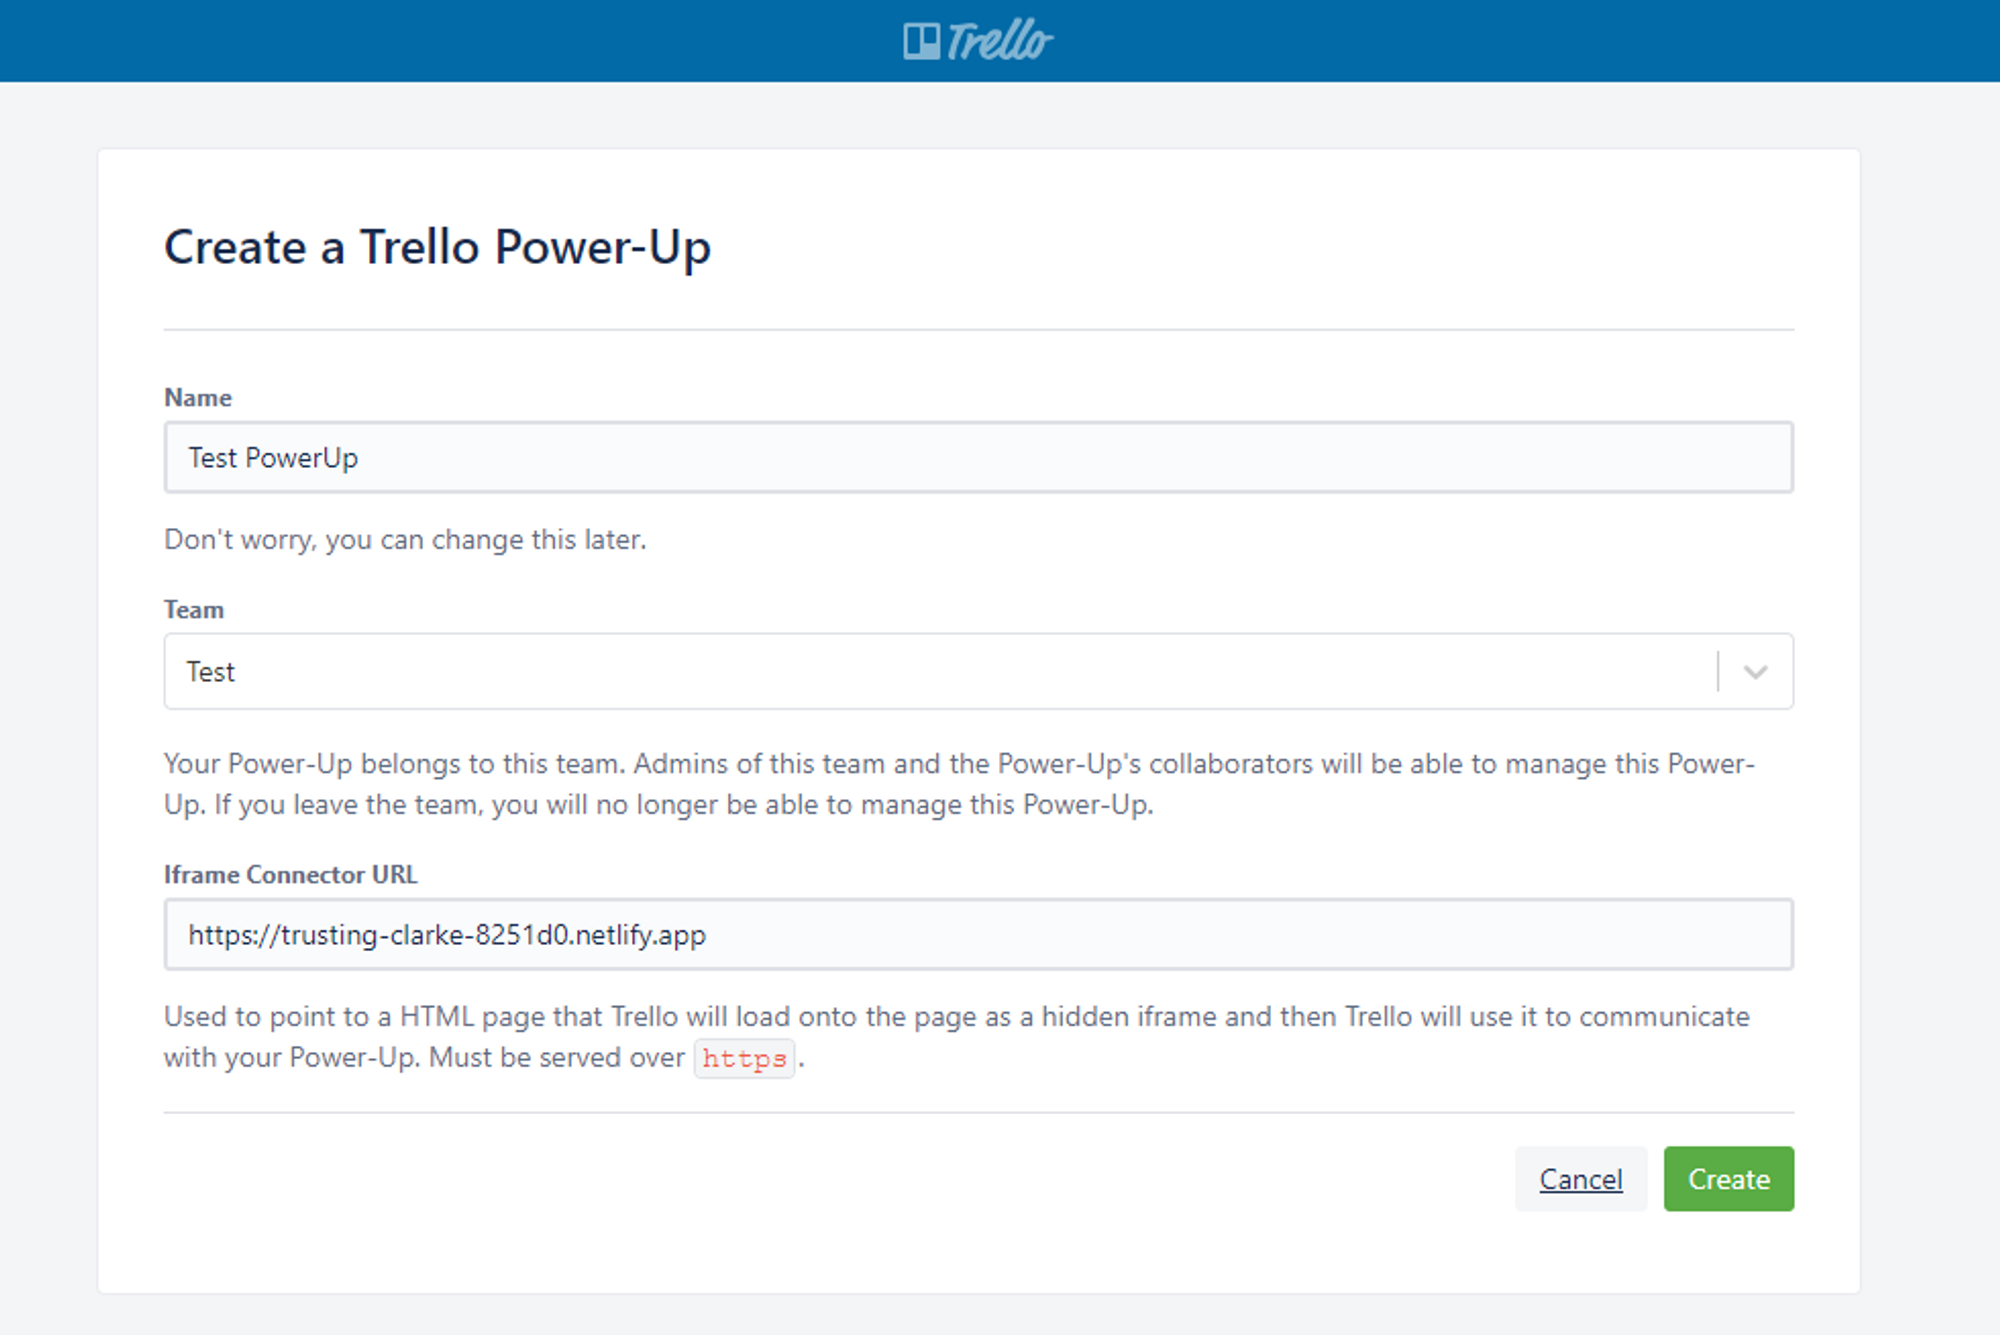
To get the Power-Up working in Trello, you'll need to register it. Head to https://trello.com/power-ups/admin and click on Create New Power-Up. Give your Power-Up a name, select a team to use the Power-Up, then paste in the URL from Netlify.
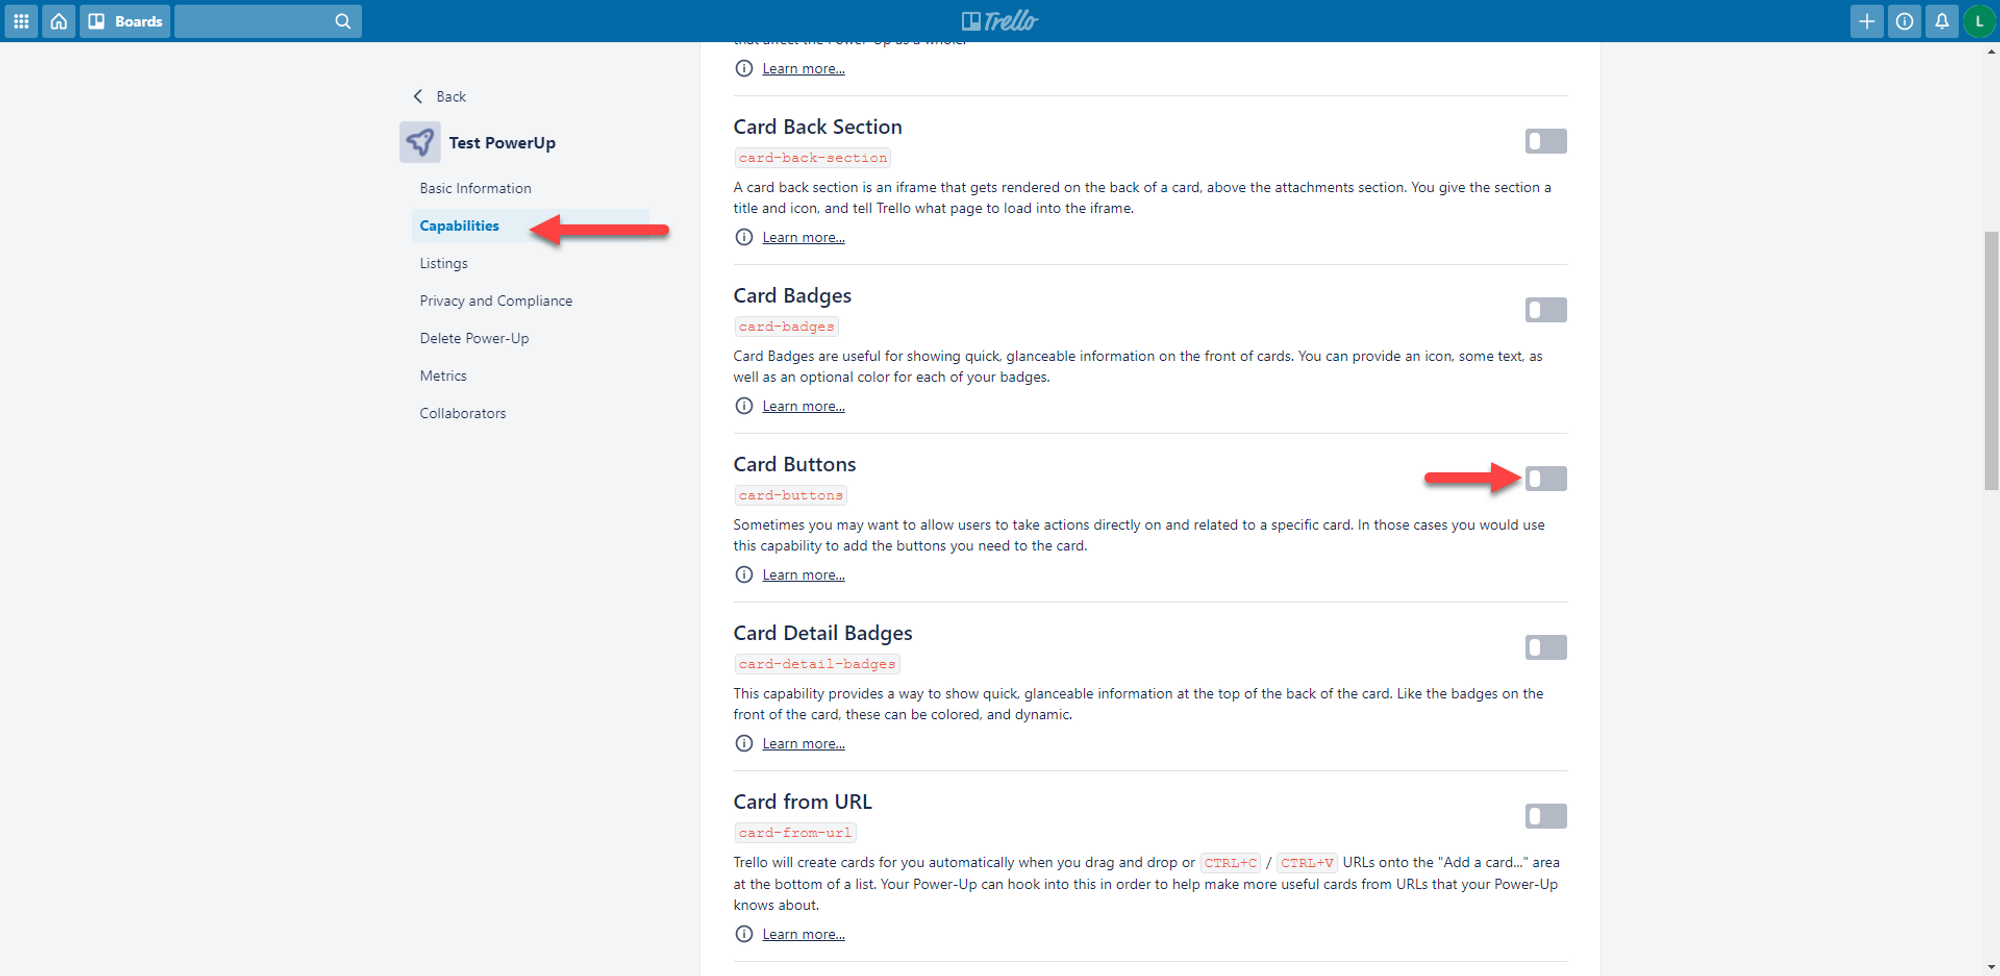
Once you click Create, you'll be taken to the Power-Up Management Screen. Once there, head over to Capabilities on the left. This will show you all the functionality that can be built with Power-Ups. For our little test, we need to enable Card Buttons, so find that in the list and enable it.
Testing our Power-Up
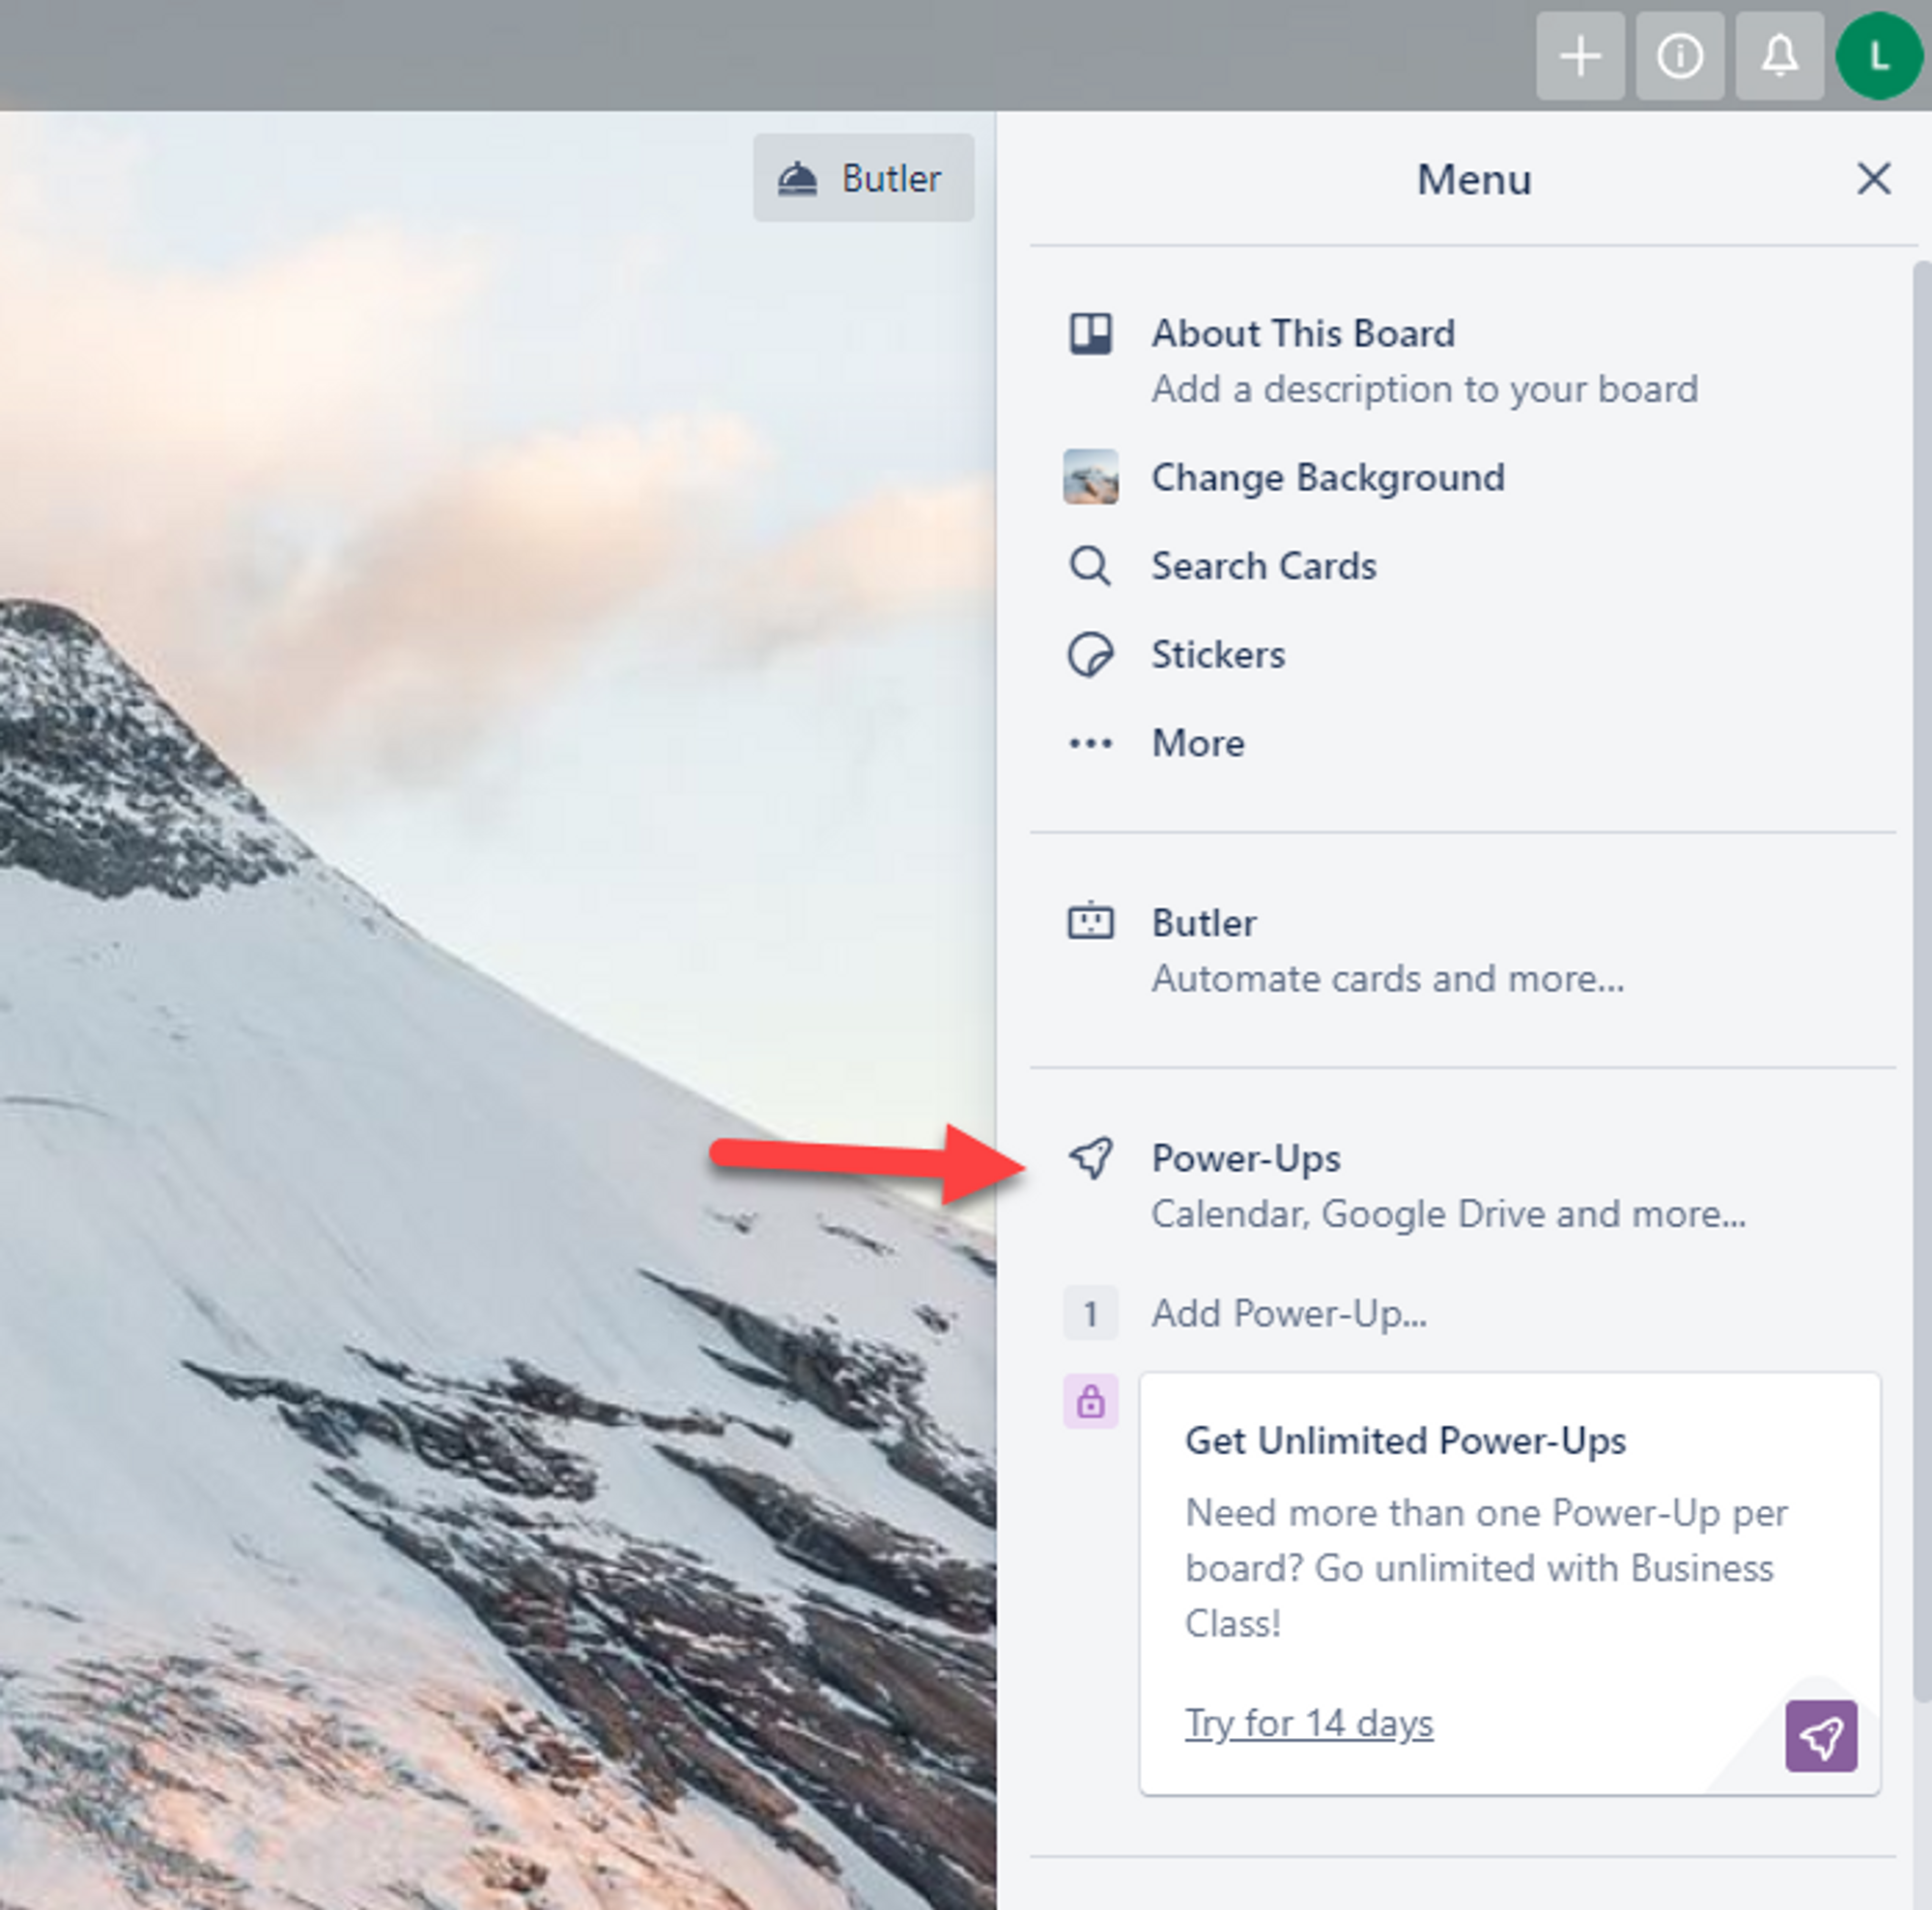
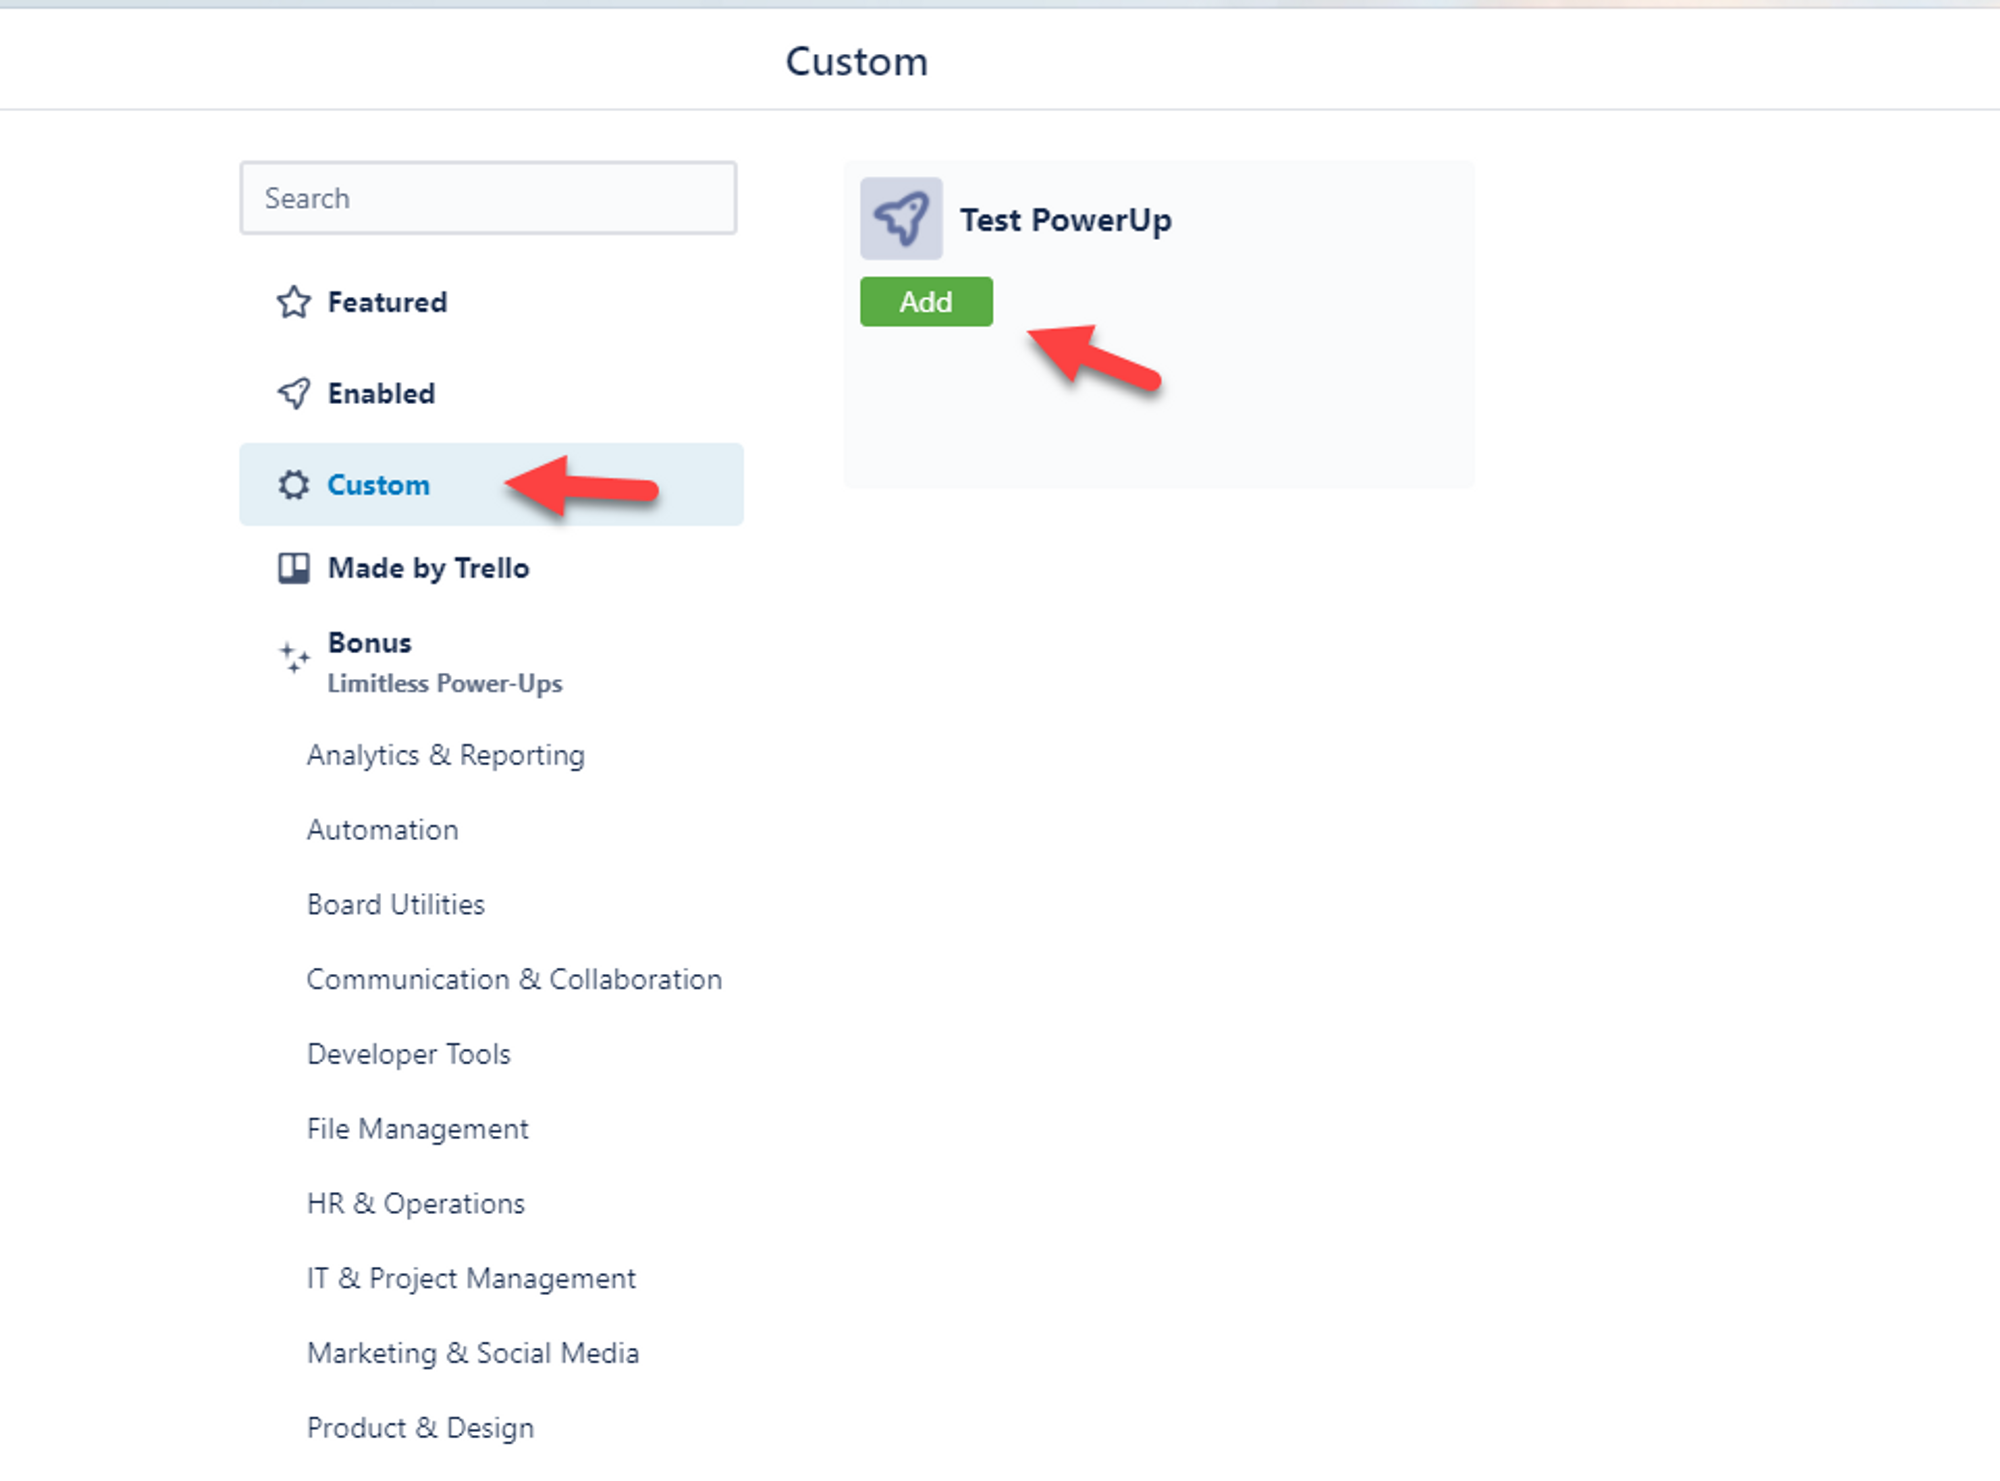
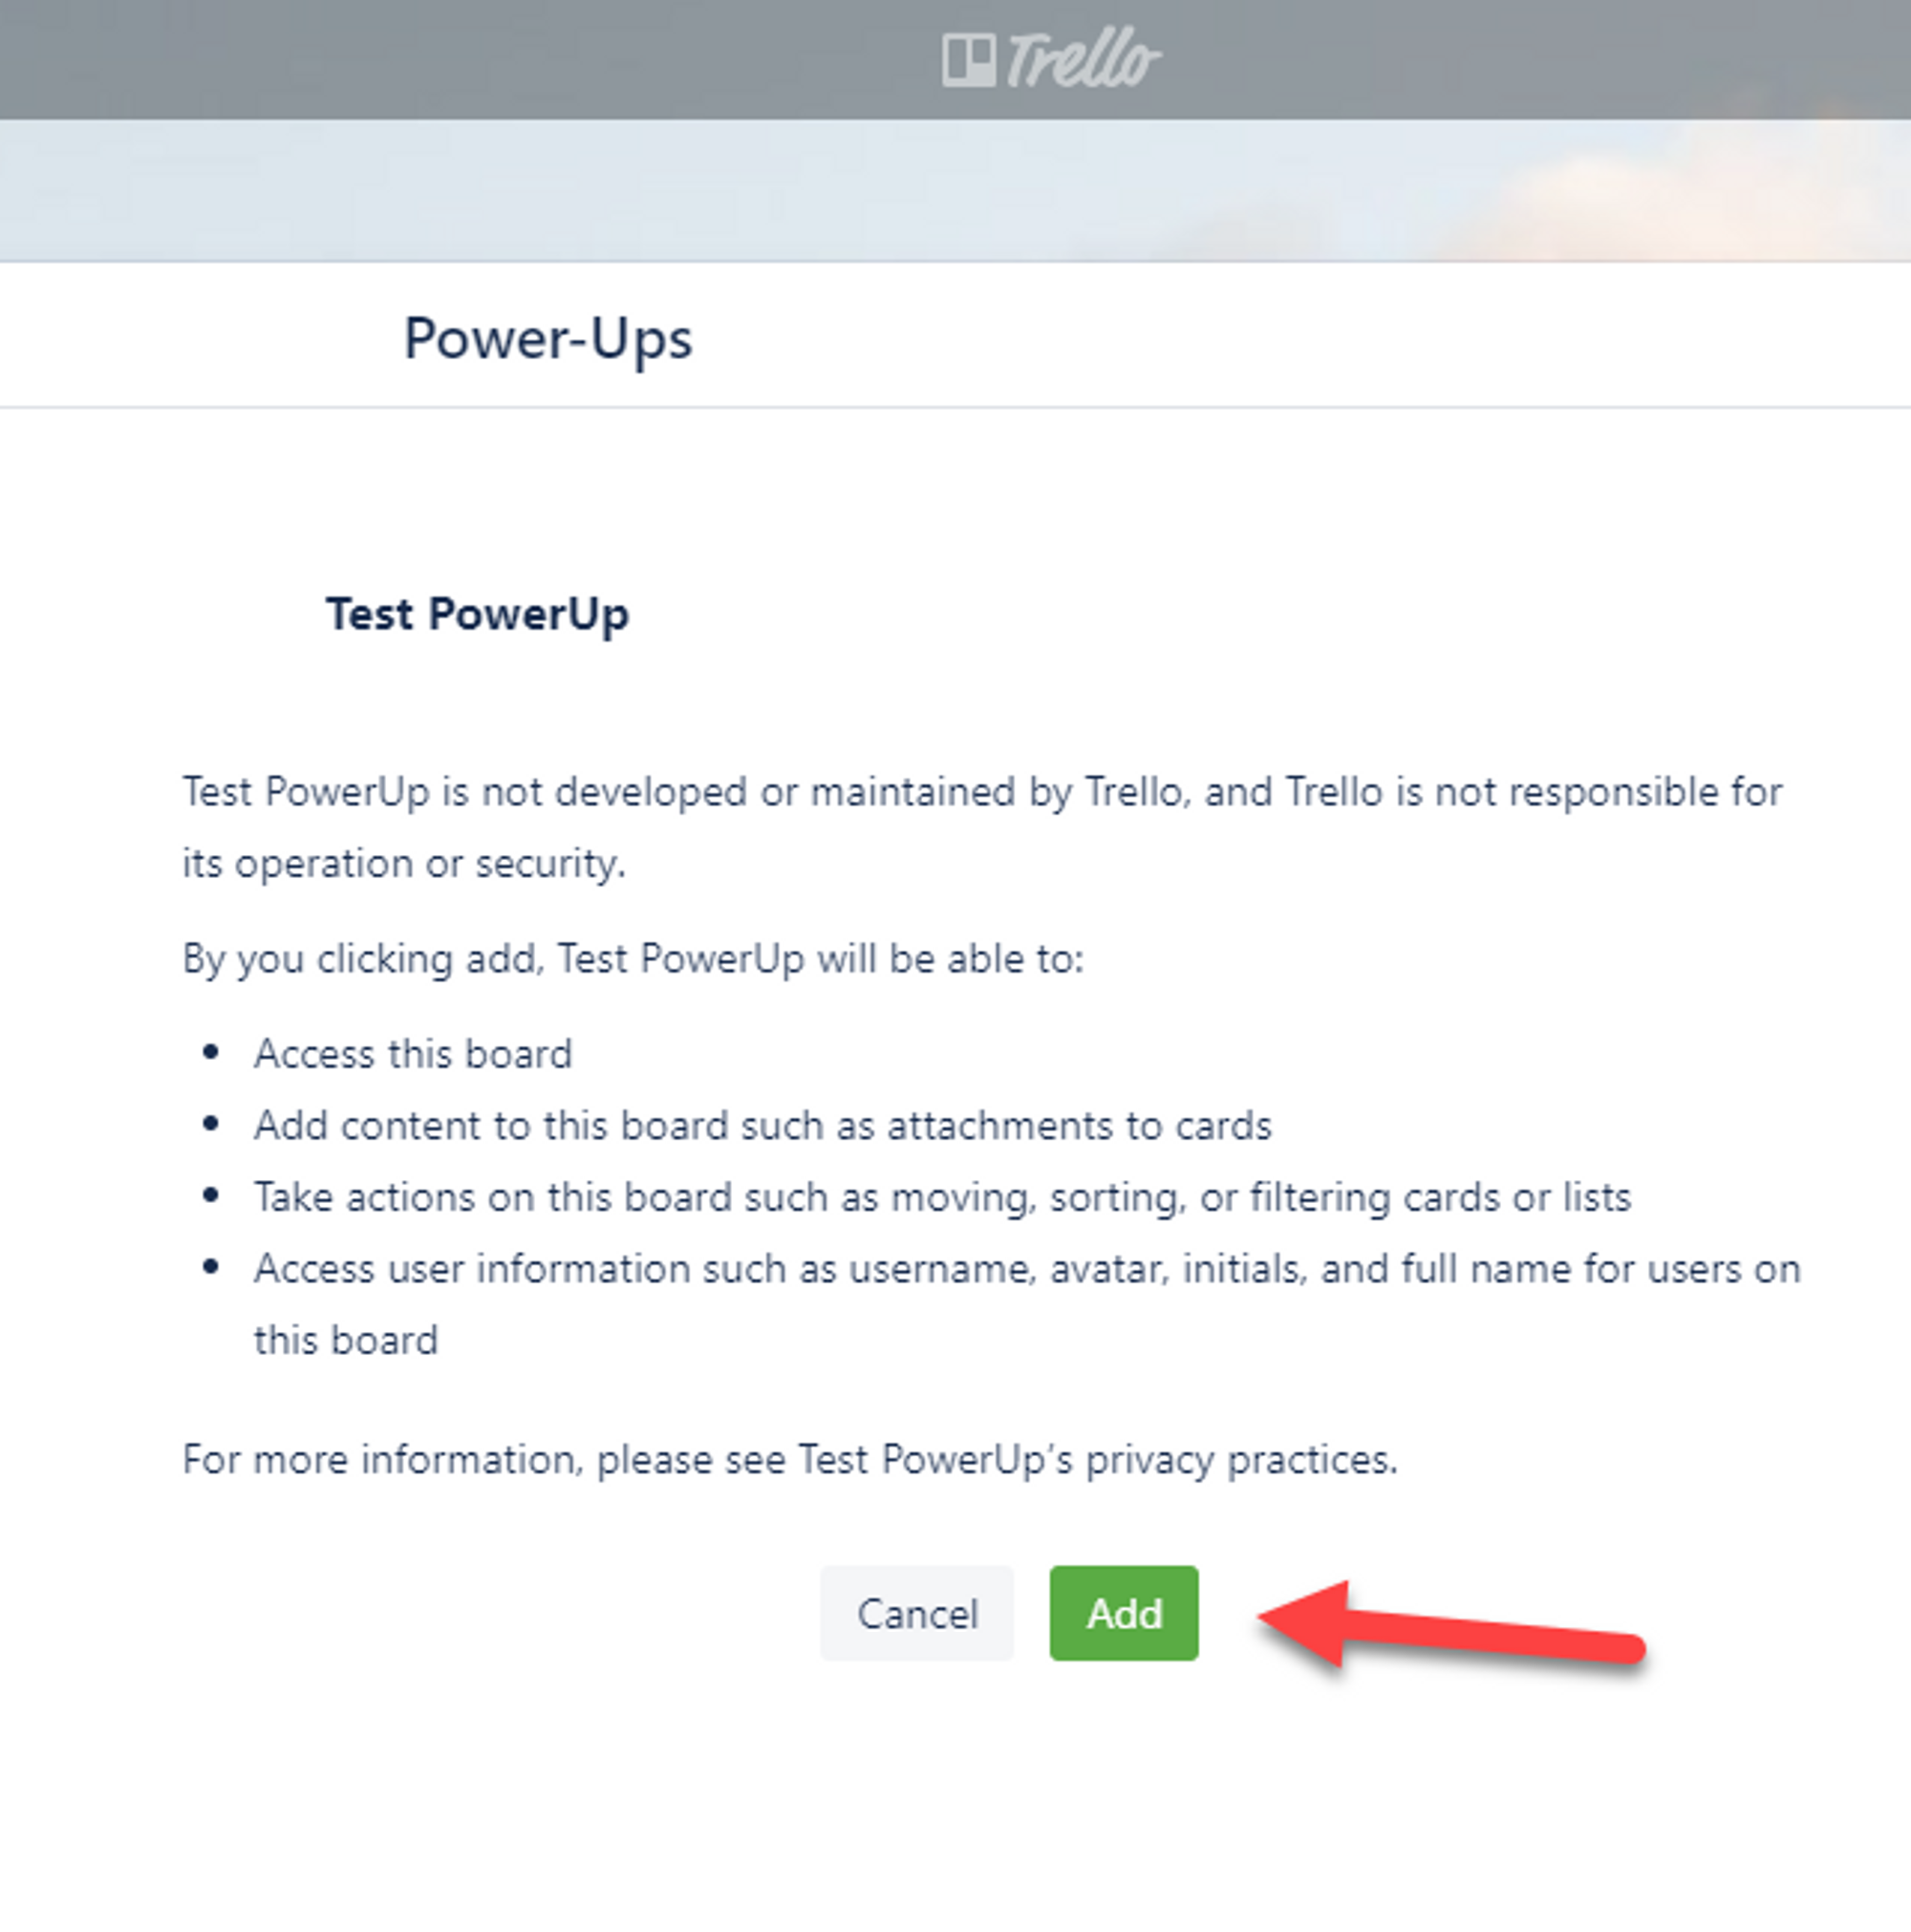
Now that our App is setup, lets add it to the board. You'll need to select a board that is part of the team that the power up was added to. Once your board is open, open the Menu, click on Power-Ups, select Custom, click Add under the name of your Power-Up, and then Add one more time.
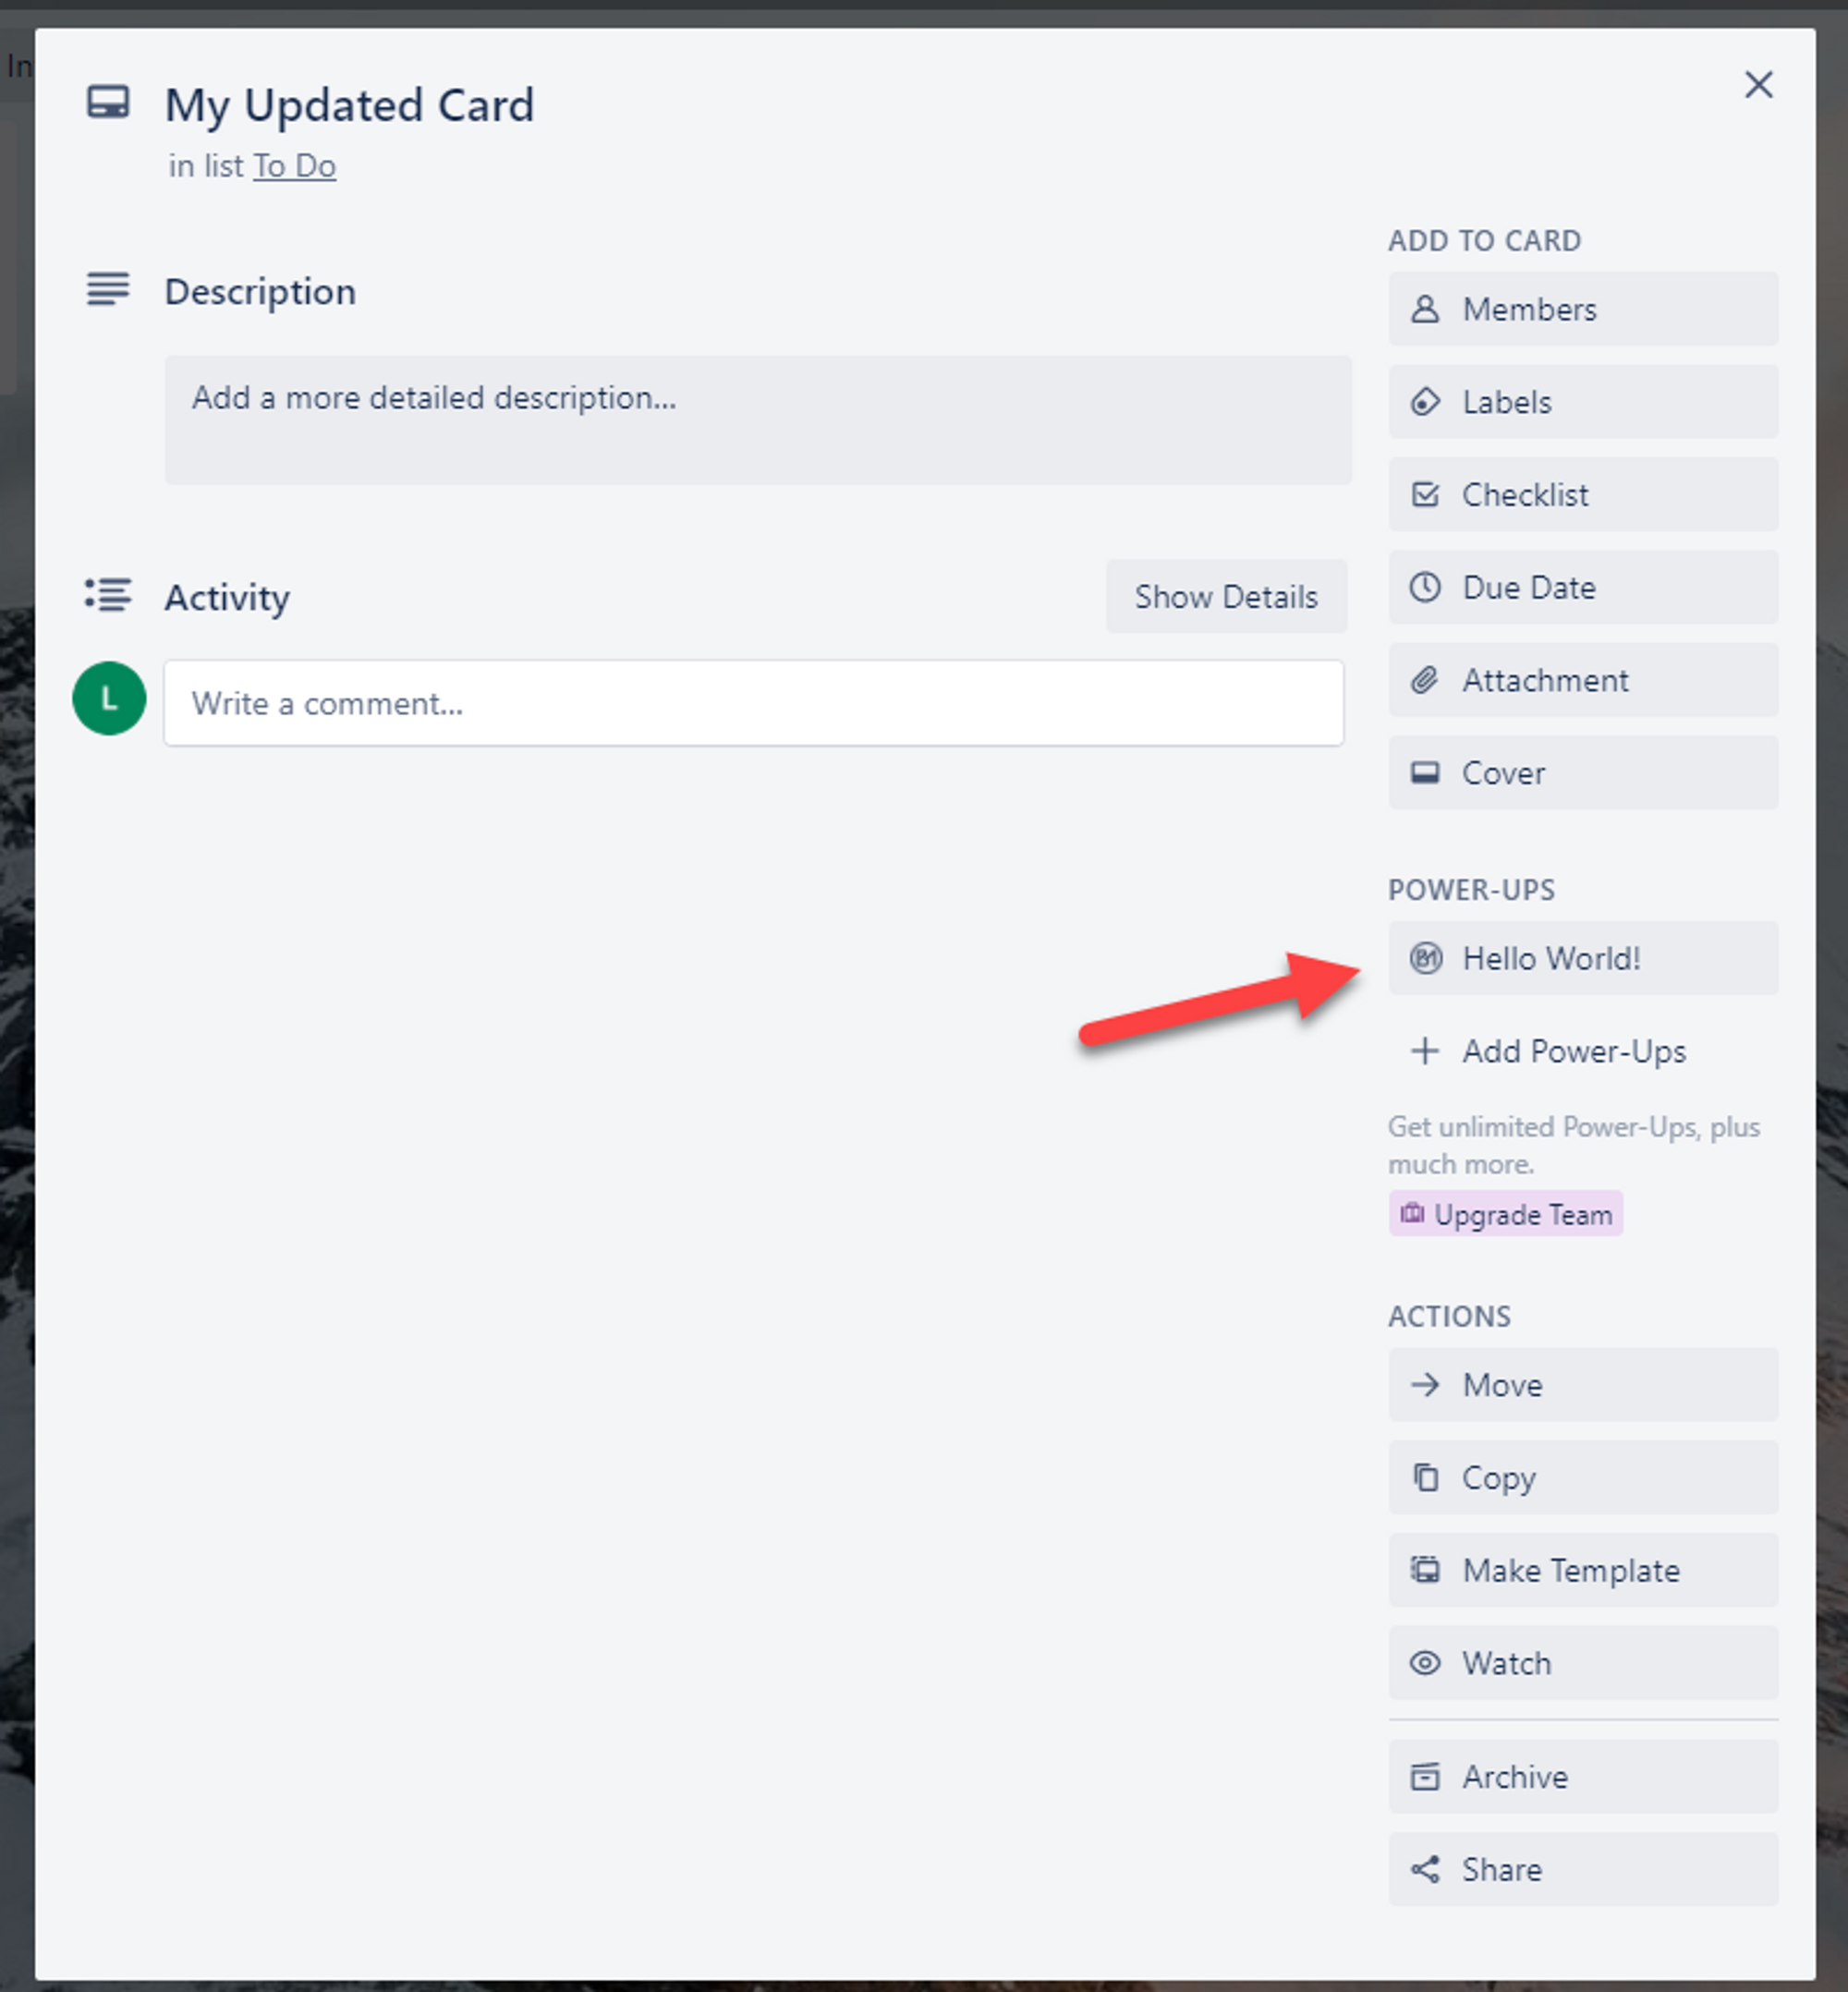
Now open a card and you'll see a new Hello World button on the right side. Click it and you should get an alert pop up, which is exactly what we built and deployed to Netlify.
Getting Card Details
Now that we have a Power-Up built and working, lets expand it just a bit. We're going to grab the name & id of the card, then add that to our alert box. This is simply to demonstrate how you can get data from the card to use in your code however you need to.
Lets go back to our Index.html and update it like so. Note the changes on the line starting with return t.card(...
<!DOCTYPE html>
<html>
<head>
<meta charset="utf-8">
</head>
<body>
<script src="https://p.trellocdn.com/power-up.min.js"></script>
<script>
TrelloPowerUp.initialize({
// Start adding handlers for your capabilities here!
'card-buttons': function (t, options) {
return [
{
icon: "https://i.ibb.co/6sbknH0/logo-stroke-32pt-style-2-no-stroke.png",
text: 'Hello World!',
callback: function (t) {
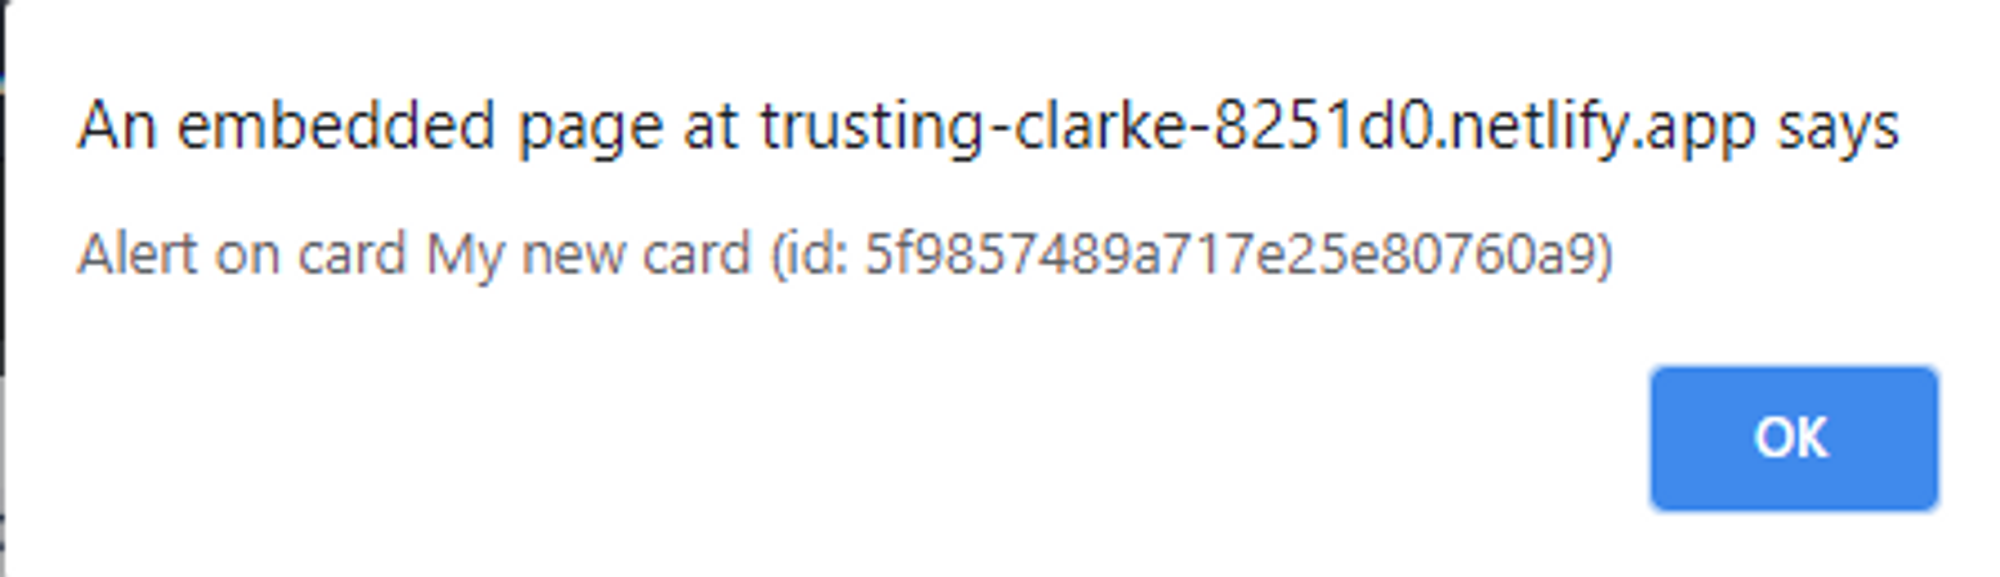
return t.card('id', 'name').then((card) => alert(`Alert on card ${card.name} (id: ${card.id})`))
}
}
];
},
});
</script>
</body>
</html>
Now you can redeploy your site to Netlify by going into your site, opening Deploys from the top bar, and dragging your folder in again.
Once its redeployed, refresh your Trello page and lets test the button again. You should now get an updated alert box.
Adding a Board Button
For one more experiment, lets add a button to the board now. In this updated code, I added another object into TrelloPowerUp.initialize for the board button.
<!DOCTYPE html>
<html>
<head>
  <meta charset="utf-8">
</head>
<body>
  <script src="https://p.trellocdn.com/power-up.min.js"></script>
  <script>
    TrelloPowerUp.initialize({
      // Start adding handlers for your capabilities here!
      'card-buttons': function (t, options) {
        return [
          {
            icon: "https://i.ibb.co/6sbknH0/logo-stroke-32pt-style-2-no-stroke.png",
            text: 'Hello World!',
            callback: function (t) {
              return t.card('id', 'name').then((card) => alert(`Alert on card ${card.name} (id: ${card.id})`))
            }
          }
        ];
      },
      'board-buttons': function (t, options) {
        return [
          {
            icon: "https://i.ibb.co/6sbknH0/logo-stroke-32pt-style-2-no-stroke.png",
            text: 'Hello Board!',
            callback: function (t) {
              return t.board().then((board) => alert("Hello from the Board!"))
            }
          }
        ];
      }
    });
  </script>
</body>
</html>
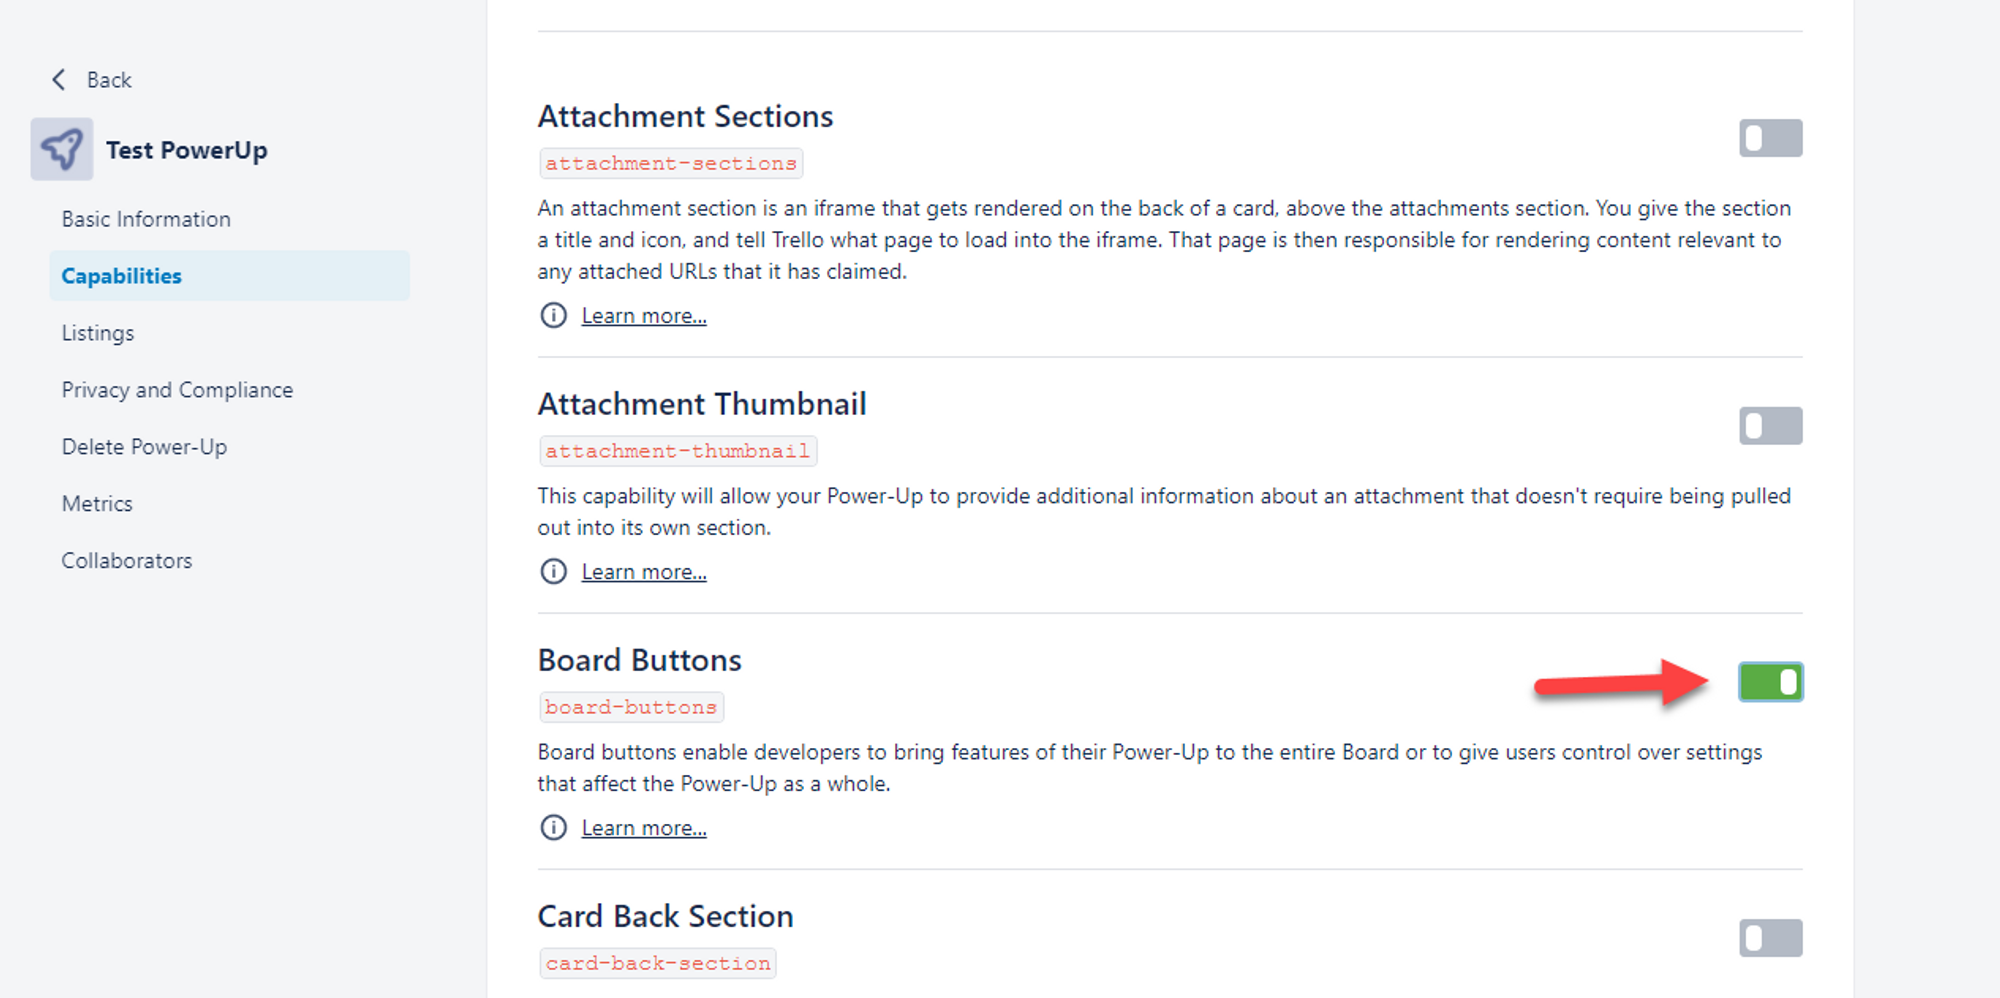
Before you deploy to Netlify, head back to https://trello.com/power-ups/admin, open your app and enable Board Buttons under Capabilities.
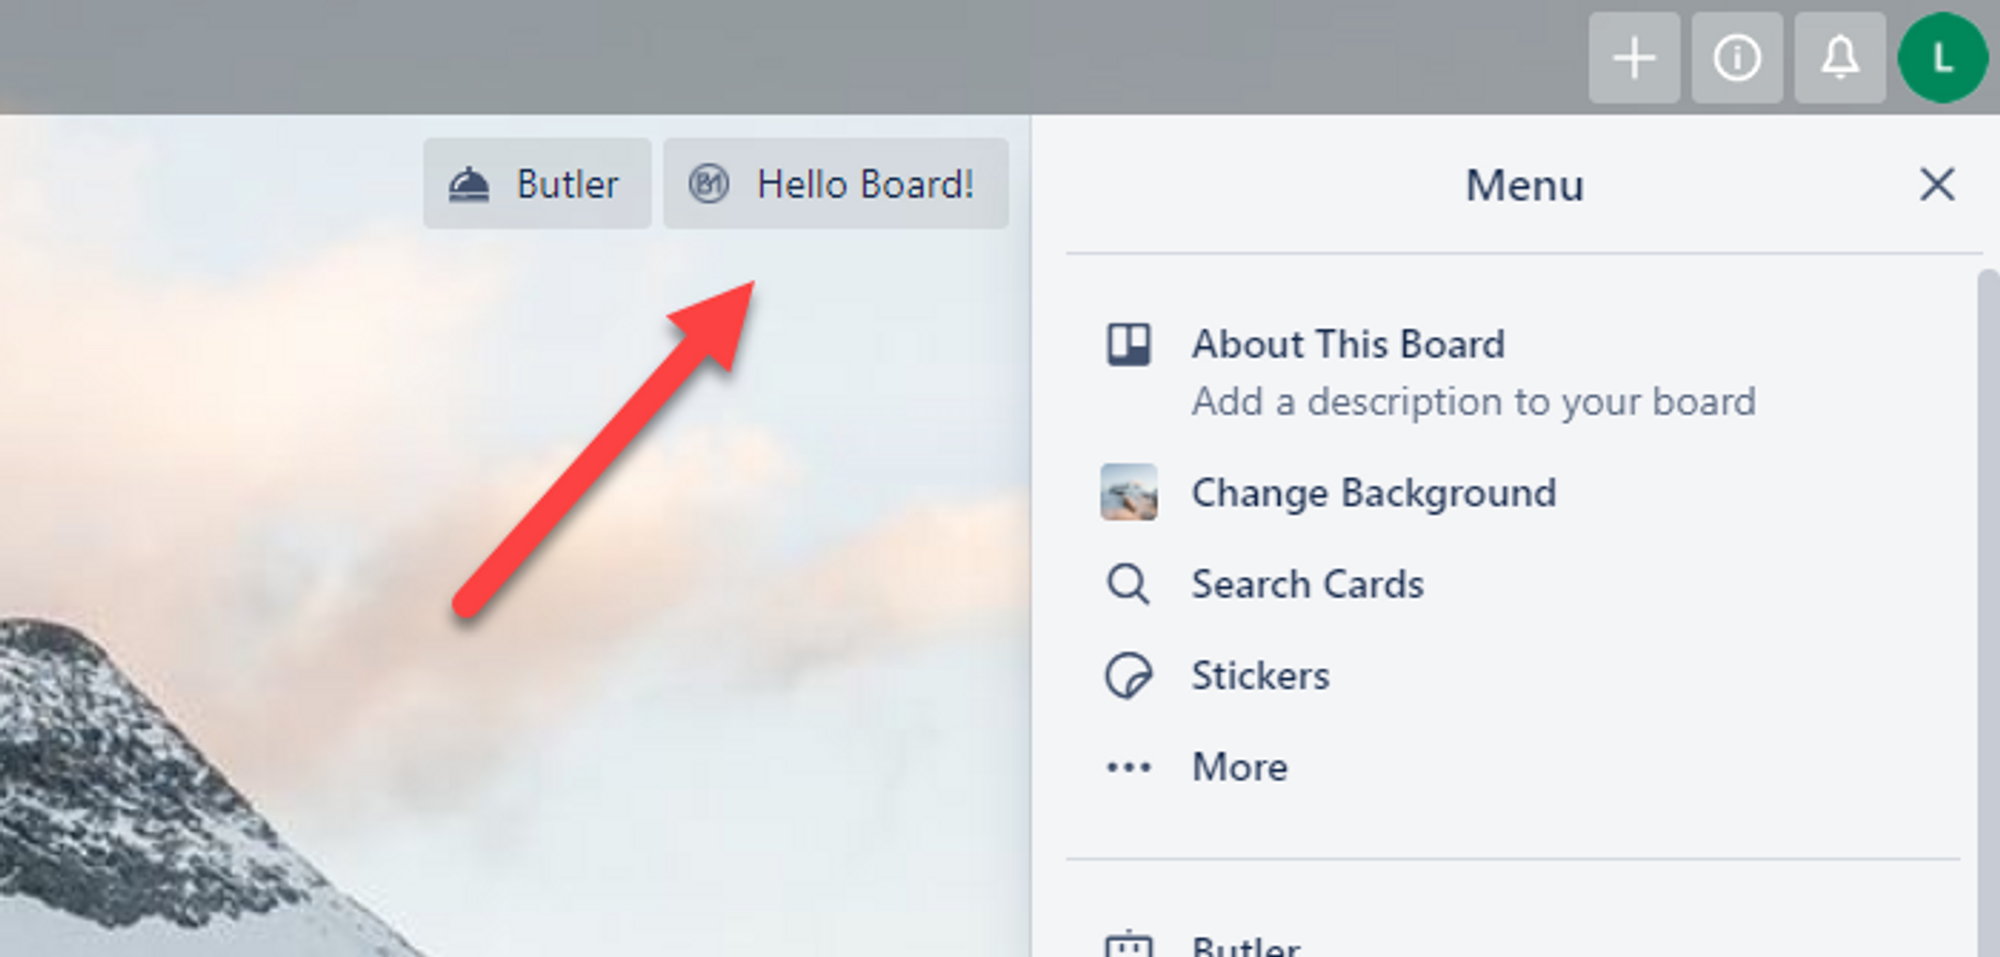
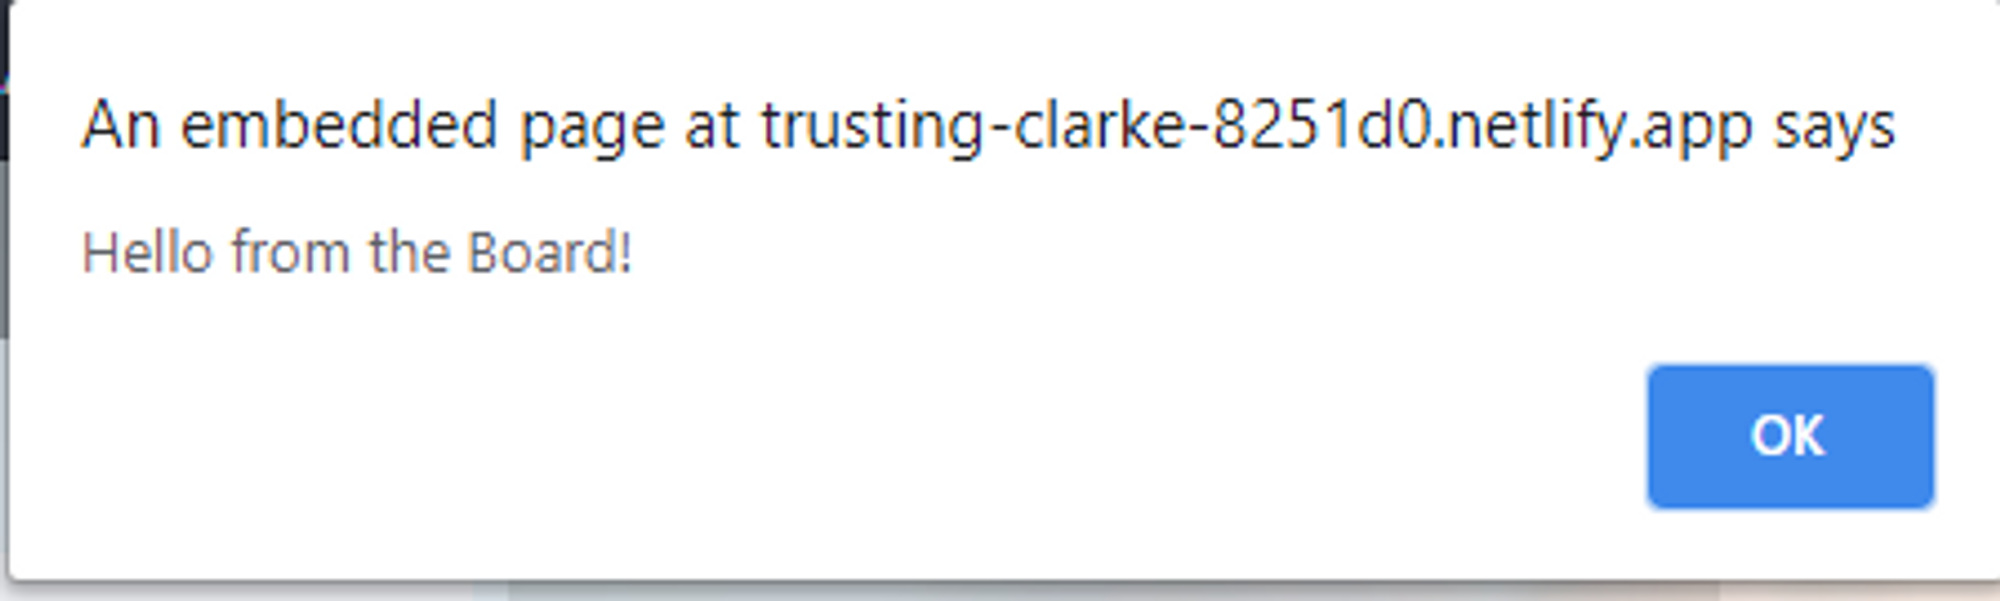
Redeploy to Netlify and refresh your Trello window. You should have a new button on the board. Click it and you should receive an alert from the Board!
Those are only two of the many ways Power-Ups can be used. If you've built something cool, feel free to let me know on Twitter at @brianmmdev!